
In this guide, we will provide you with step-by-step instructions on how to upload and personalize your postcard before submitting it for printing and mailing.
Go to dashboard.intelliprint.net
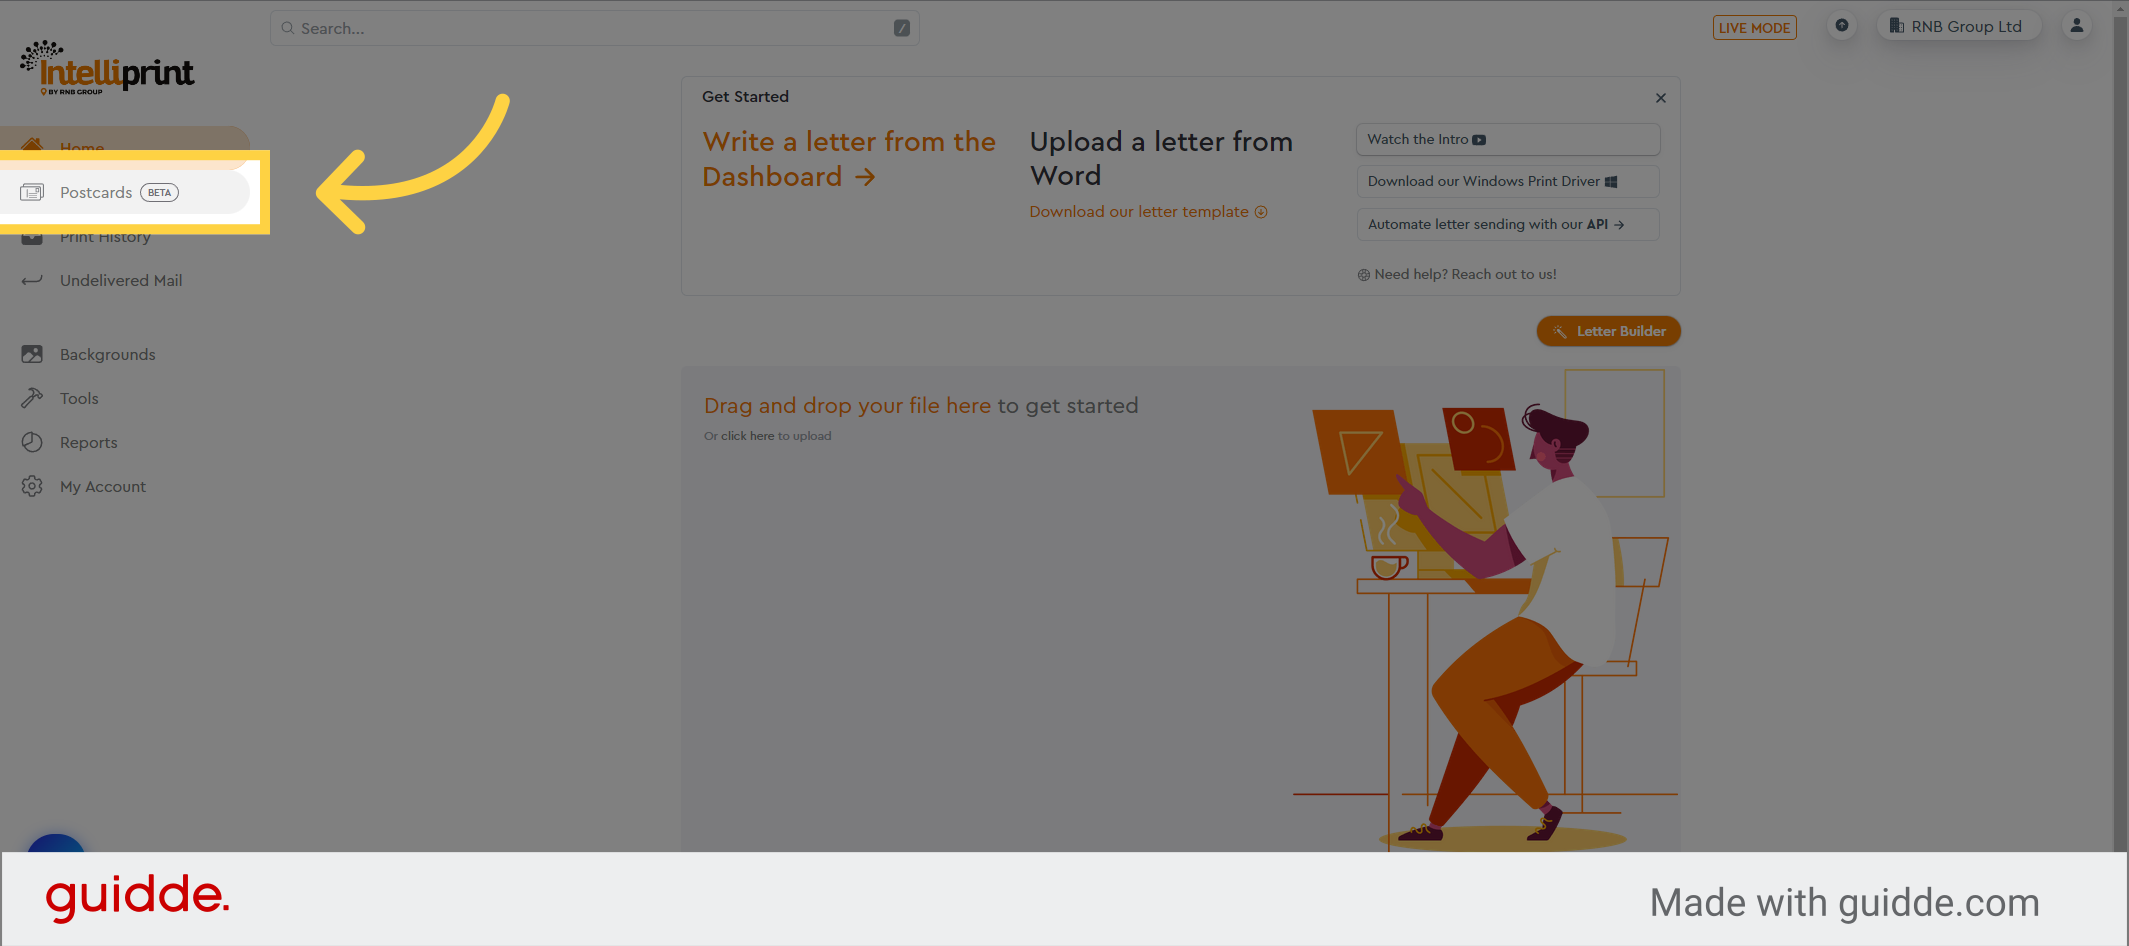
1. Click “Postcards”
Access the Intelliprint dashboard and navigate to the Postcards feature.
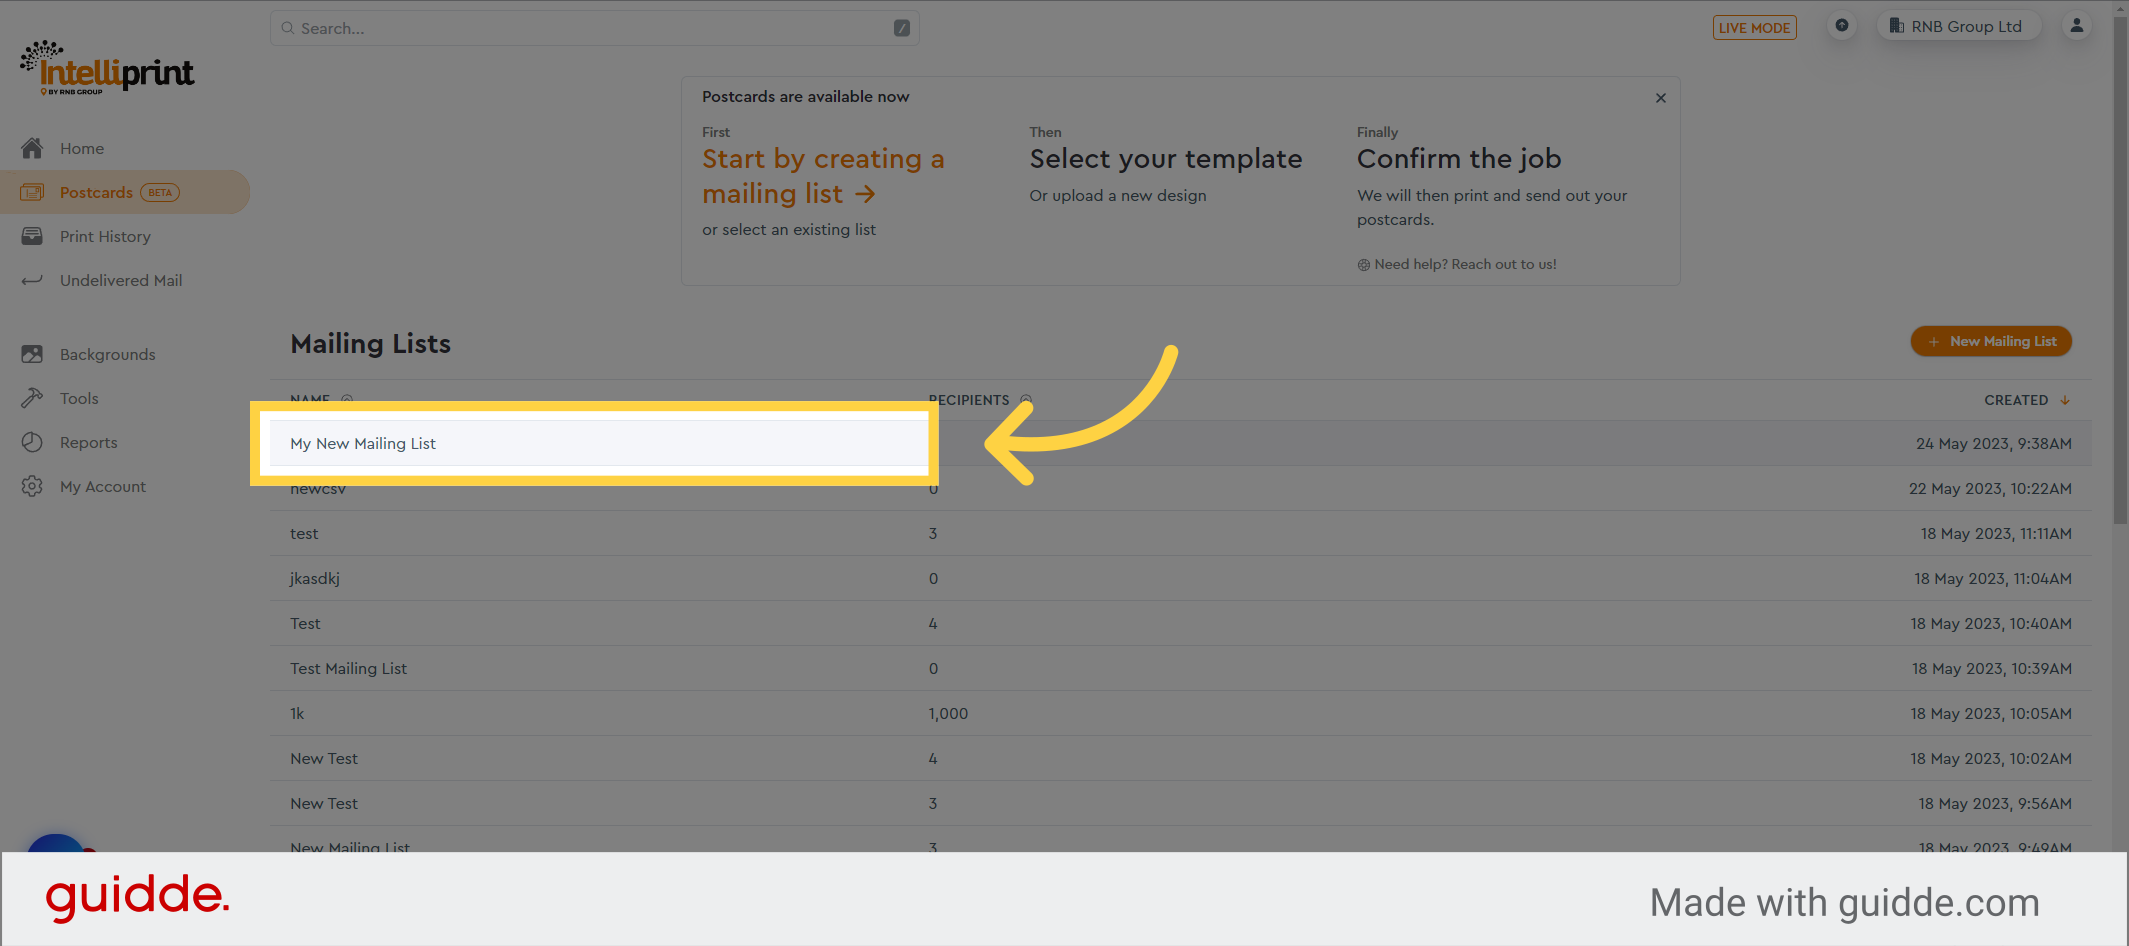
2. Choose a mailing list
Choose the mailing list you prefer or create a new one according to your preference.
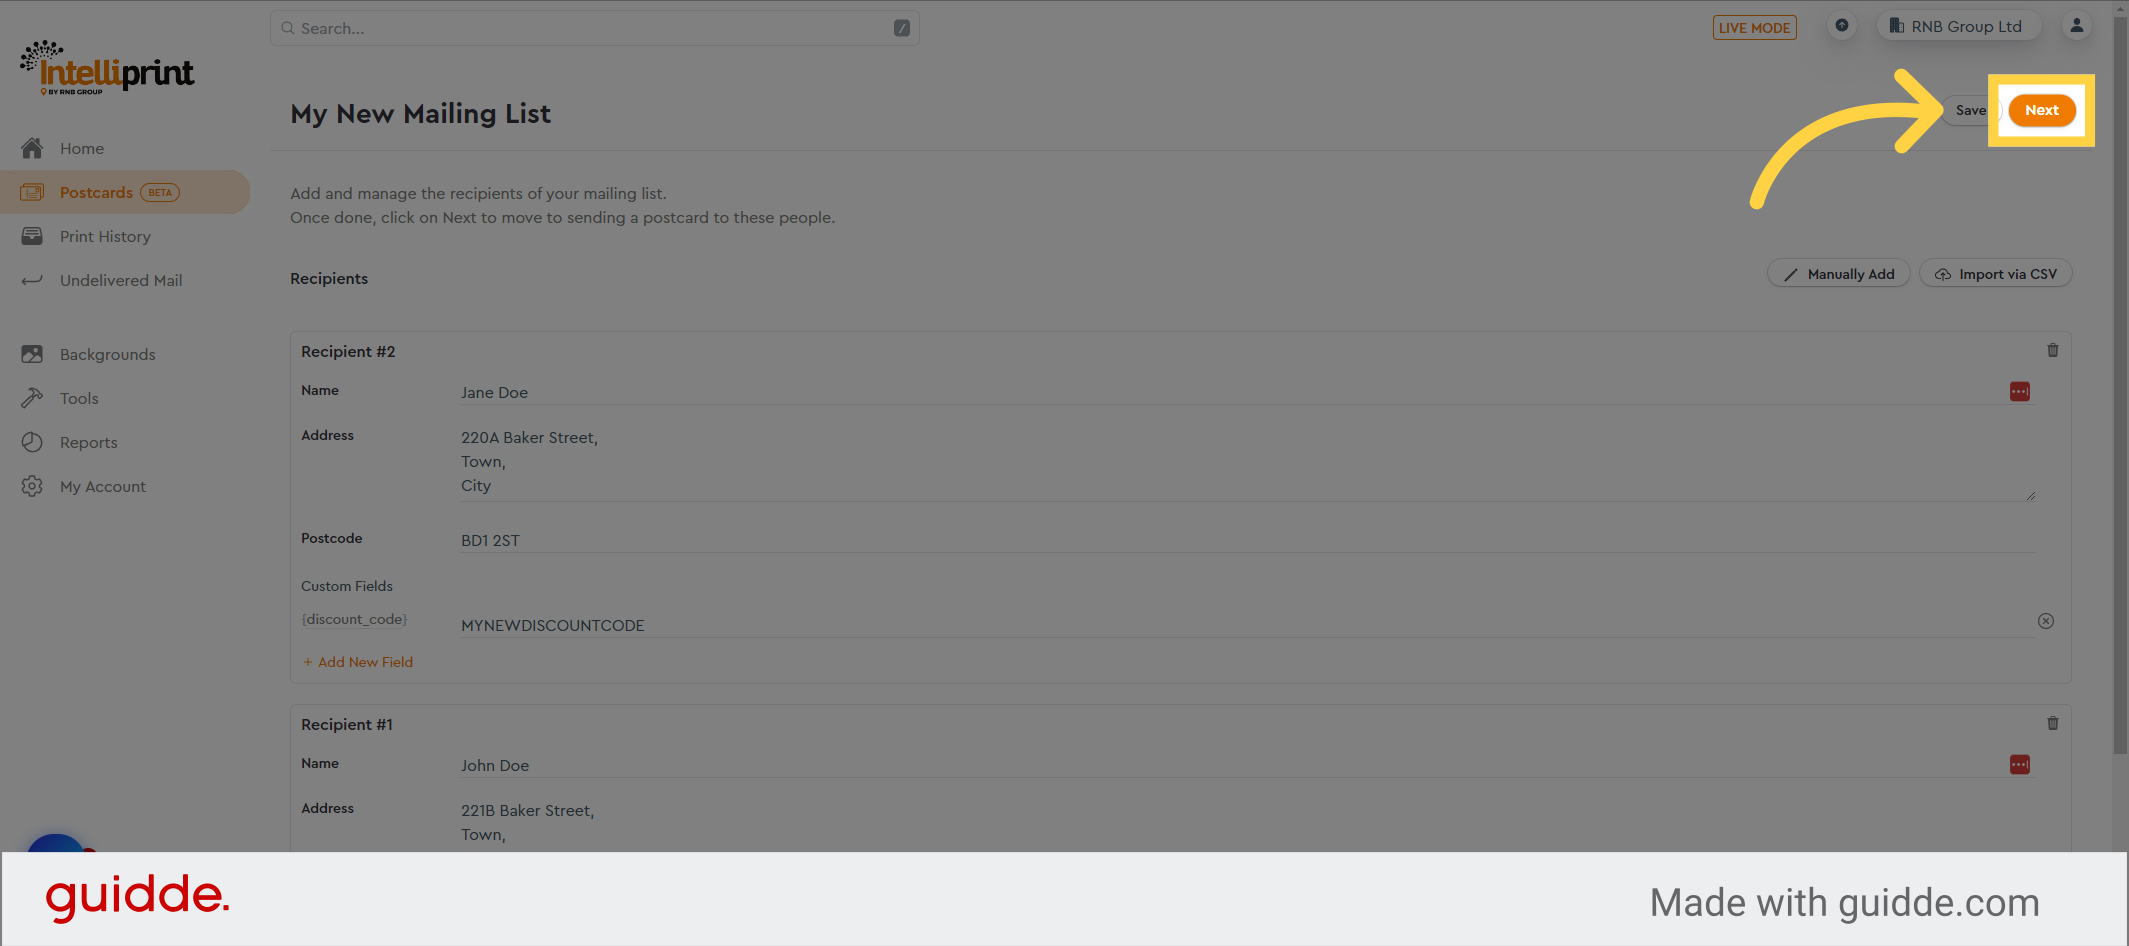
3. Click “Next”
Review the mailing list for any potential issues and proceed to the next step by selecting “Next” when you are ready.
4. Select your postcard size
Choose the size of your postcard from the available options, which include A5 and A6 sizes.

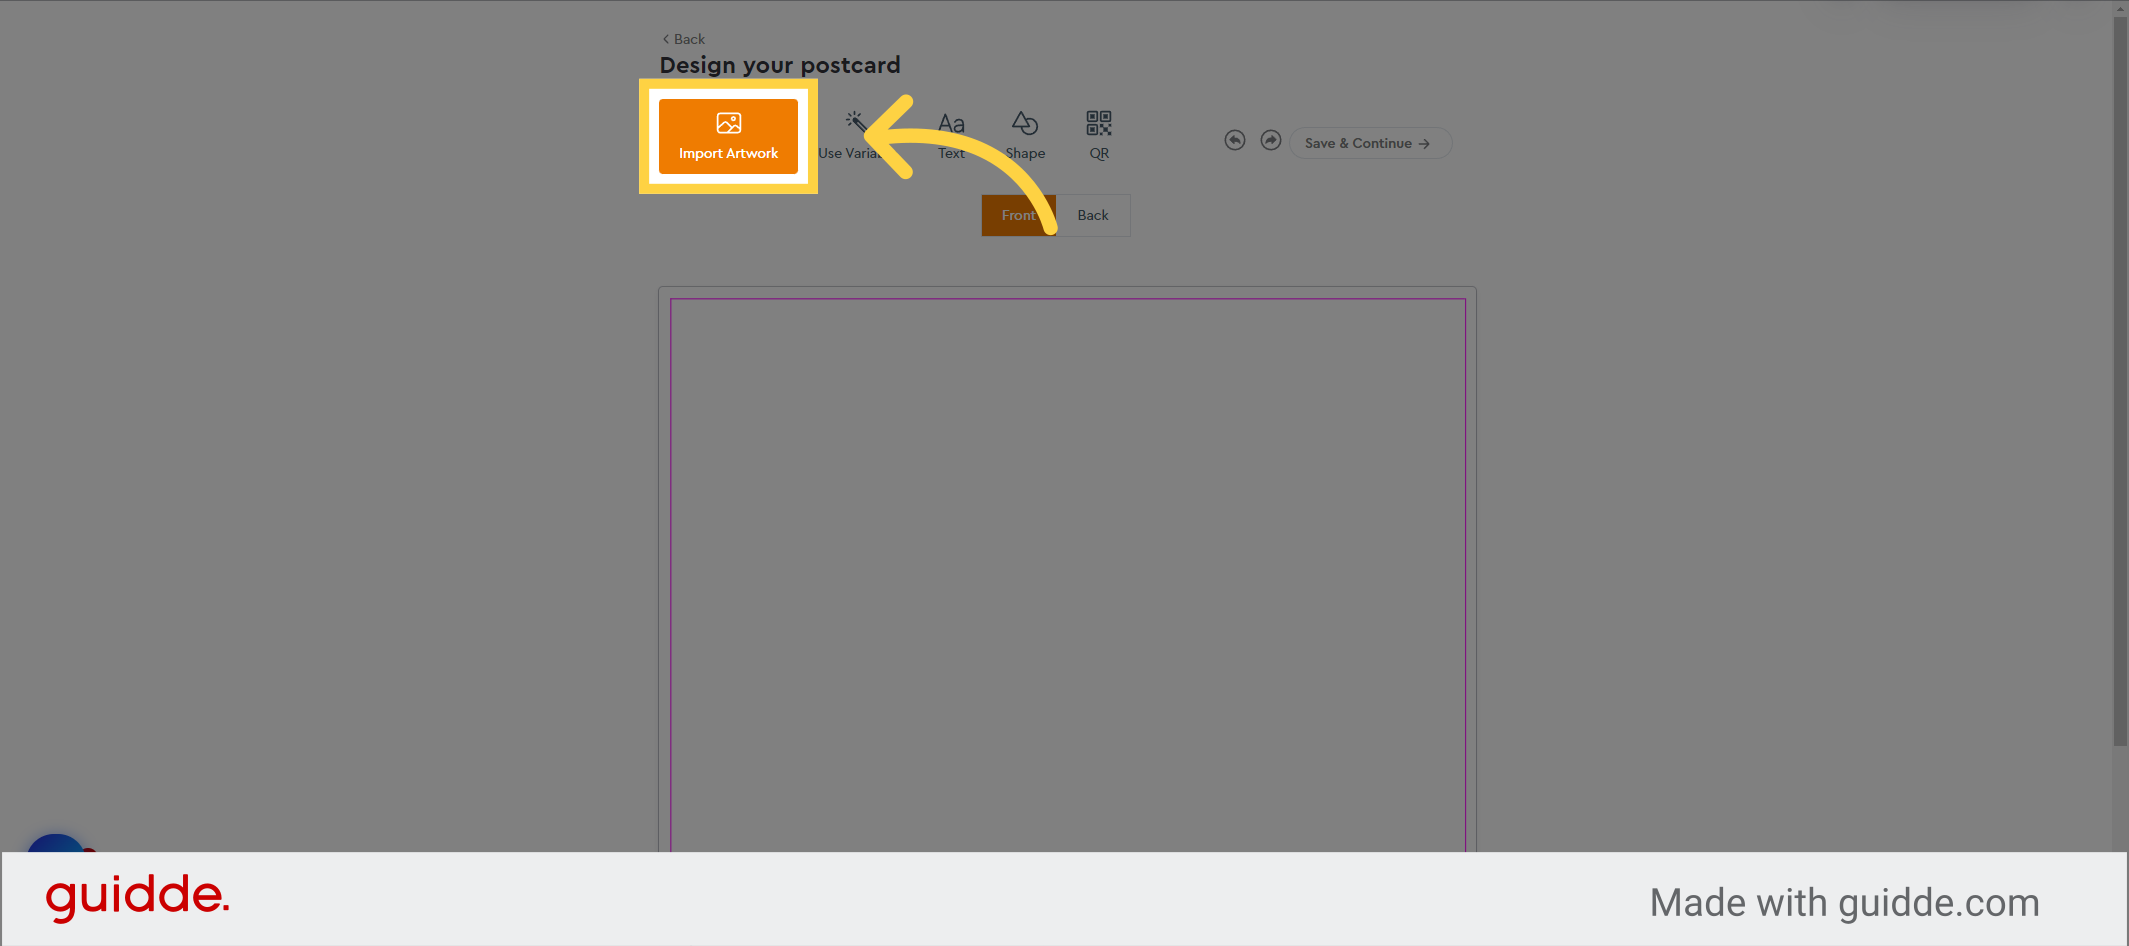
5. Click “Import Artwork”
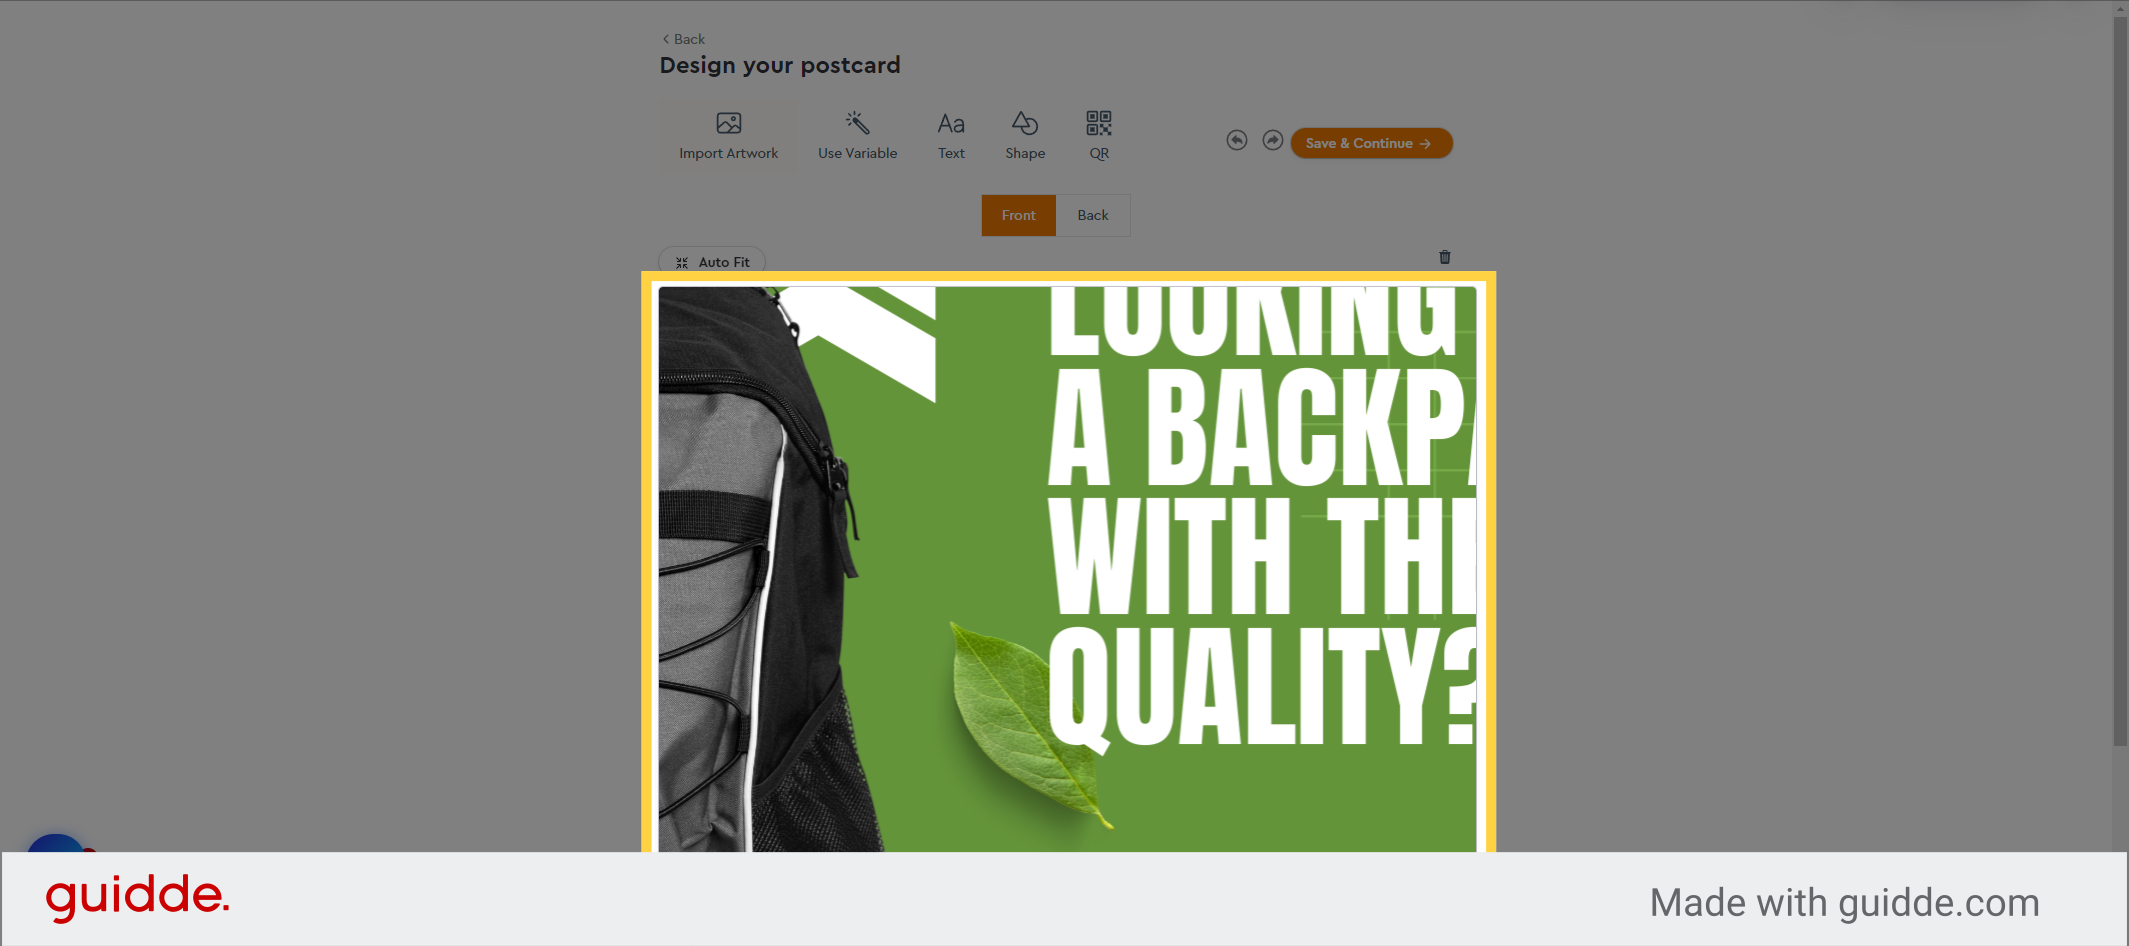
Now you will be directed to the postcard designer interface. Let’s begin by importing your artwork. Click on the “Import Artwork” button.
6. Fill here
The imported artwork is too large for the canvas
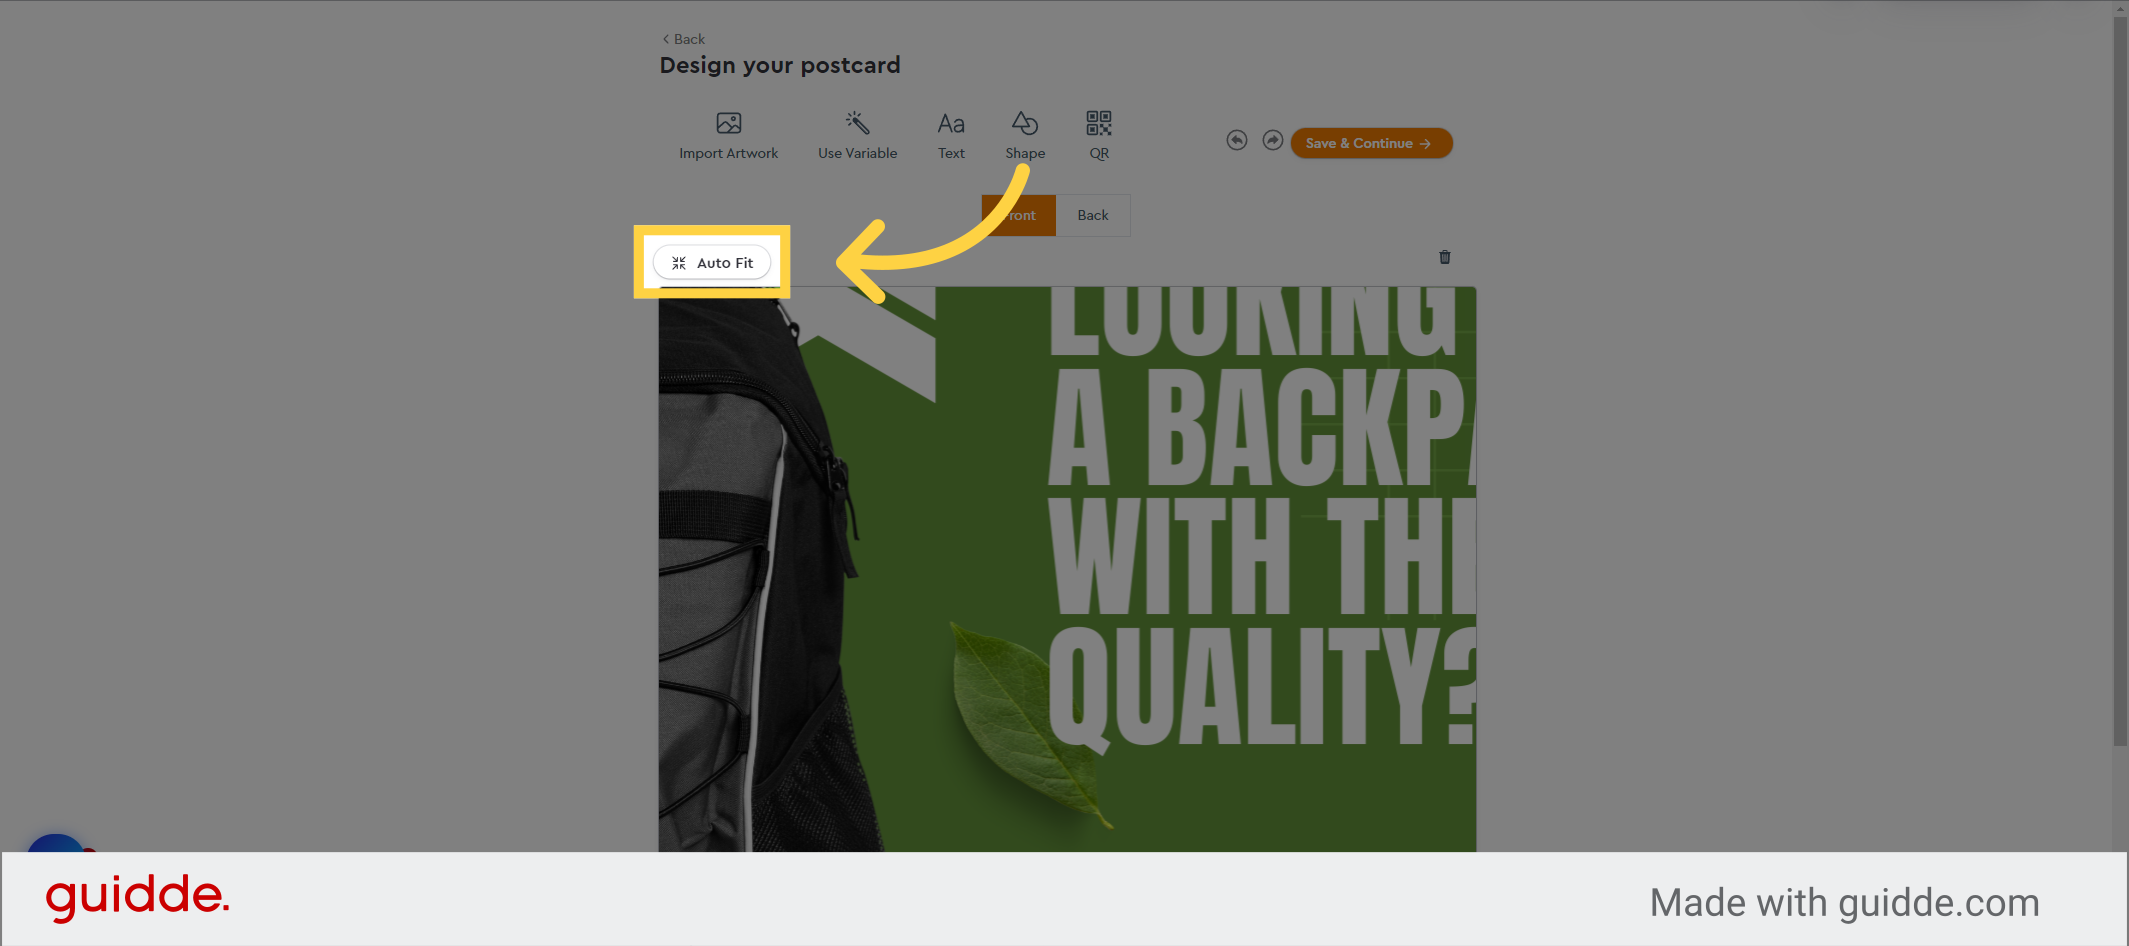
7. Click “Auto Fit”
Click on the “Autofit” button to automatically scale the artwork to fit it within the canvas area.
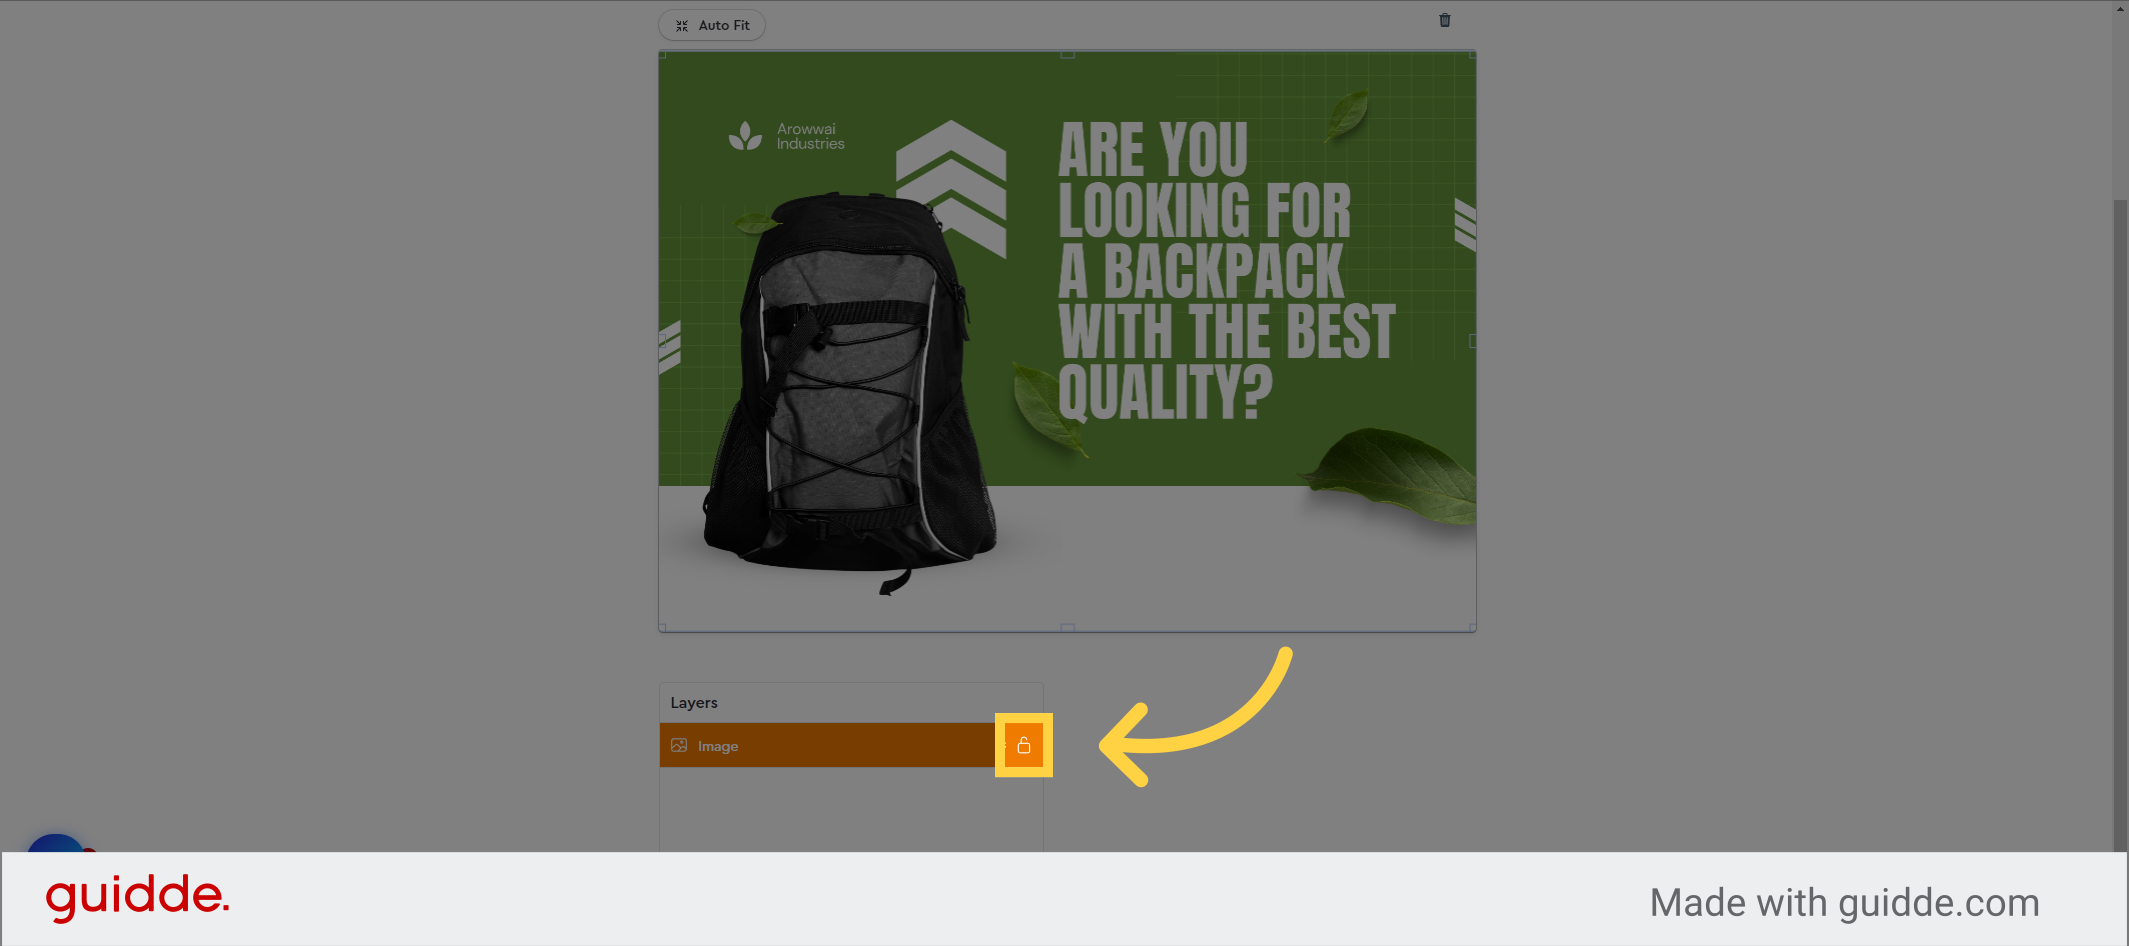
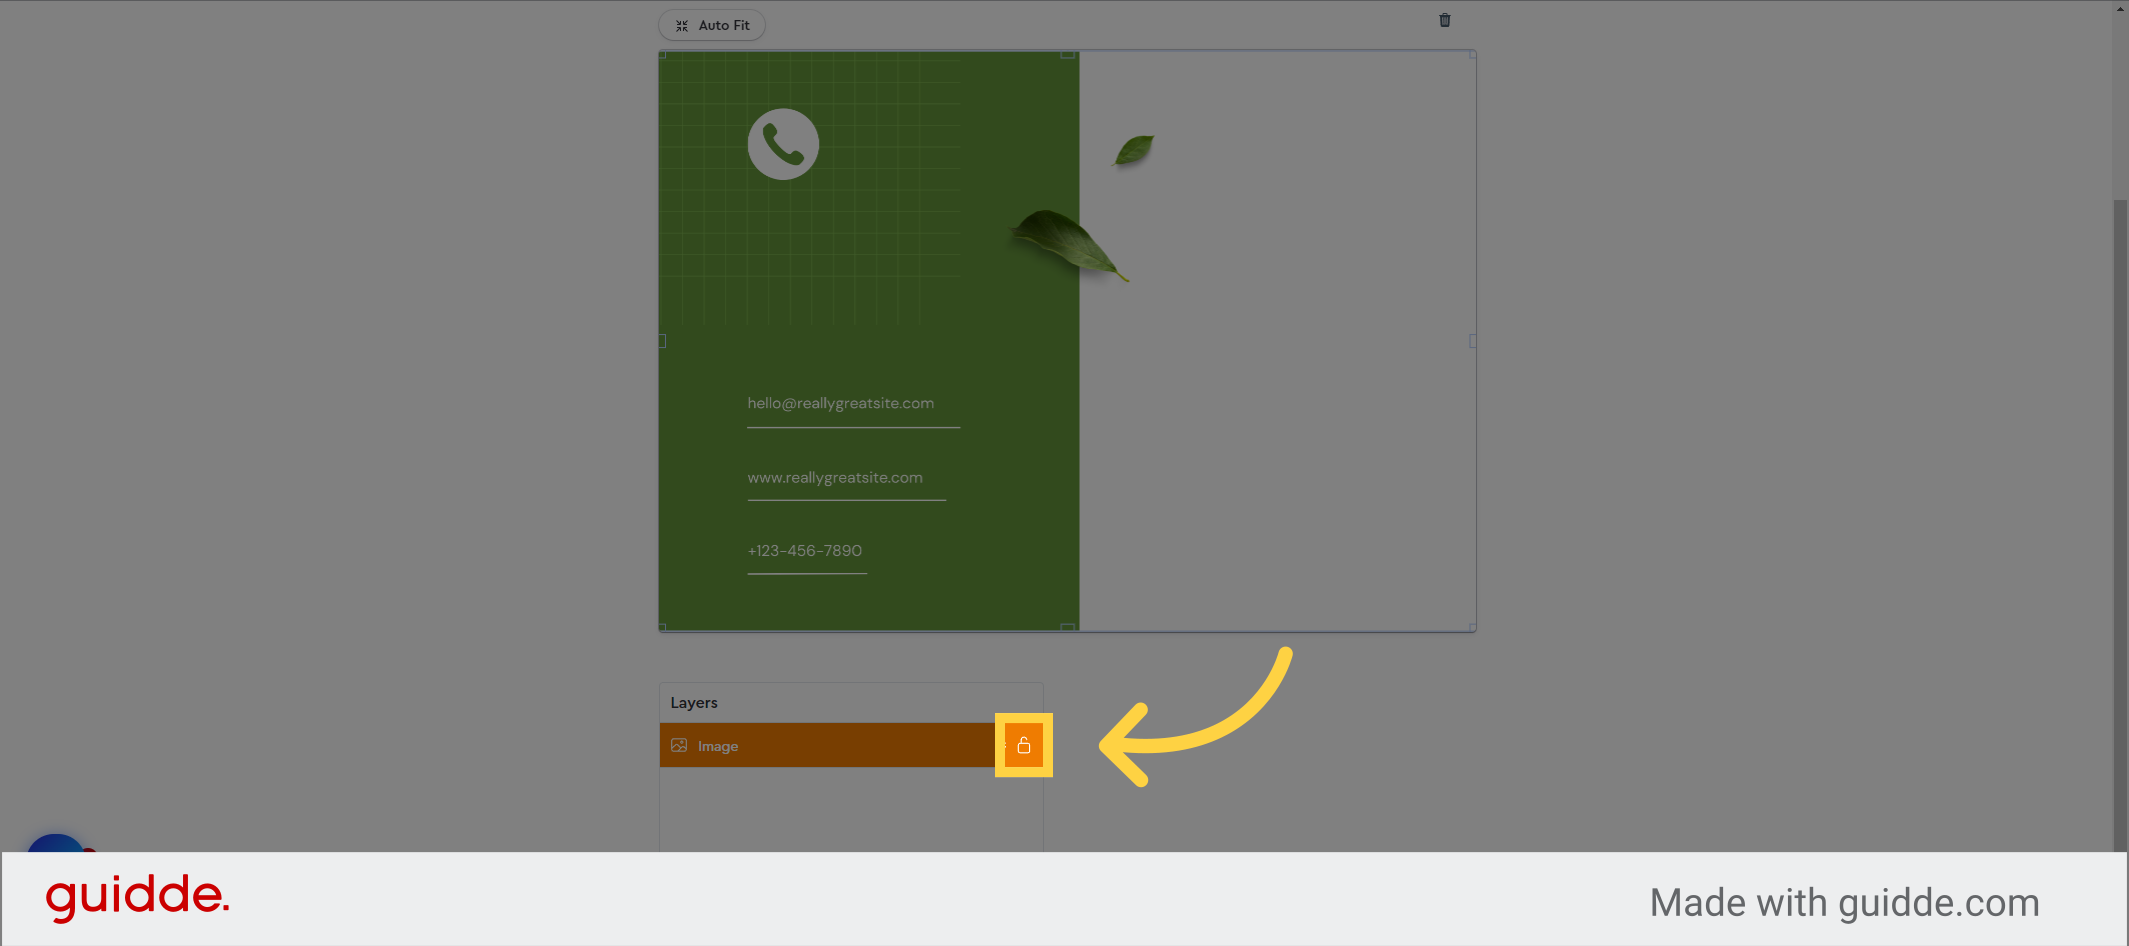
8. Click here
Great! Now, to ensure that no further modifications are made to this layer, let’s lock it in place. Locate the layers panel and click on the padlock icon corresponding to this layer to secure it.
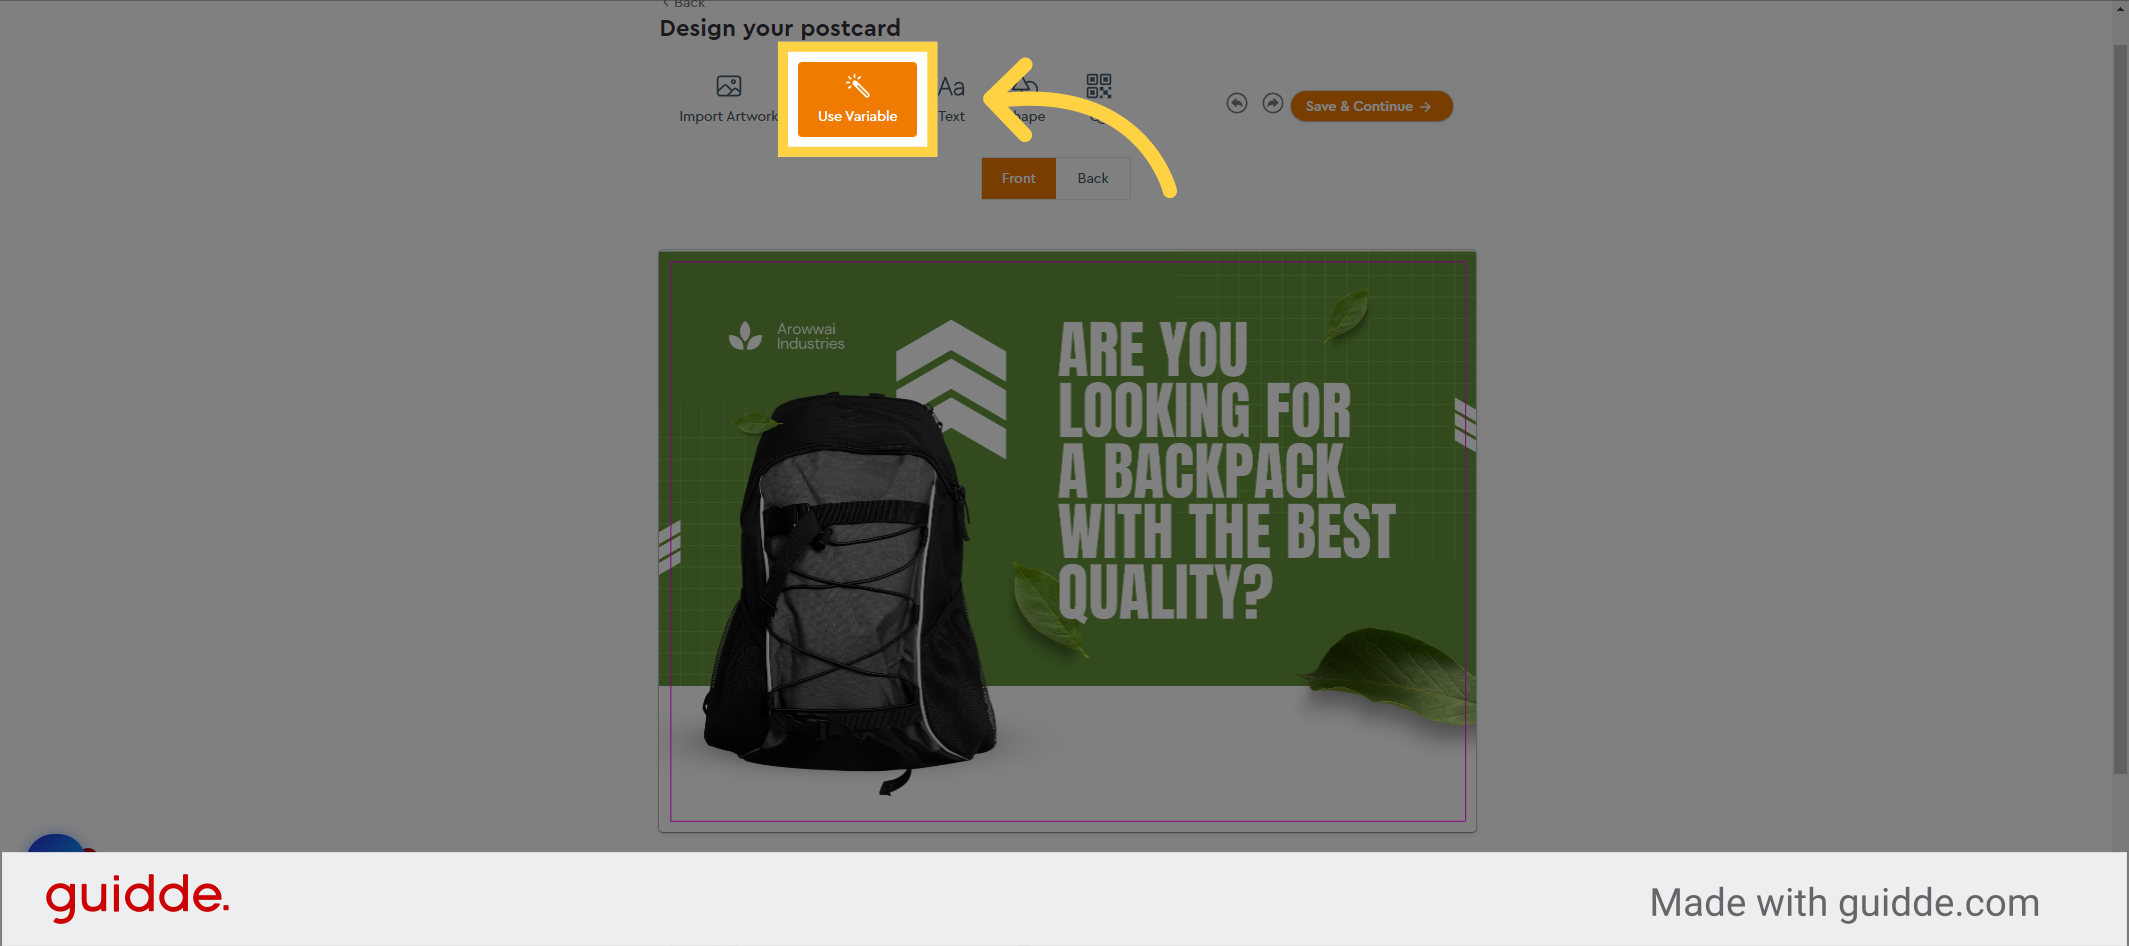
9. Click “Use Variable”
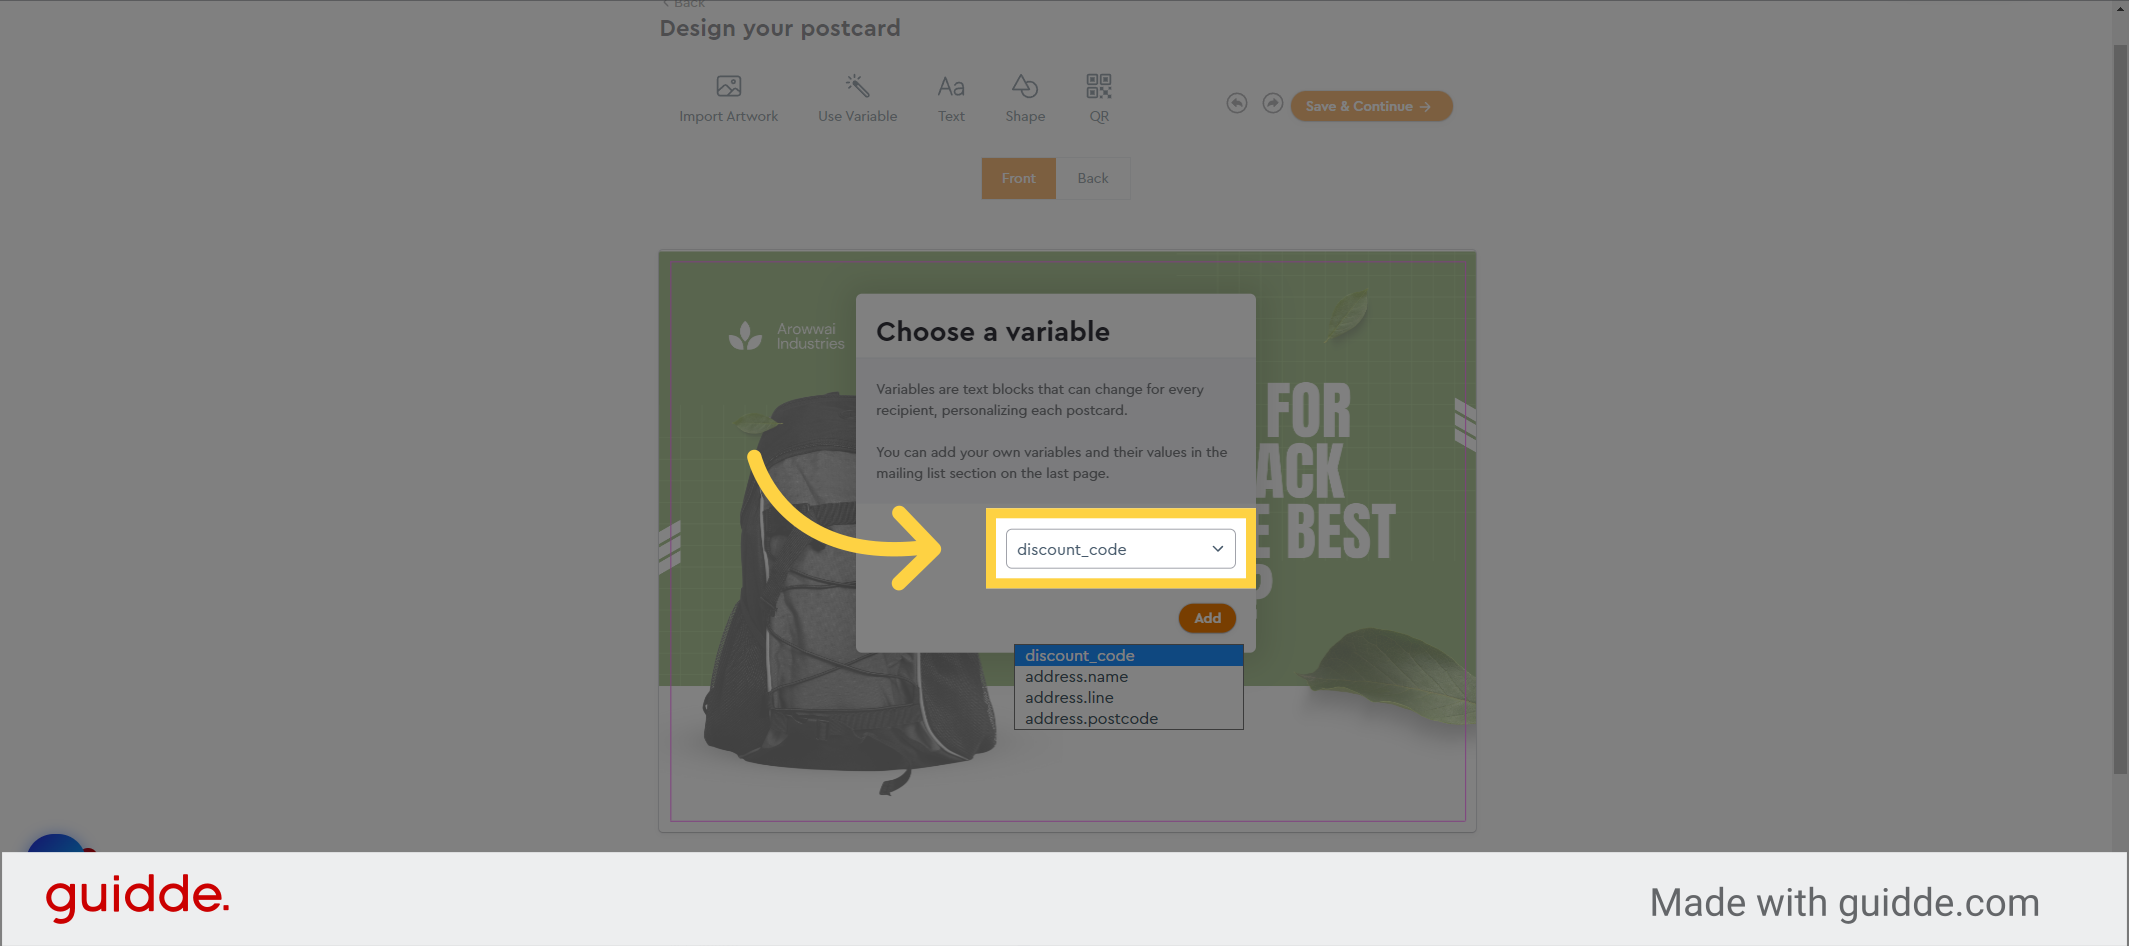
During the creation of our mailing list, we imported a custom field for personalized discount codes. Let’s incorporate these into our postcard by clicking the “Use variable” button.
10. Select the custom field
From the dropdown menu, choose the name of the custom field you want to work with.
11. Click “Add”
Click on “Add” to place the custom field onto the canvas.

12. Click here
Choose the field
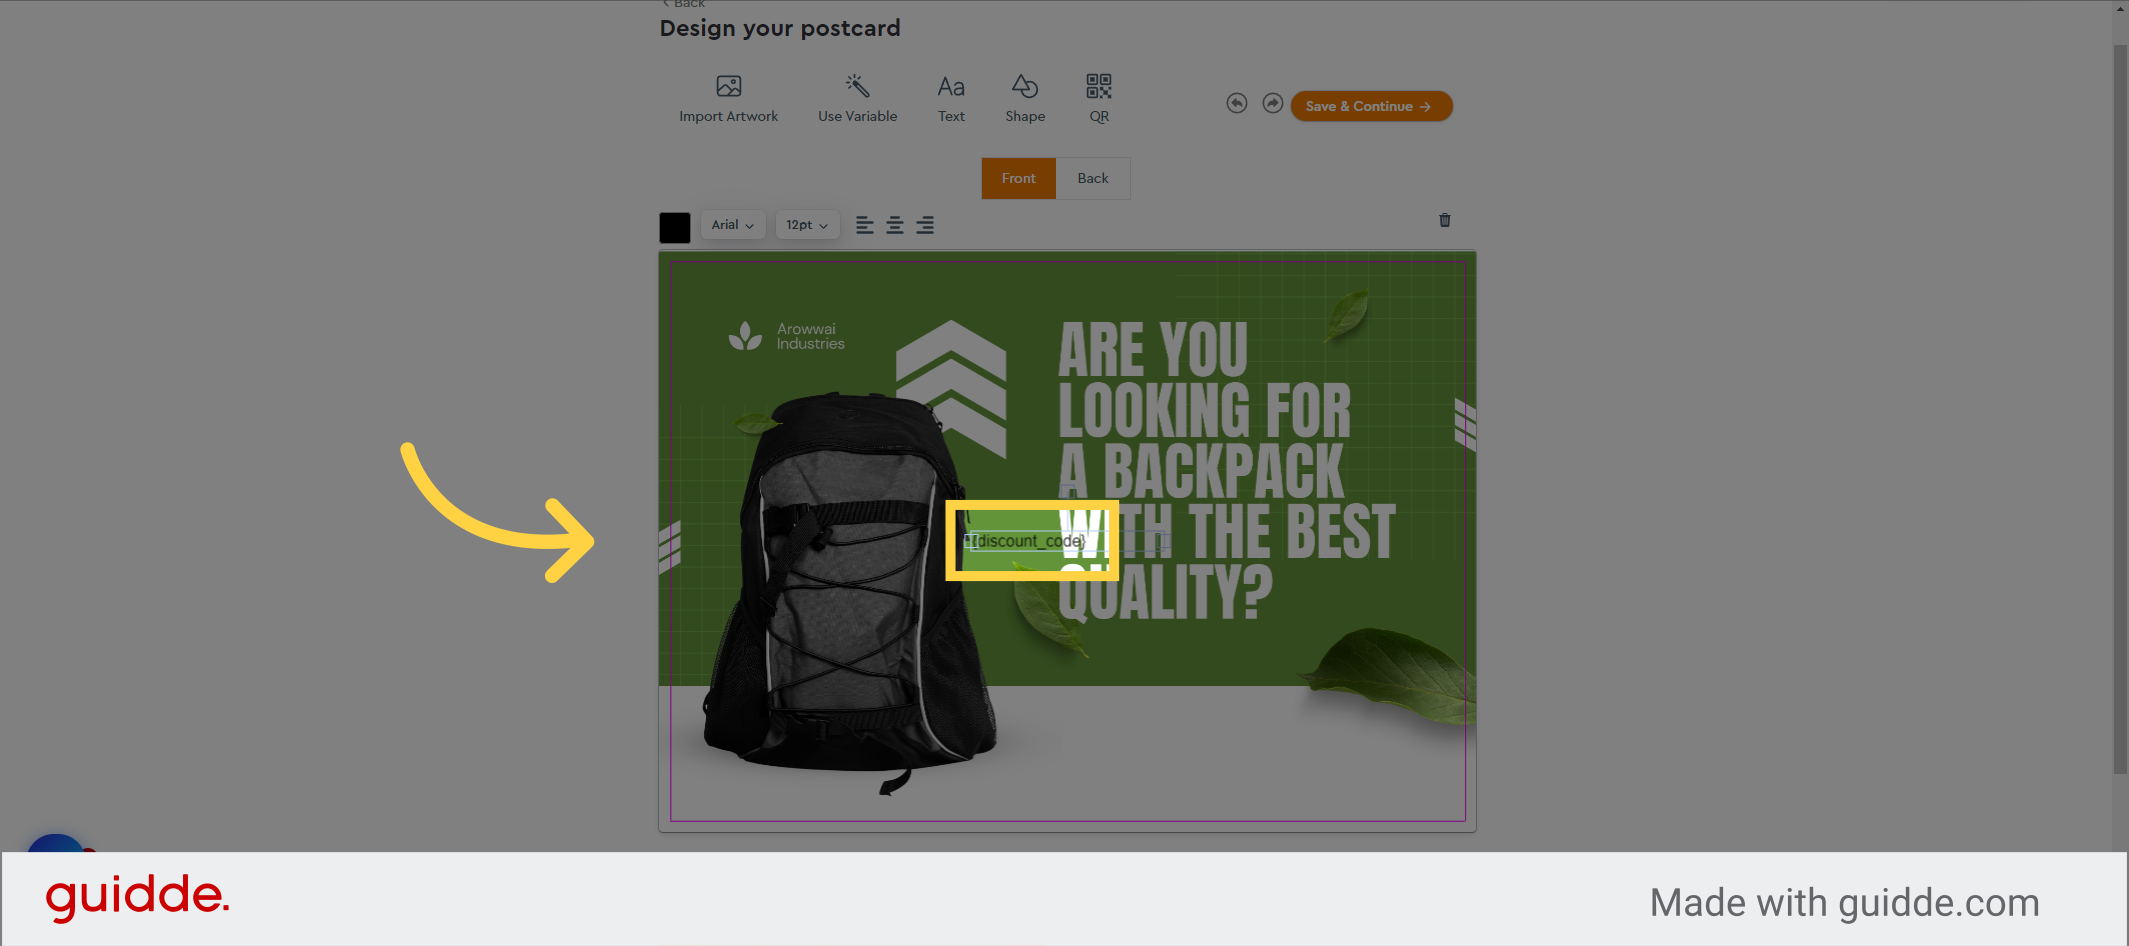
13. Position
And position it accordingly on the canvas as per your requirements.

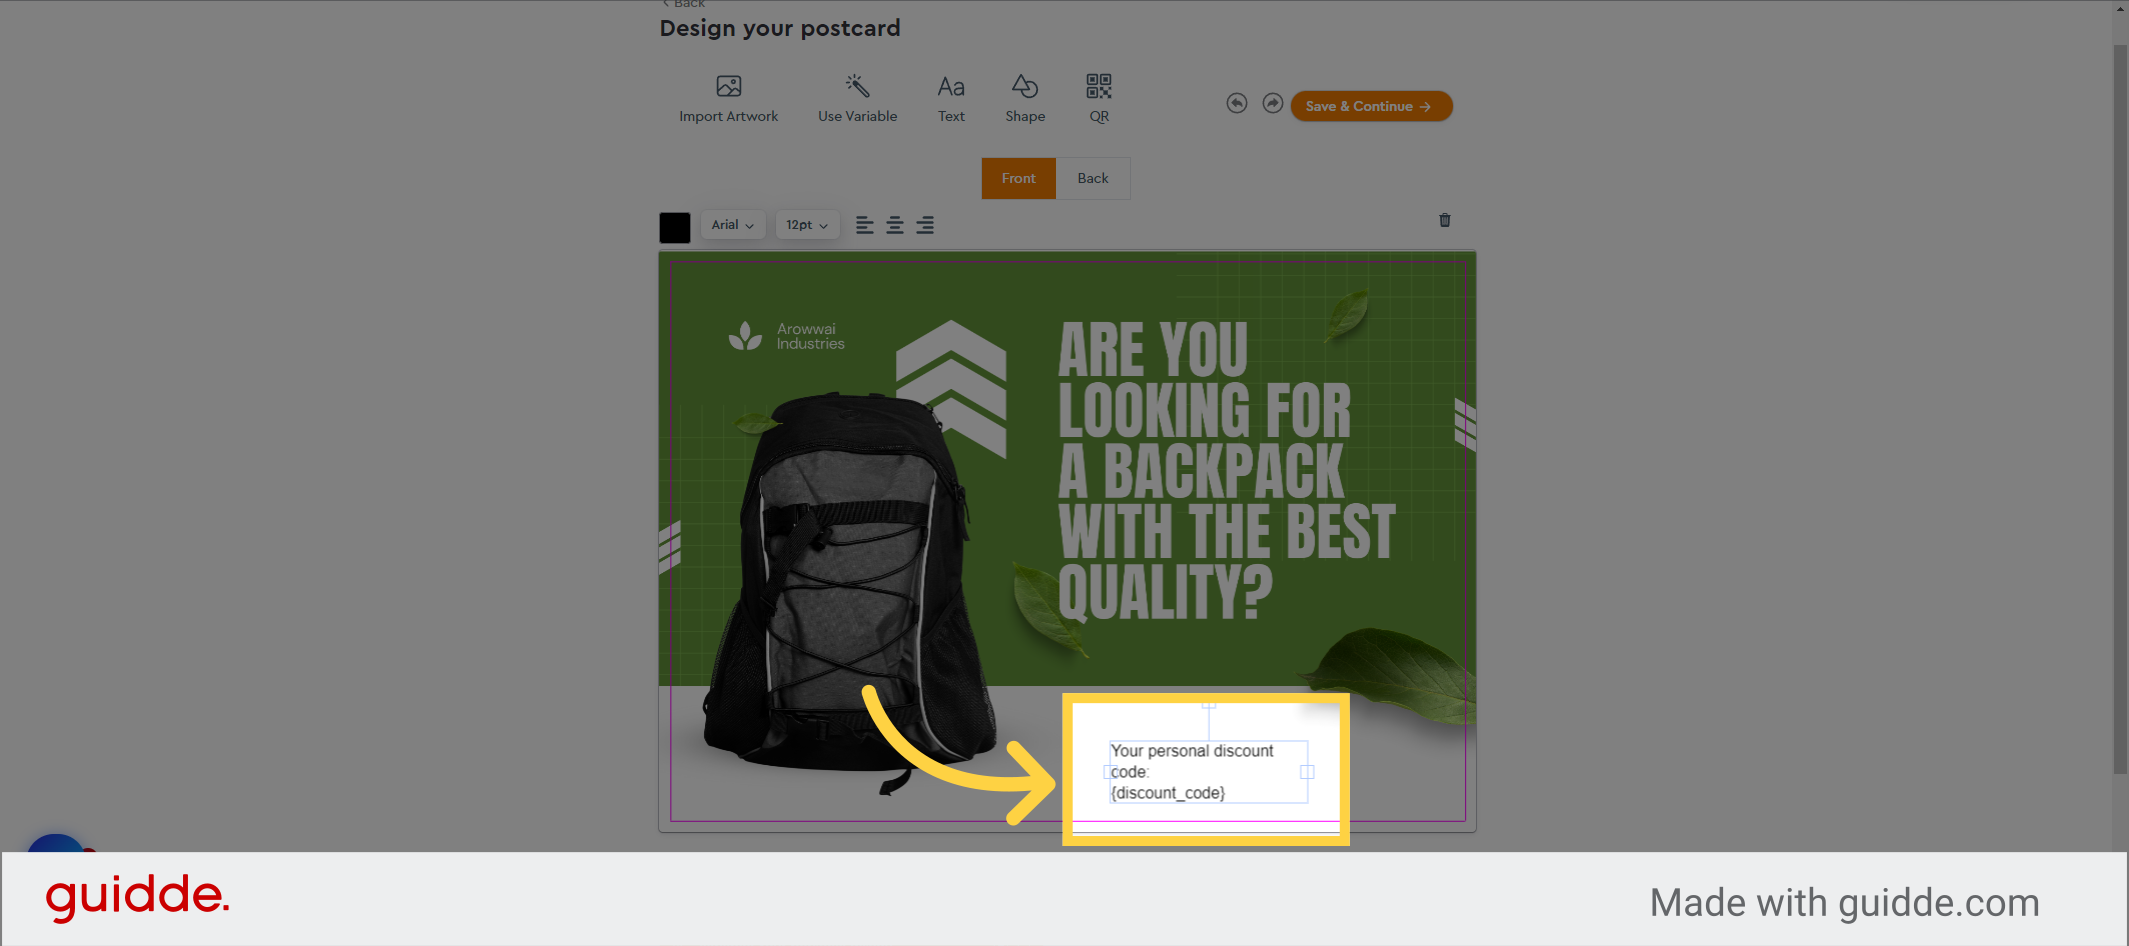
14. Add further customisation
While keeping the imported field wrapped in curly braces, you have the flexibility to add text before or after the variable.
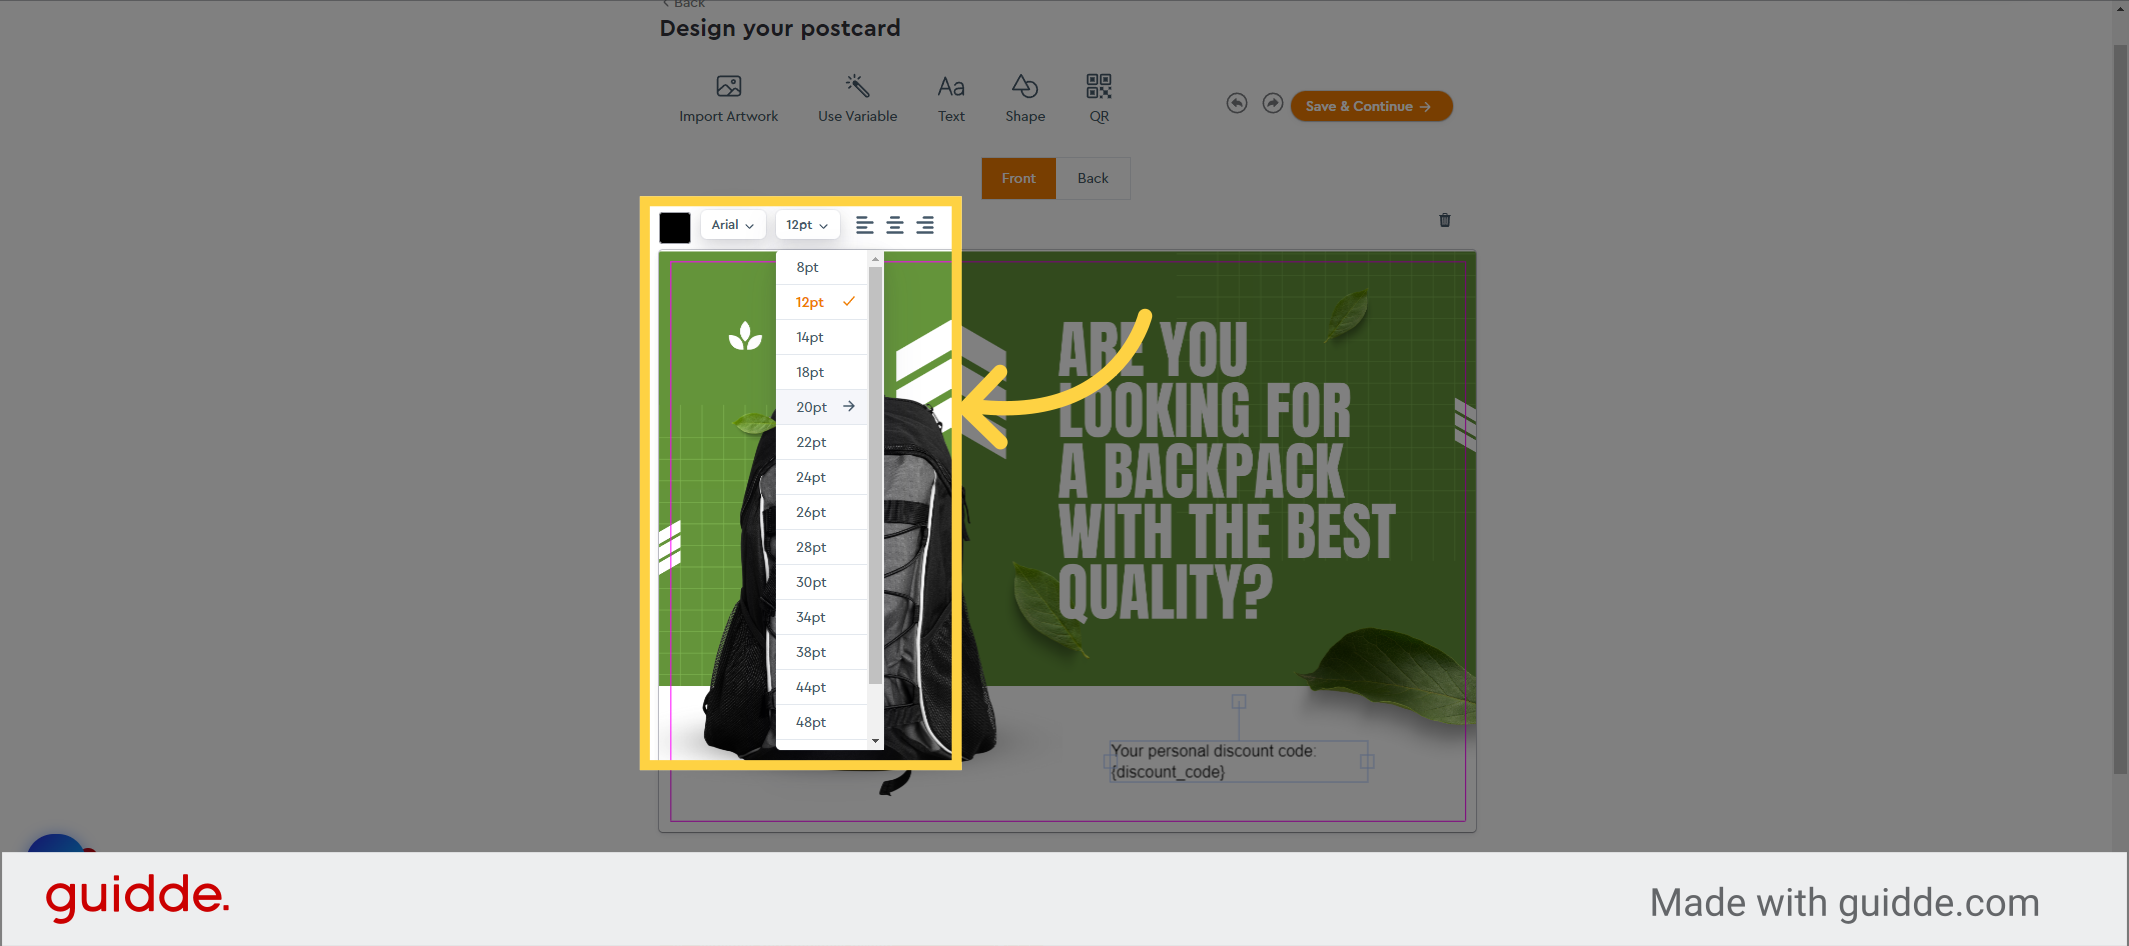
15. Click “20pt”
Utilize the provided tools to modify the font type, size, color, and justification as per your preference.
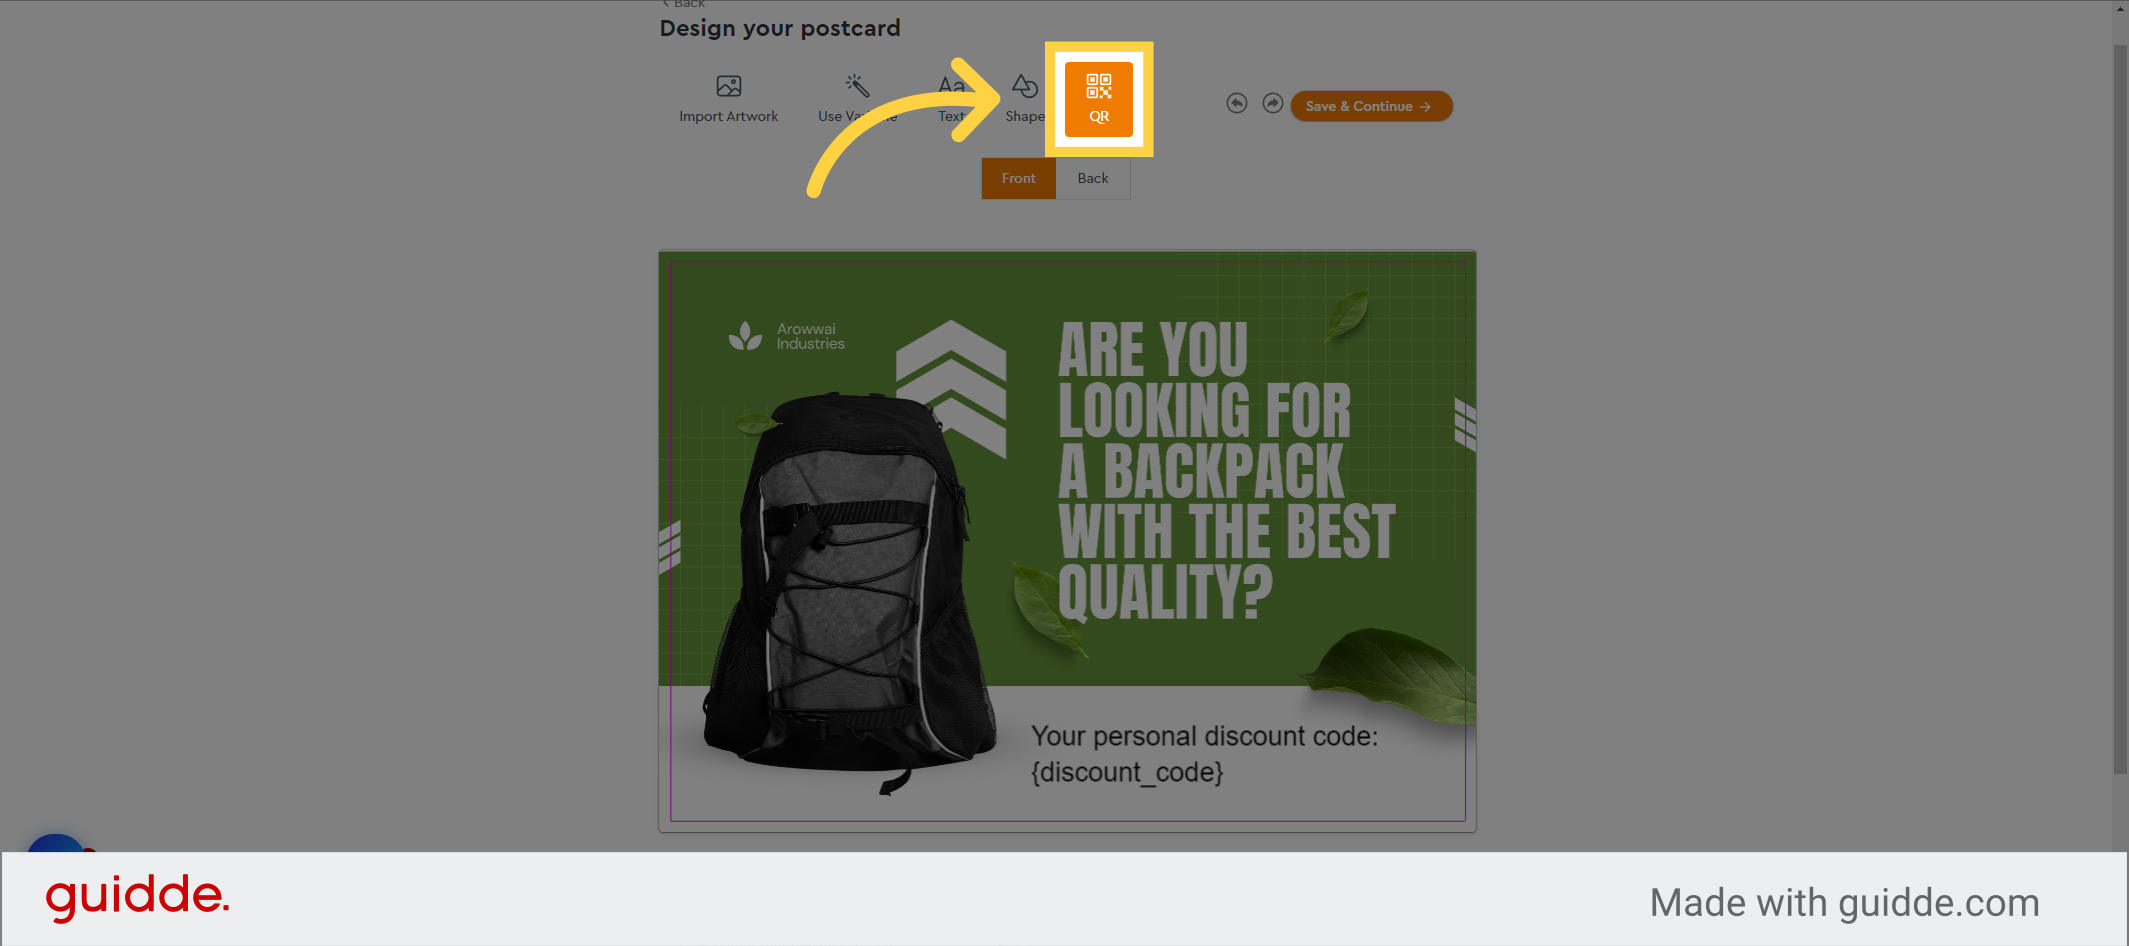
16. Click “QR”
Next, Lets include a QR code that links to our website, click on the QR button.
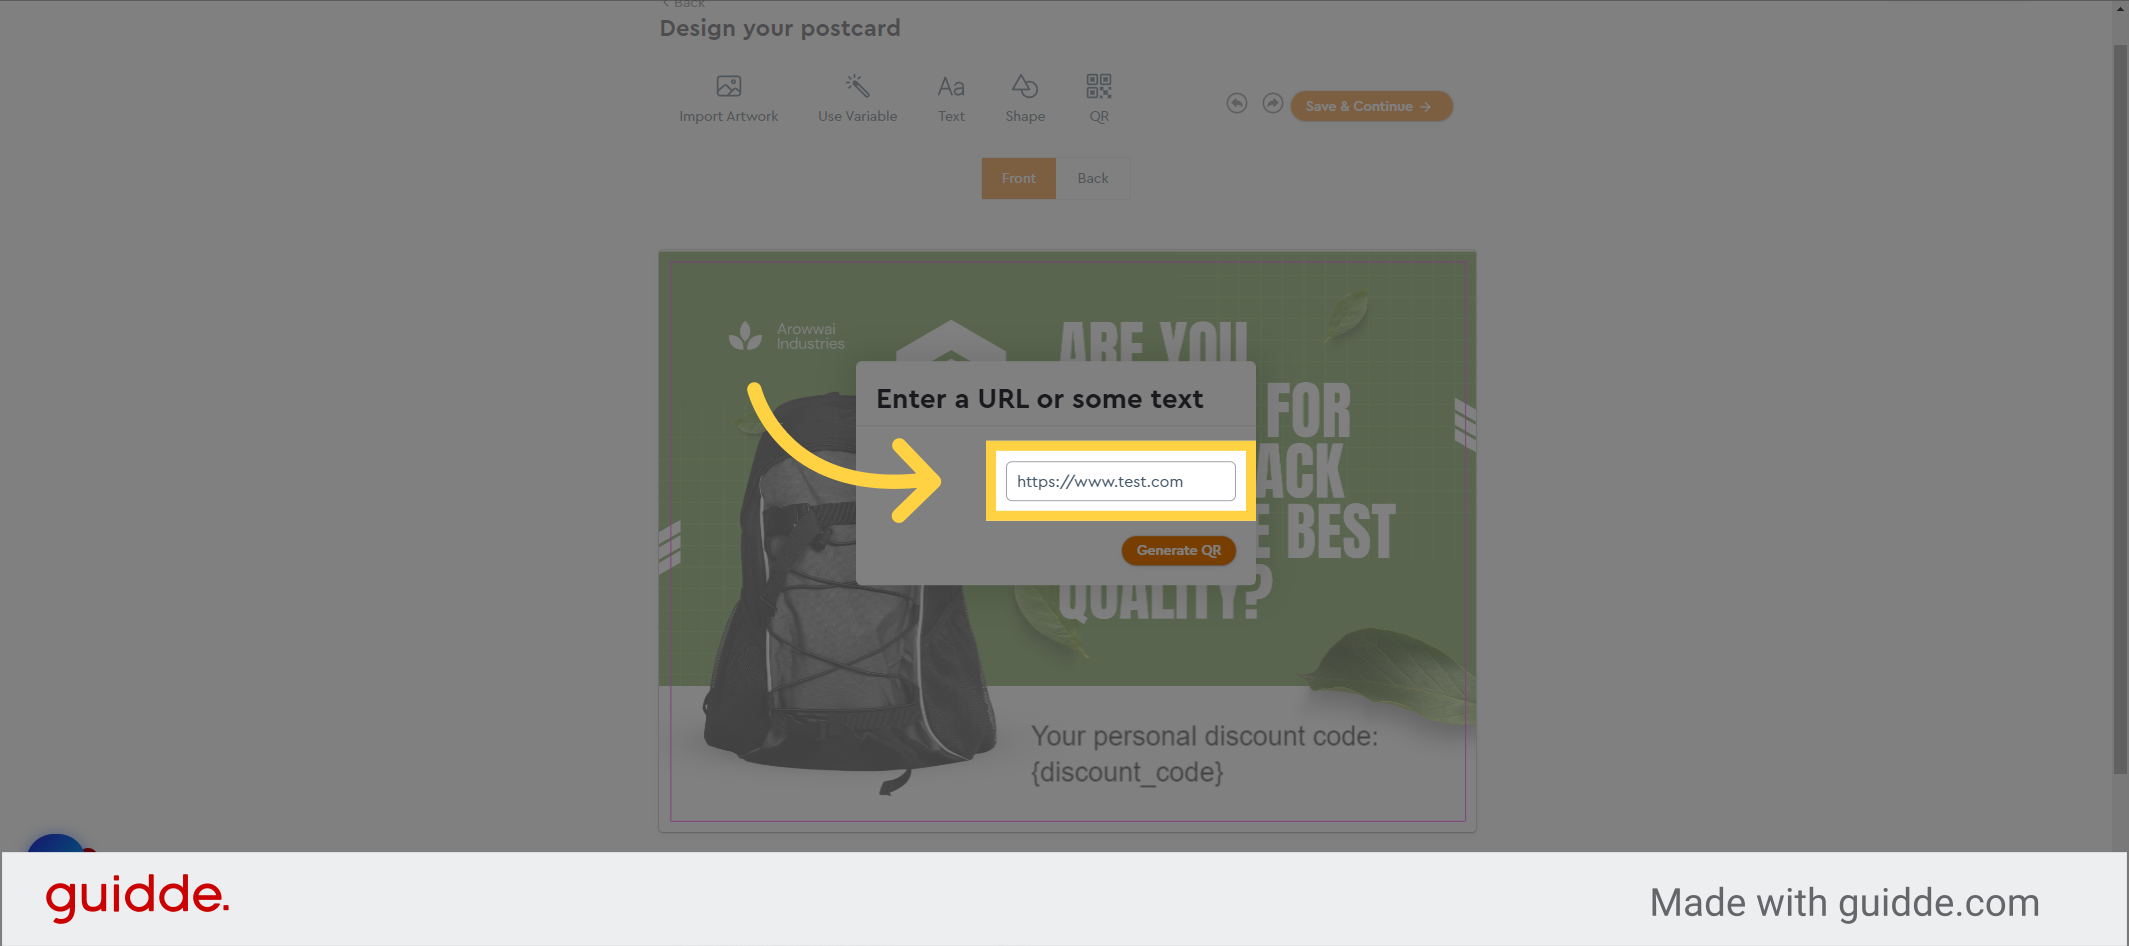
17. Enter your domain
Enter the complete URL that you would like the QR code to link to.
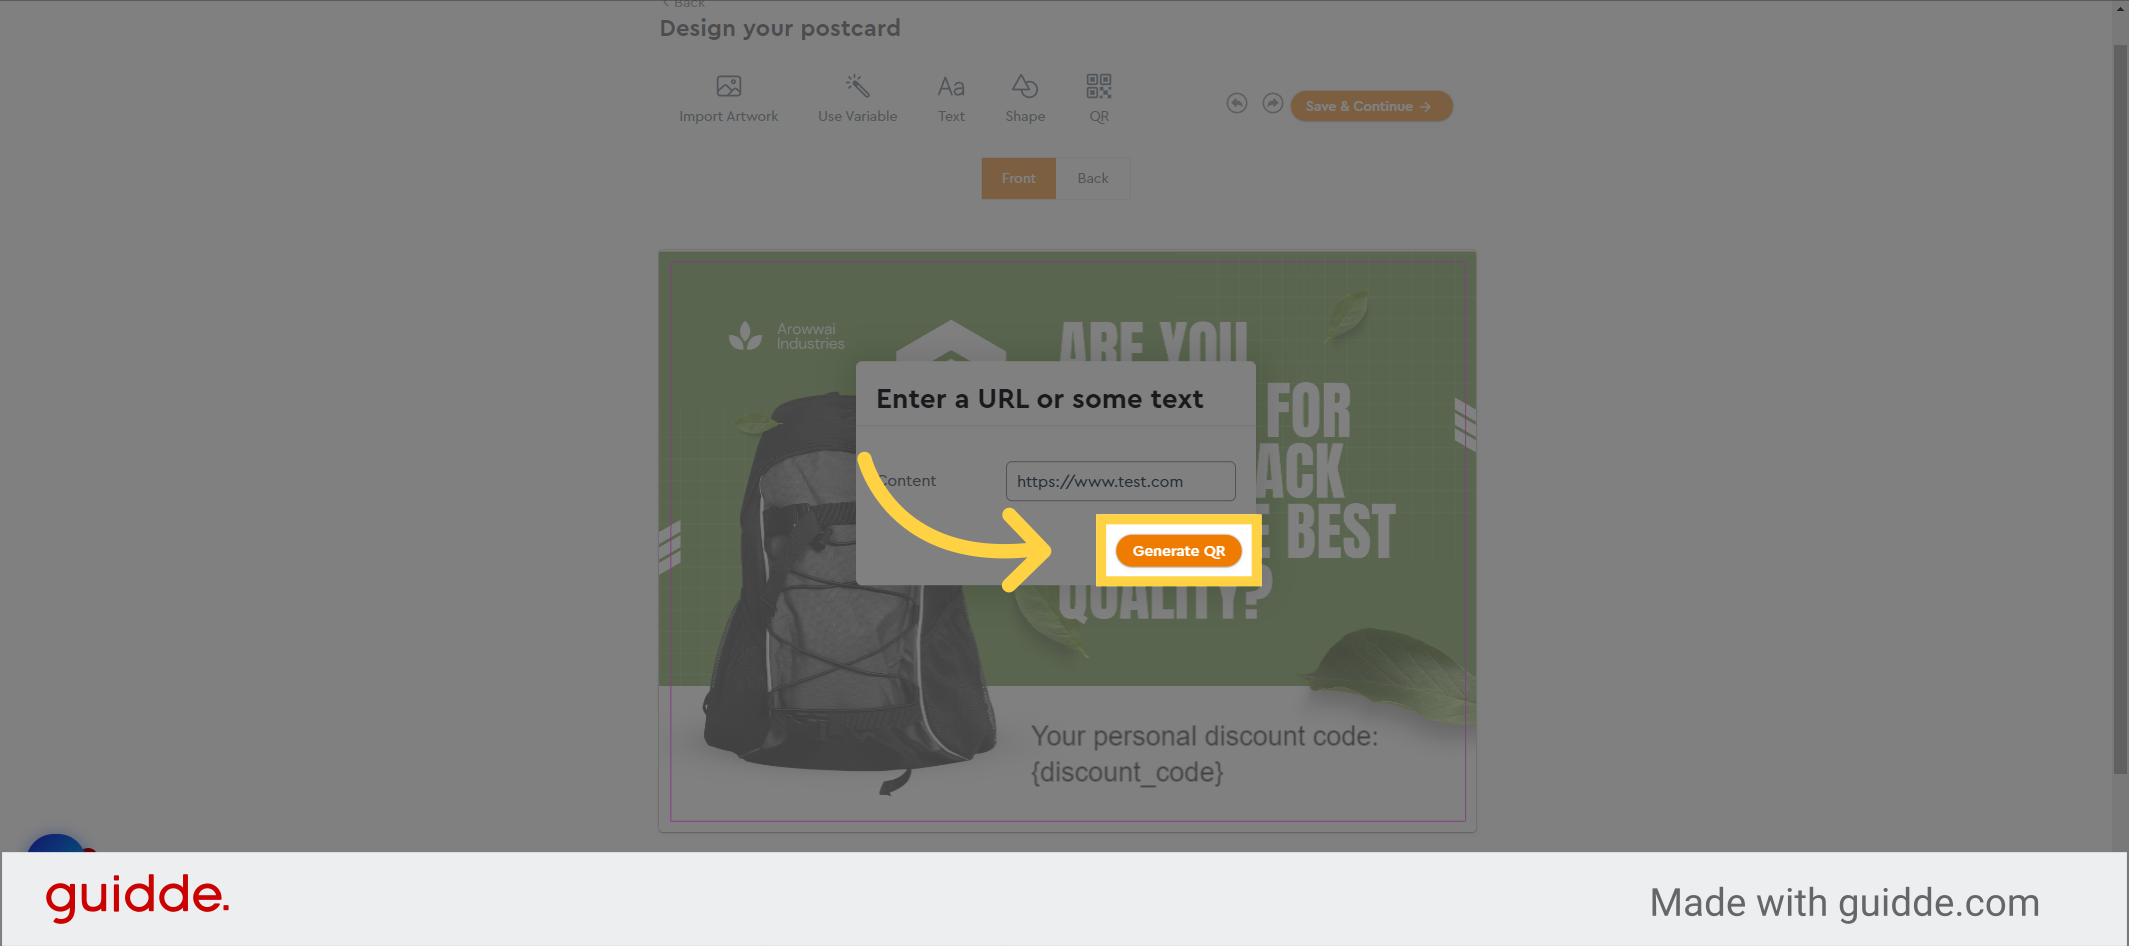
18. Click “Generate QR”
Click on “Generate QR” to add the QR code to the canvas.
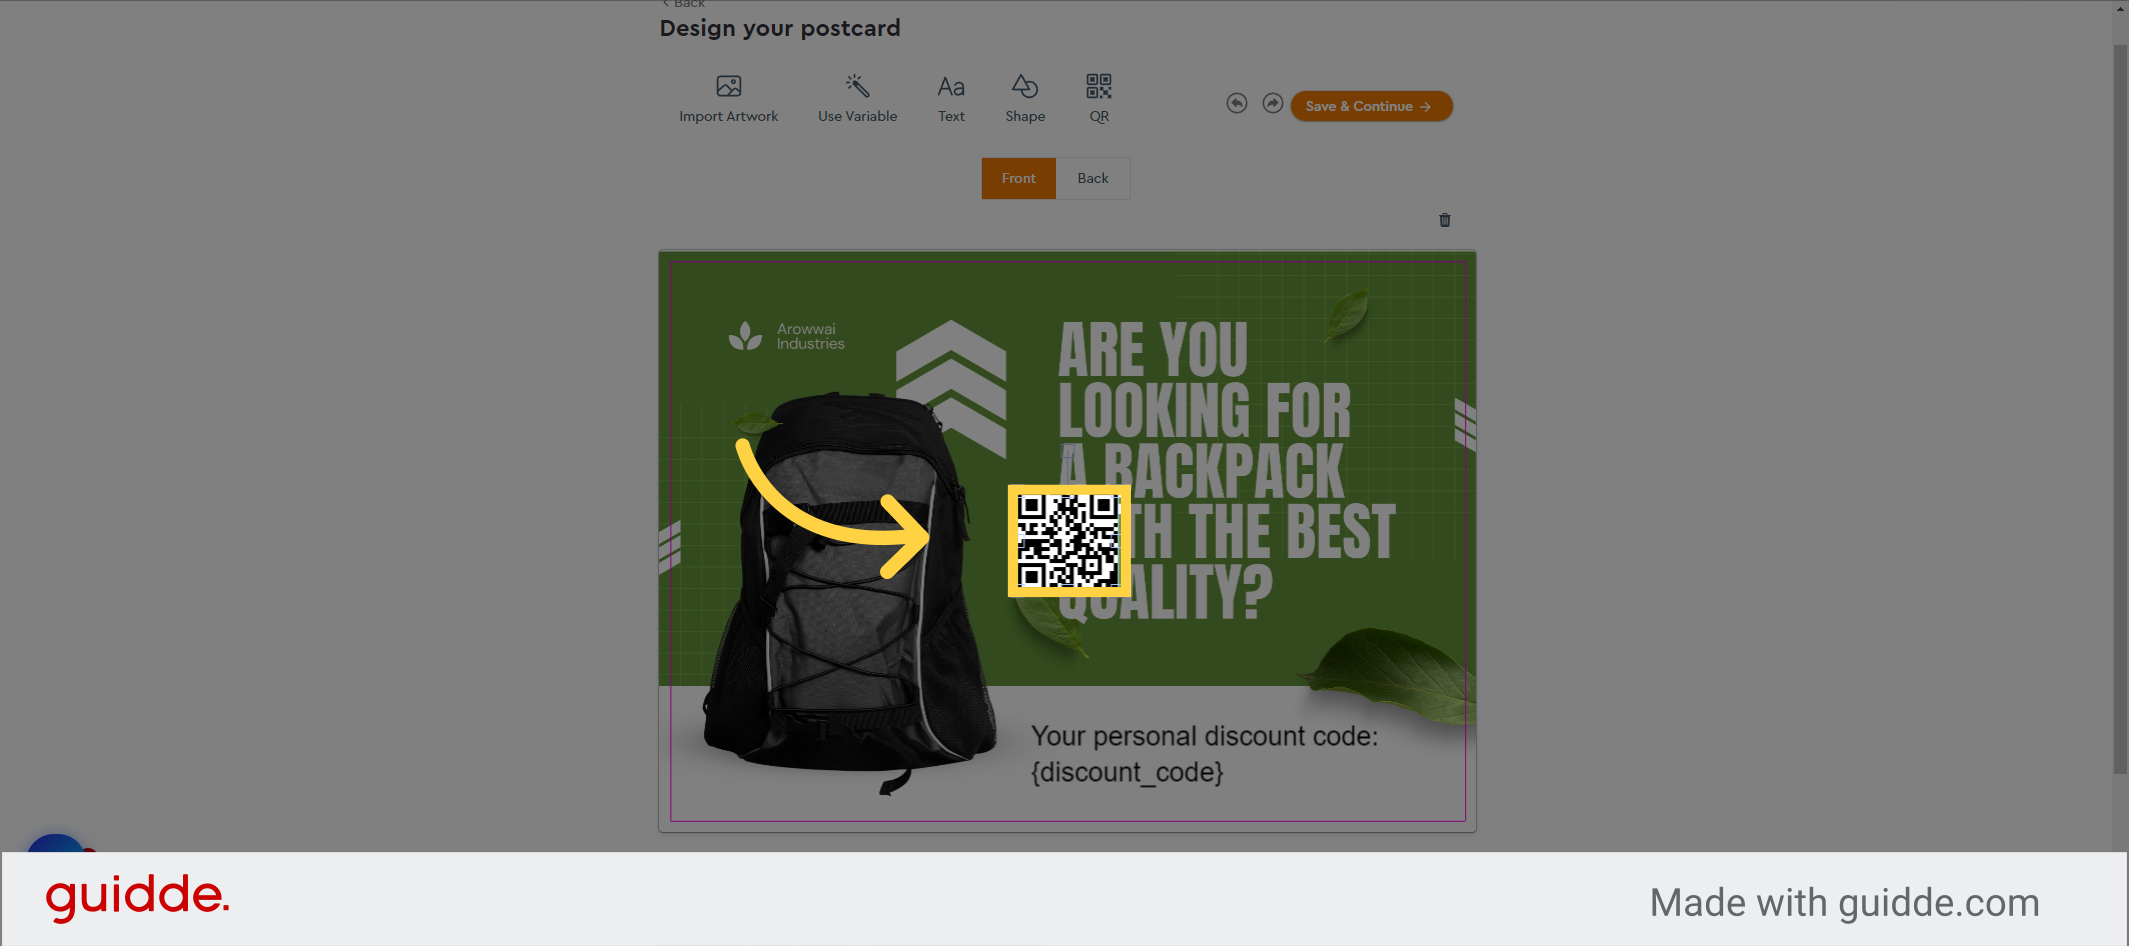
19. Click here
Select the QR code and position it on your artwork as desired.
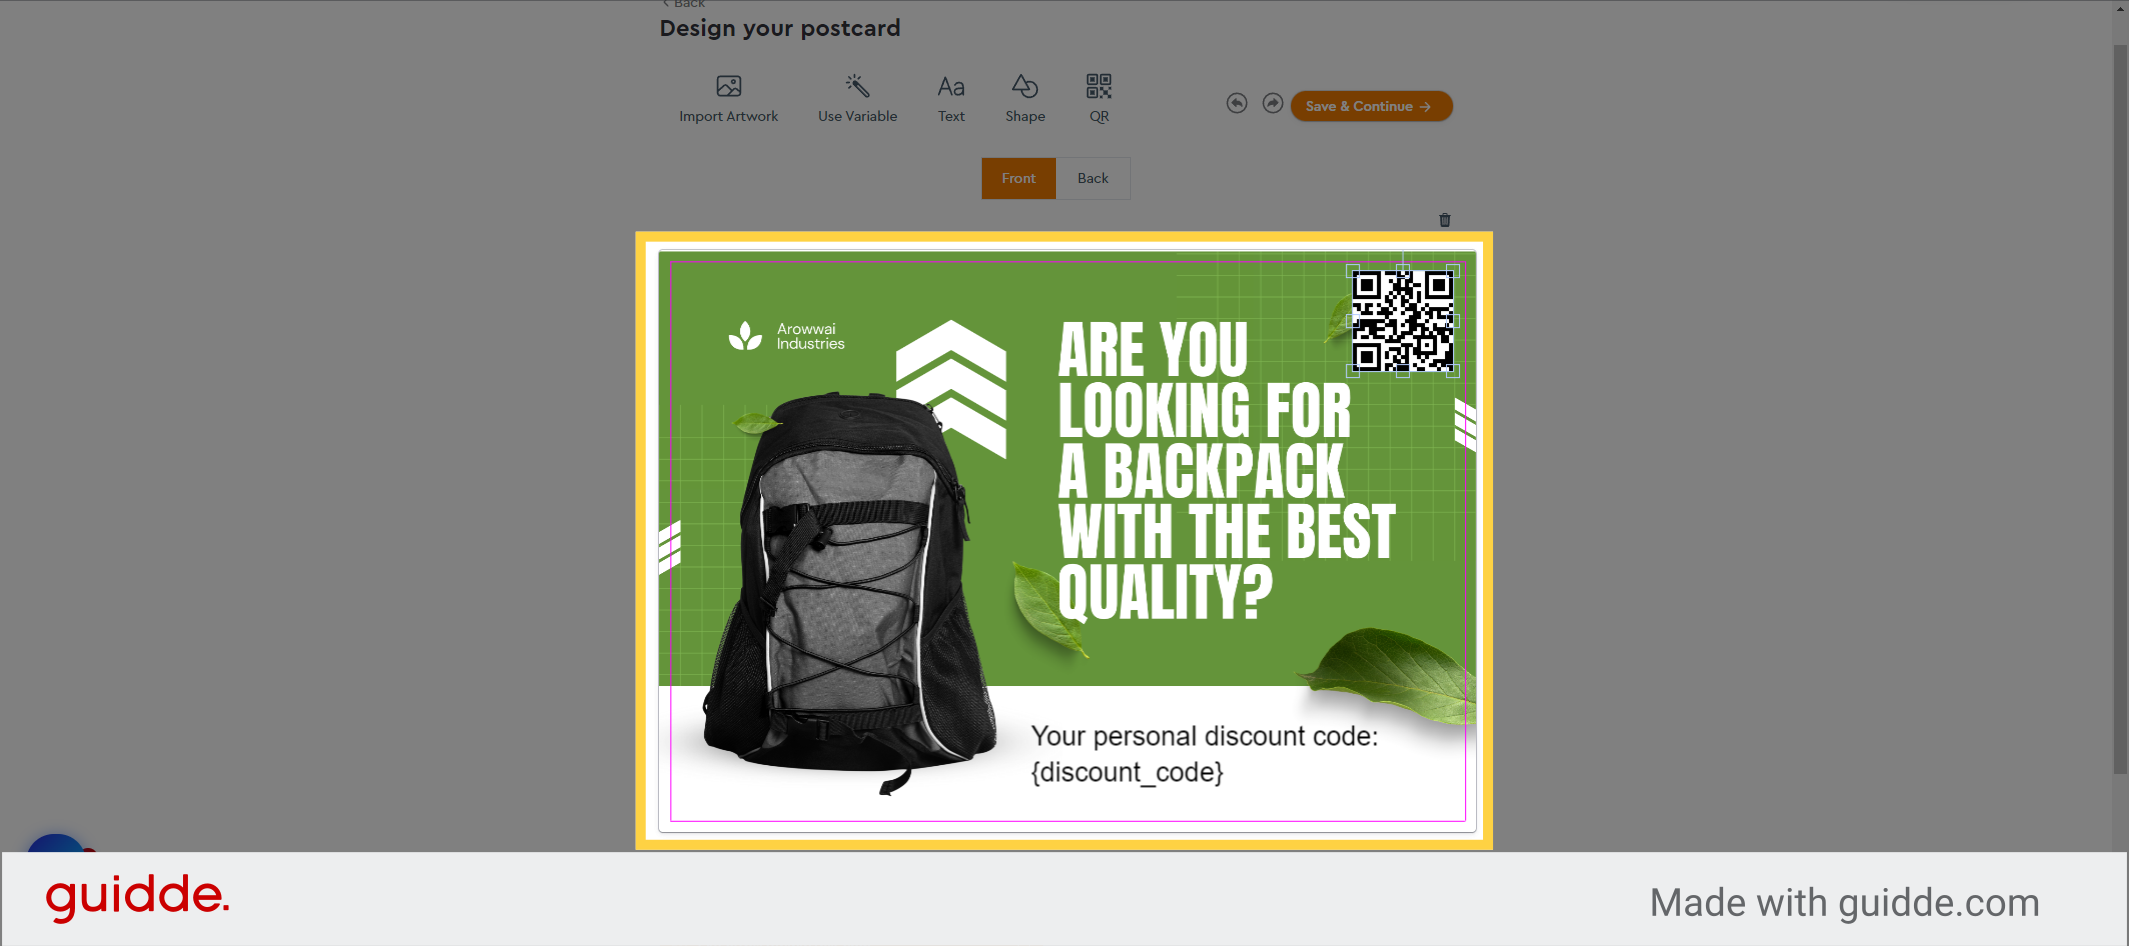
20. Click “BackDesign your postcardImport ArtworkUse VariableTextShapeQRSave & Continue FrontBackLayersQR: https://www.test.comVariable: Your personal discouImage”
Please be aware that the magenta line surrounding the canvas represents the crop mark, indicating the final size of the postcard. Keep this in mind when arranging items on the canvas. Now, we’re ready to customize the back of the postcard.
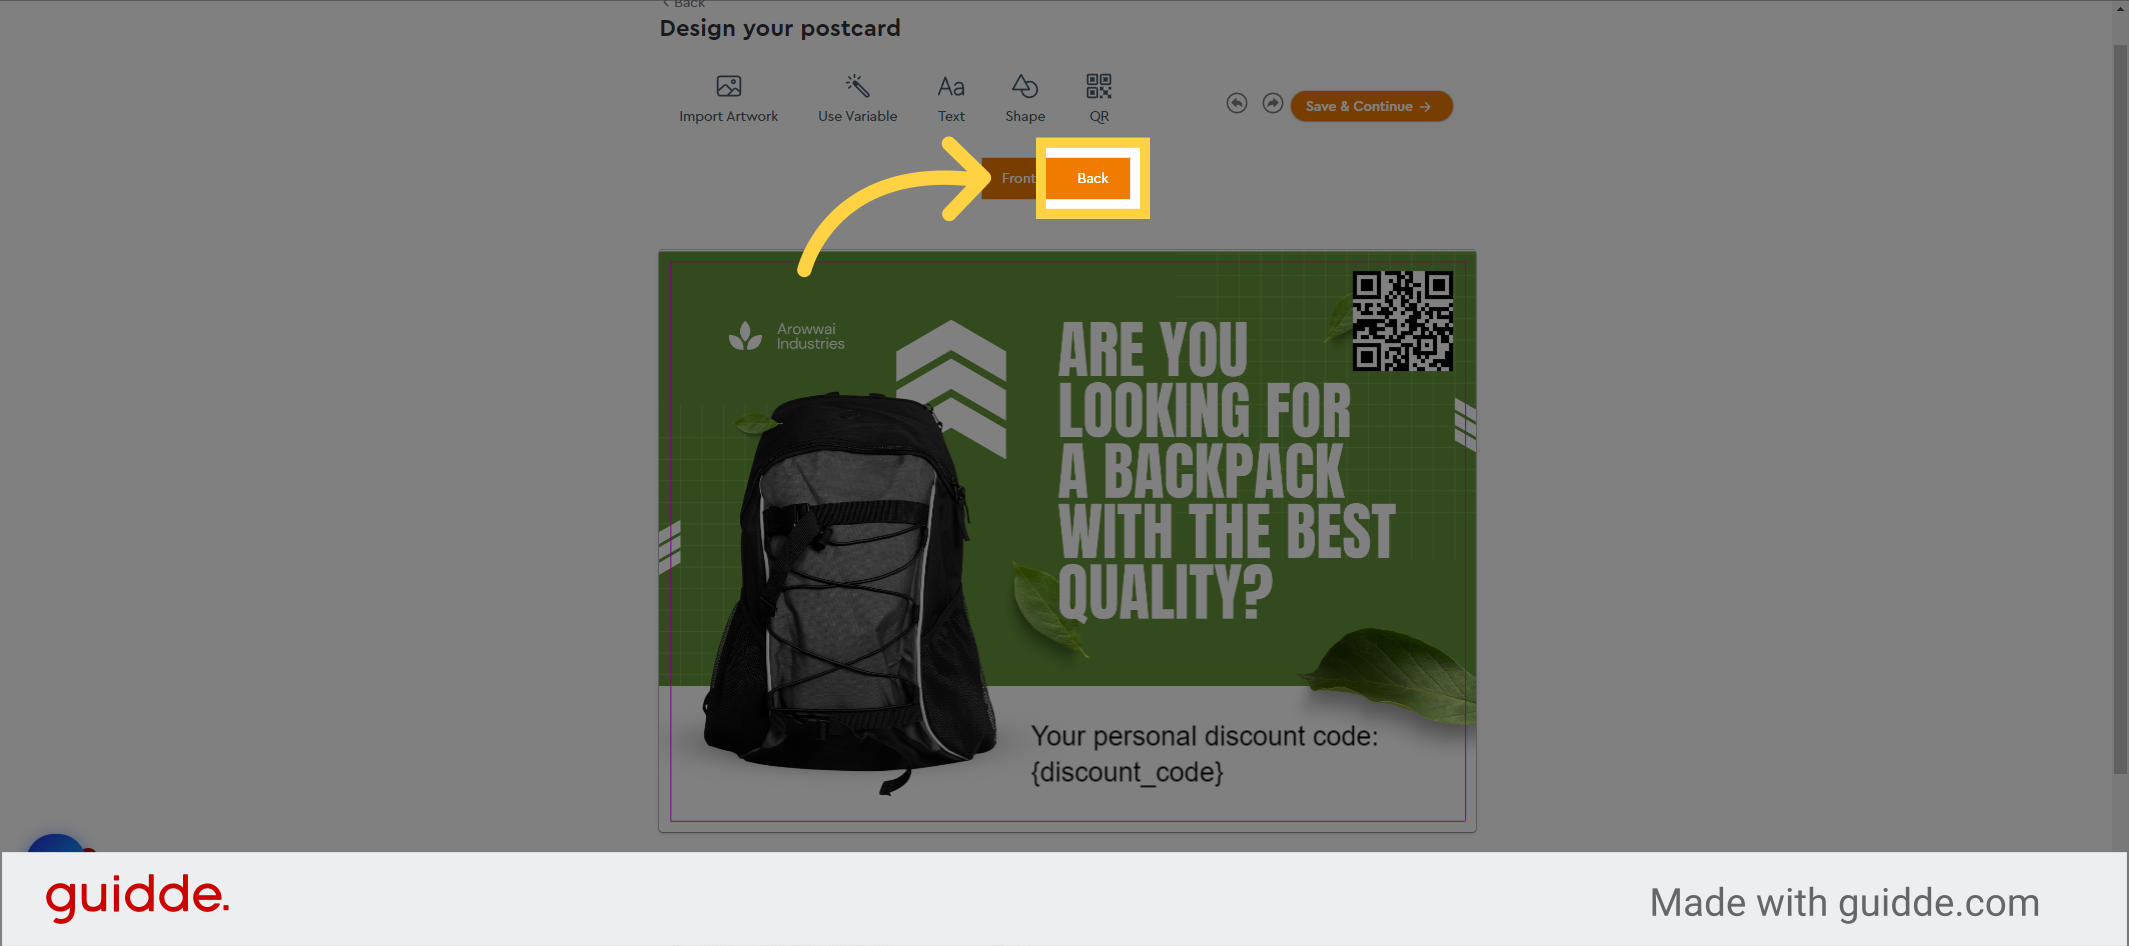
21. Click “Back”
Click “Back”, to edit the back of the postcard
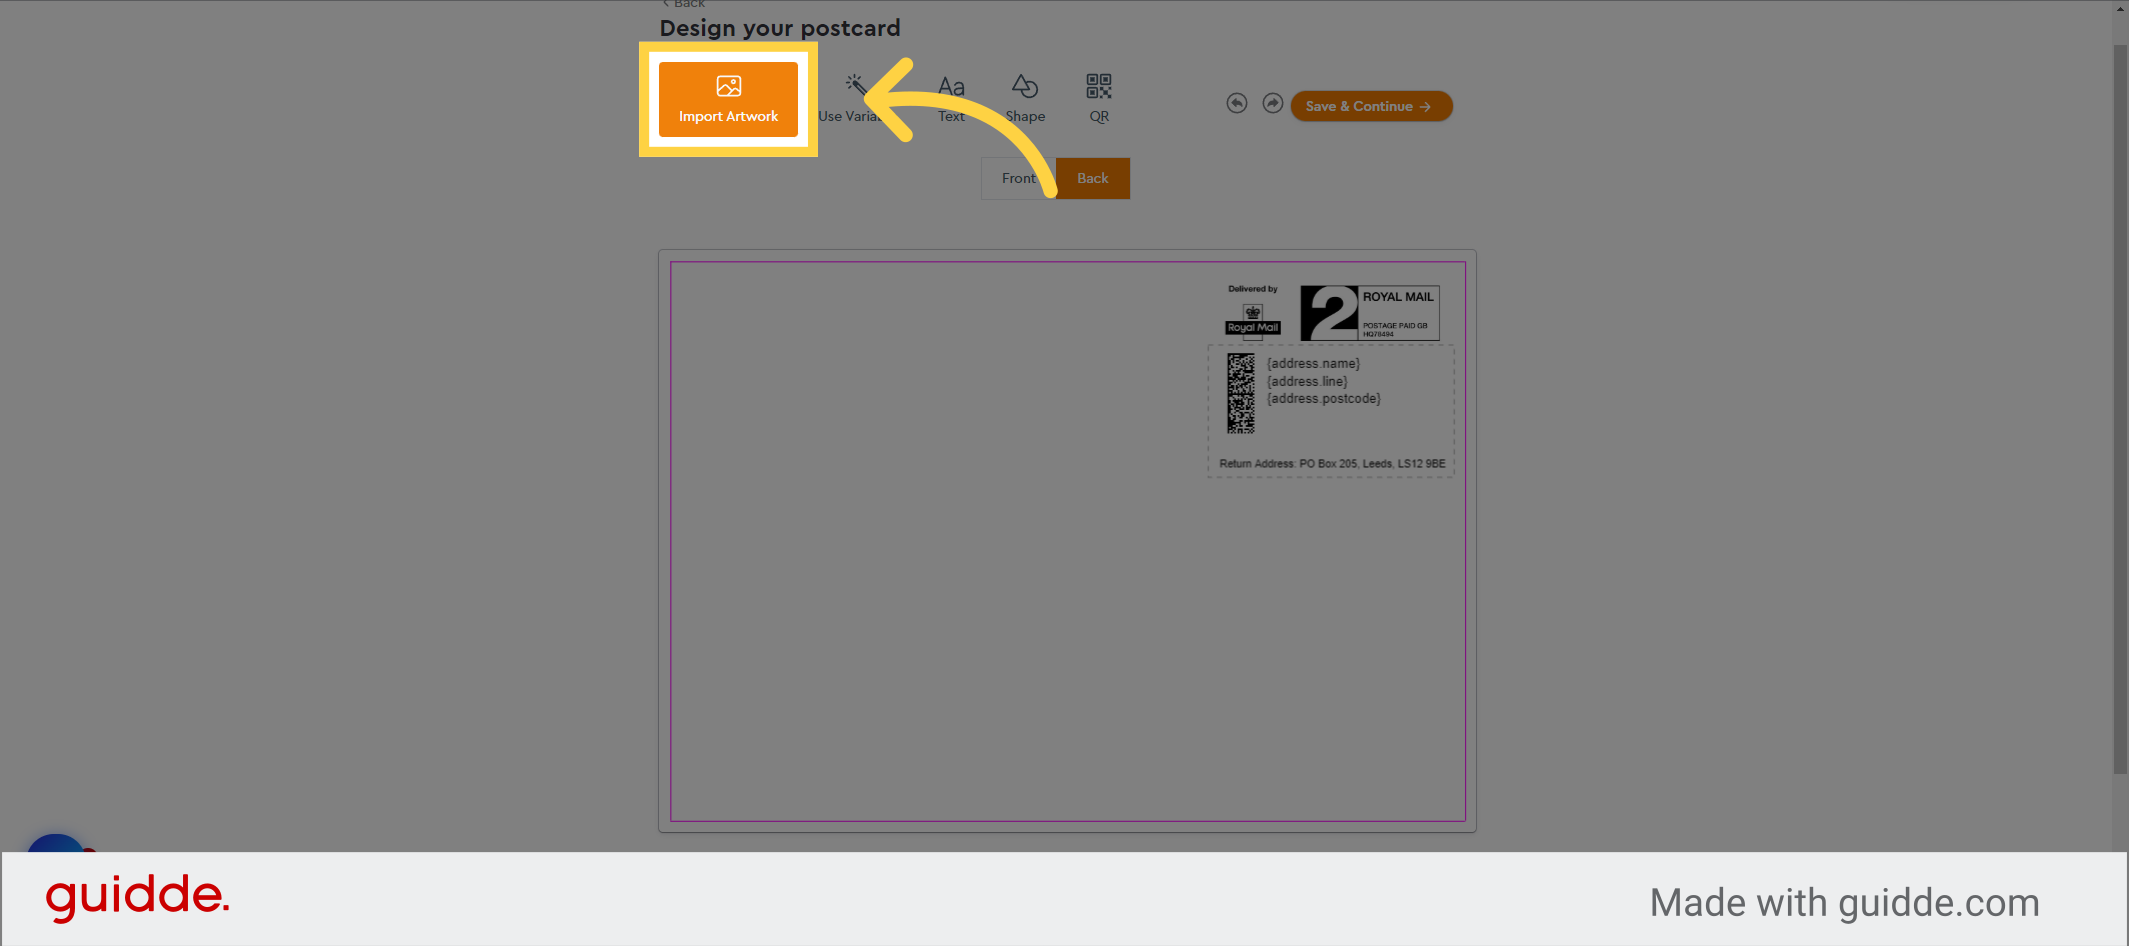
22. Click “Import Artwork”
Once again, click on “Import Artwork” and import the desired artwork for the back of the postcard.
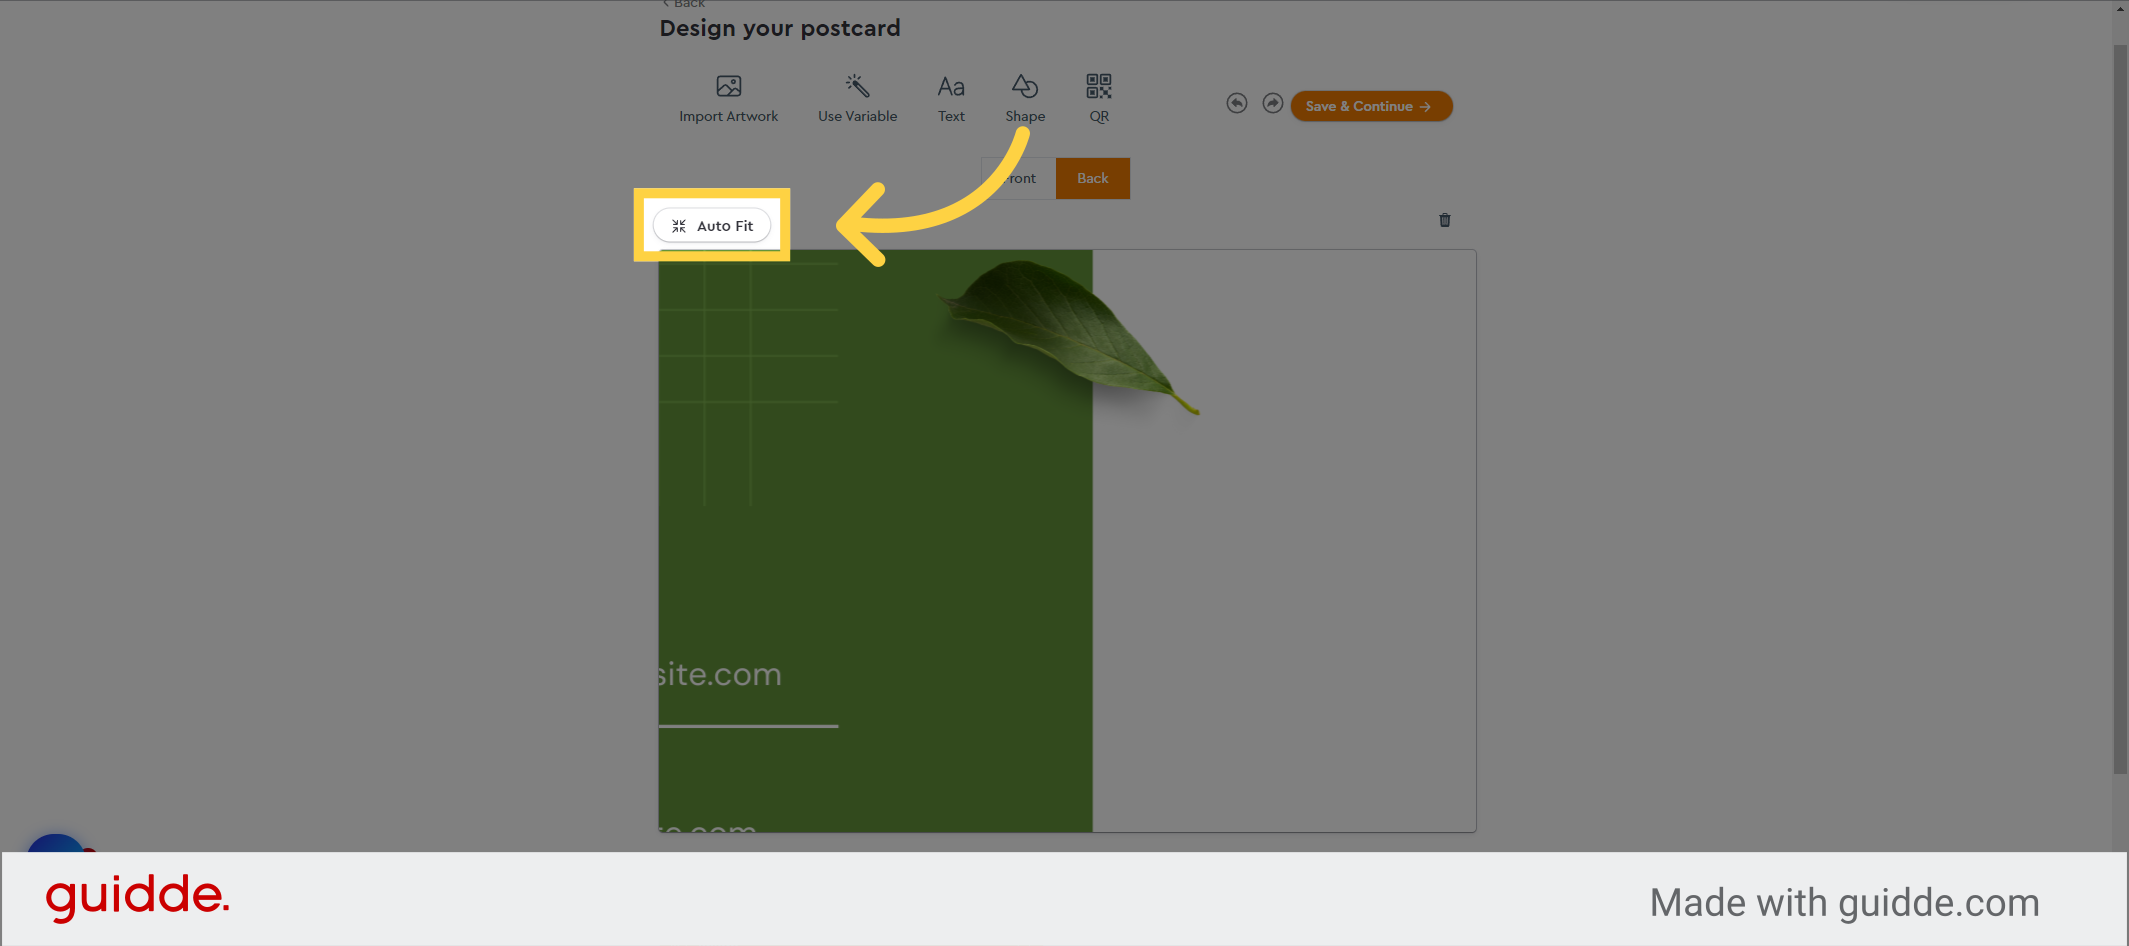
23. Click “Auto Fit”
Click on the “Autofit” button to automatically scale the artwork to fit it within the canvas area.
24. Click here
Great! Now, to ensure that no further modifications are made to this layer, let’s lock it in place. Locate the layers panel and click on the padlock icon corresponding to this layer to secure it.
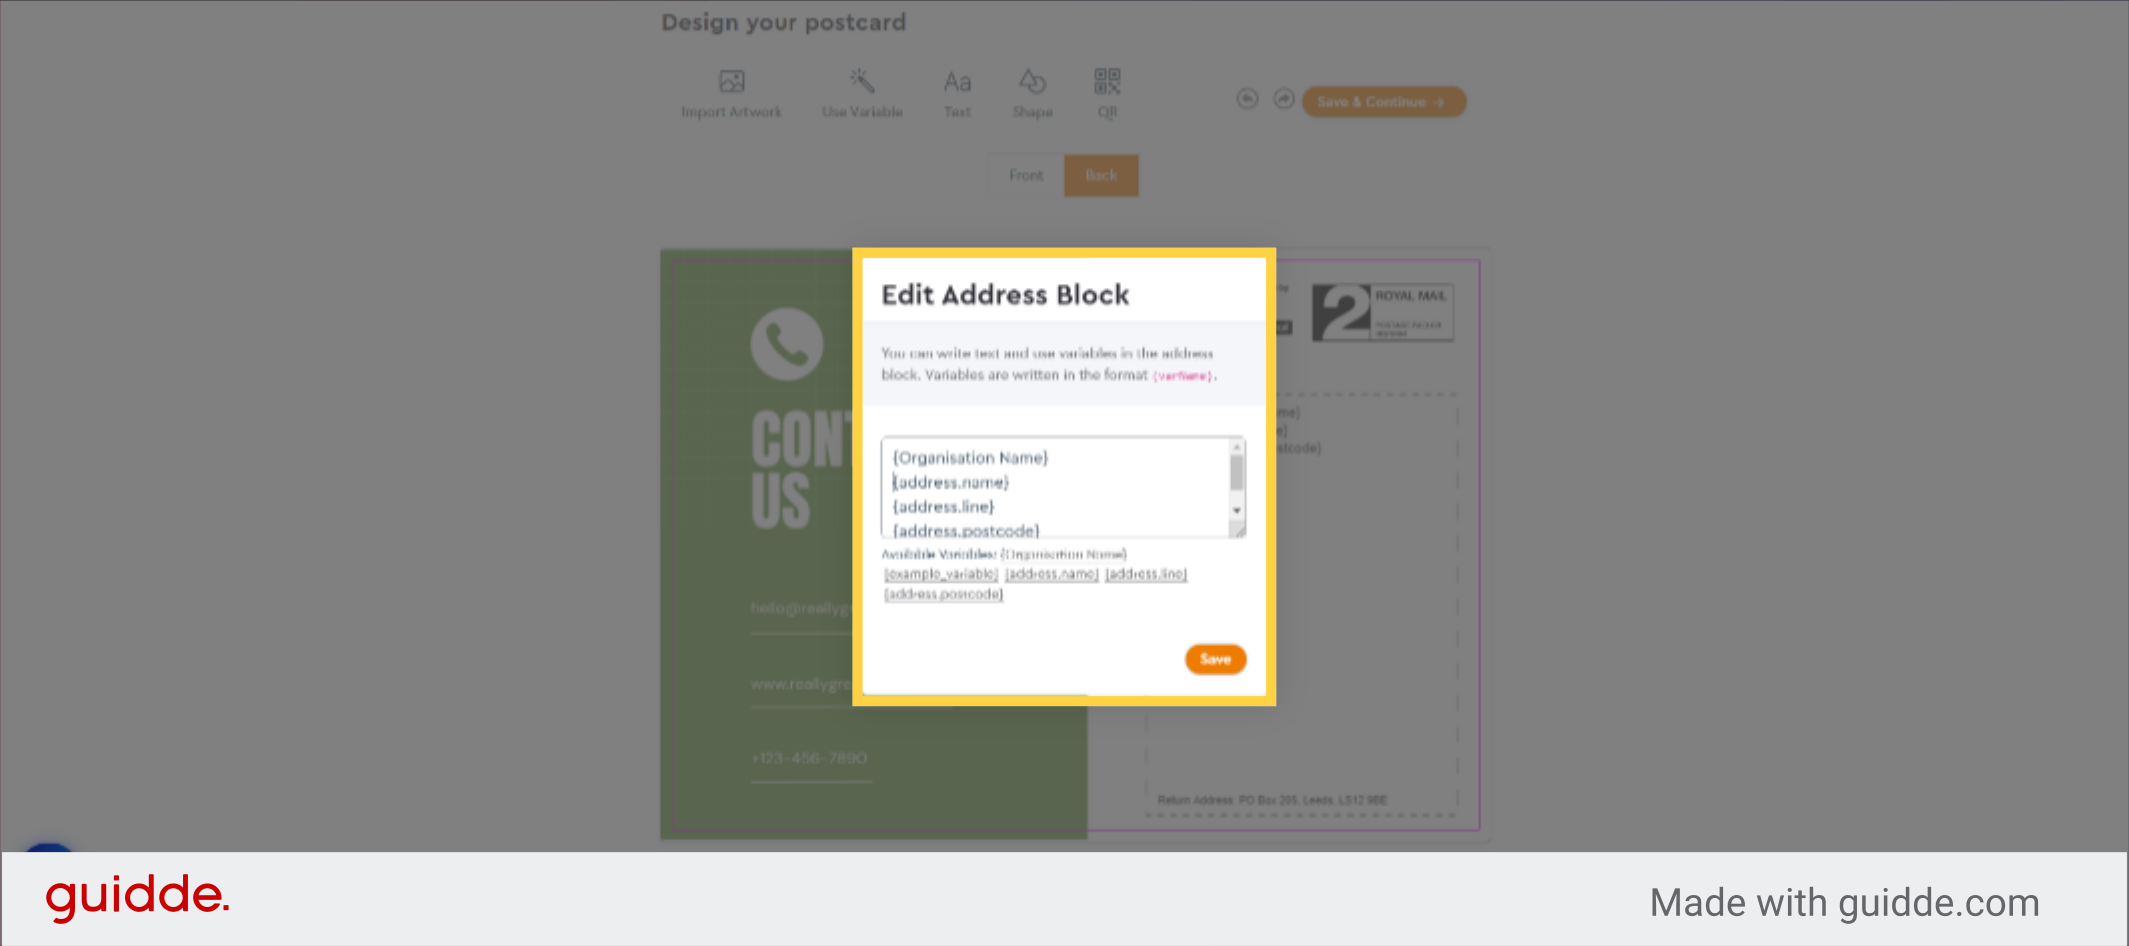
25. Double Click here
Double click the address block area to open the address block editor

26.
While editing the address block, you have access to various options that can be copied and pasted into the desired position within the address text block. This allows you to have complete control over the formatting and arrangement of the address.
27. Re-position
Reposition the address block on the postcard, ensuring that it has ample space to accommodate addresses of varying lengths.

28. Click “Text”
Now, let’s incorporate some new text into our postcard. Click on the “Text” button to proceed.

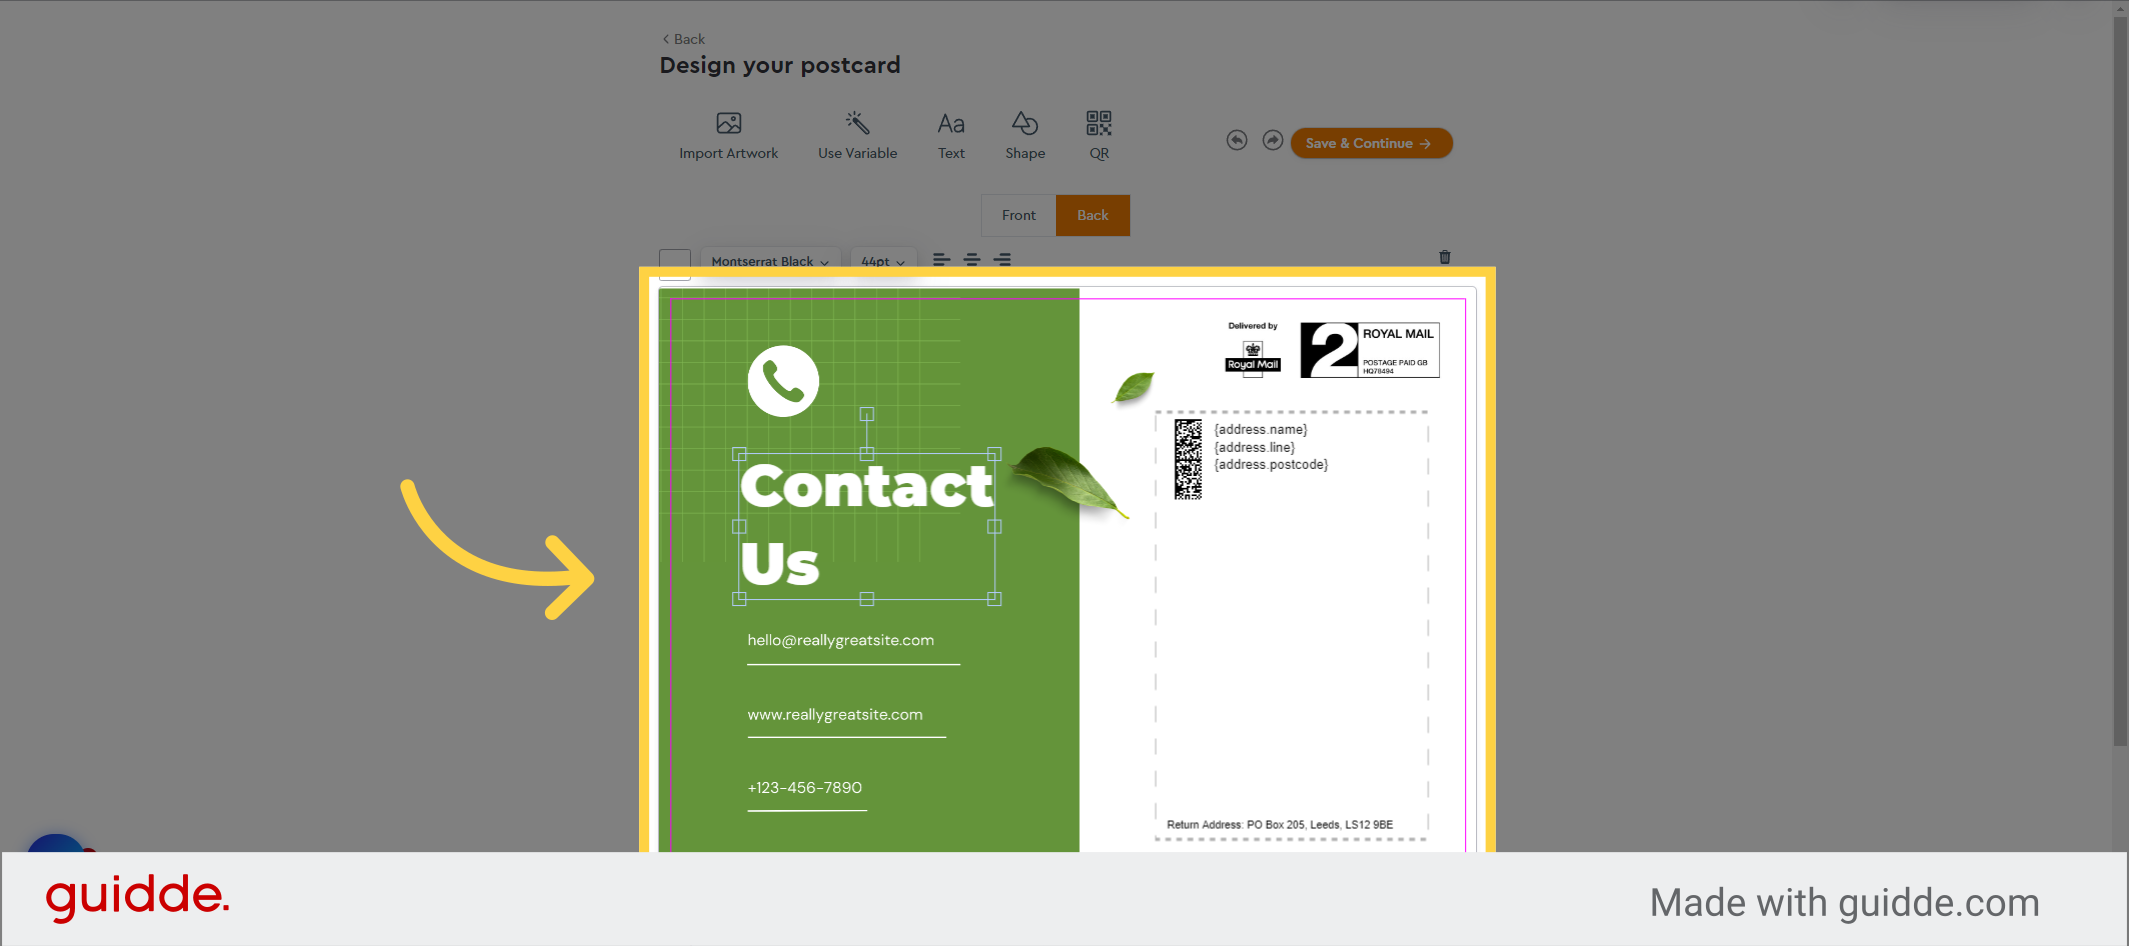
29. Click here
Position the text block on the postcard as desired.

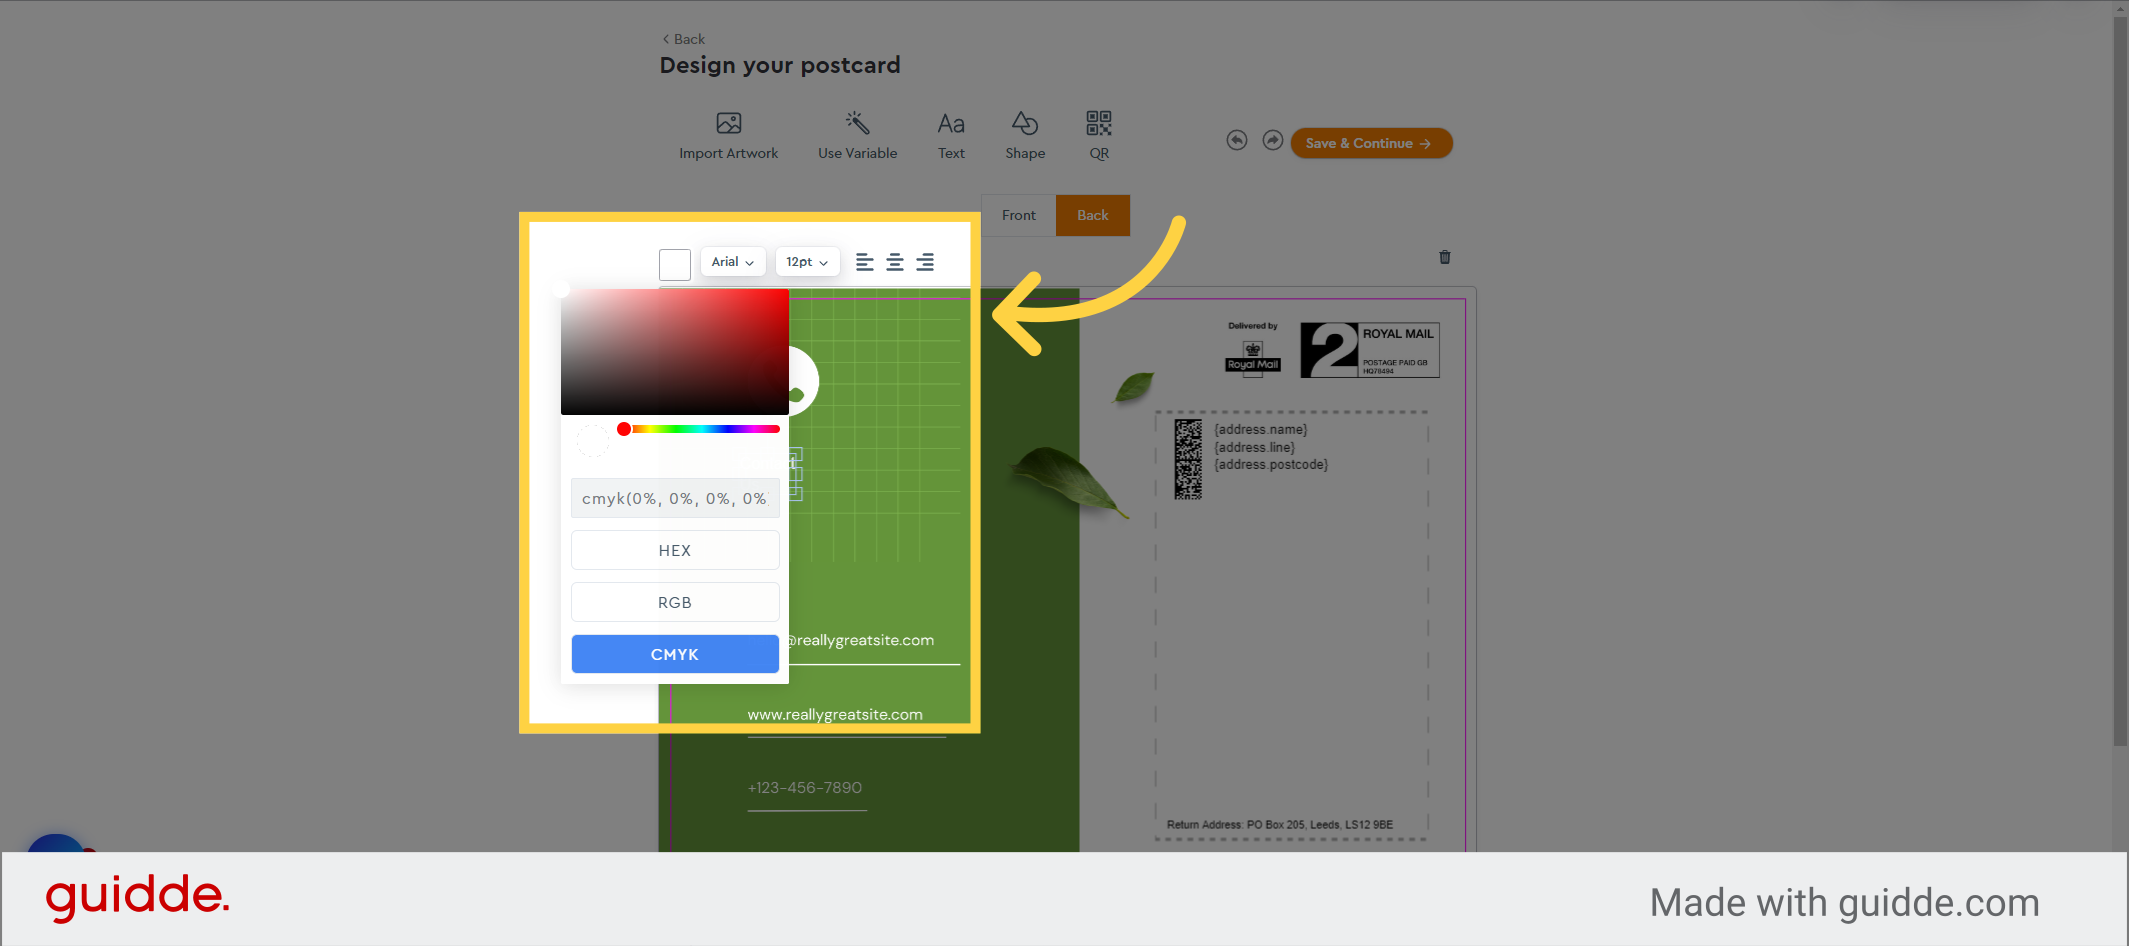
30. Set font options
And Utilize the provided tools to modify the font type, size, color, and justification as per your preference.
31. Click here
Looking good.
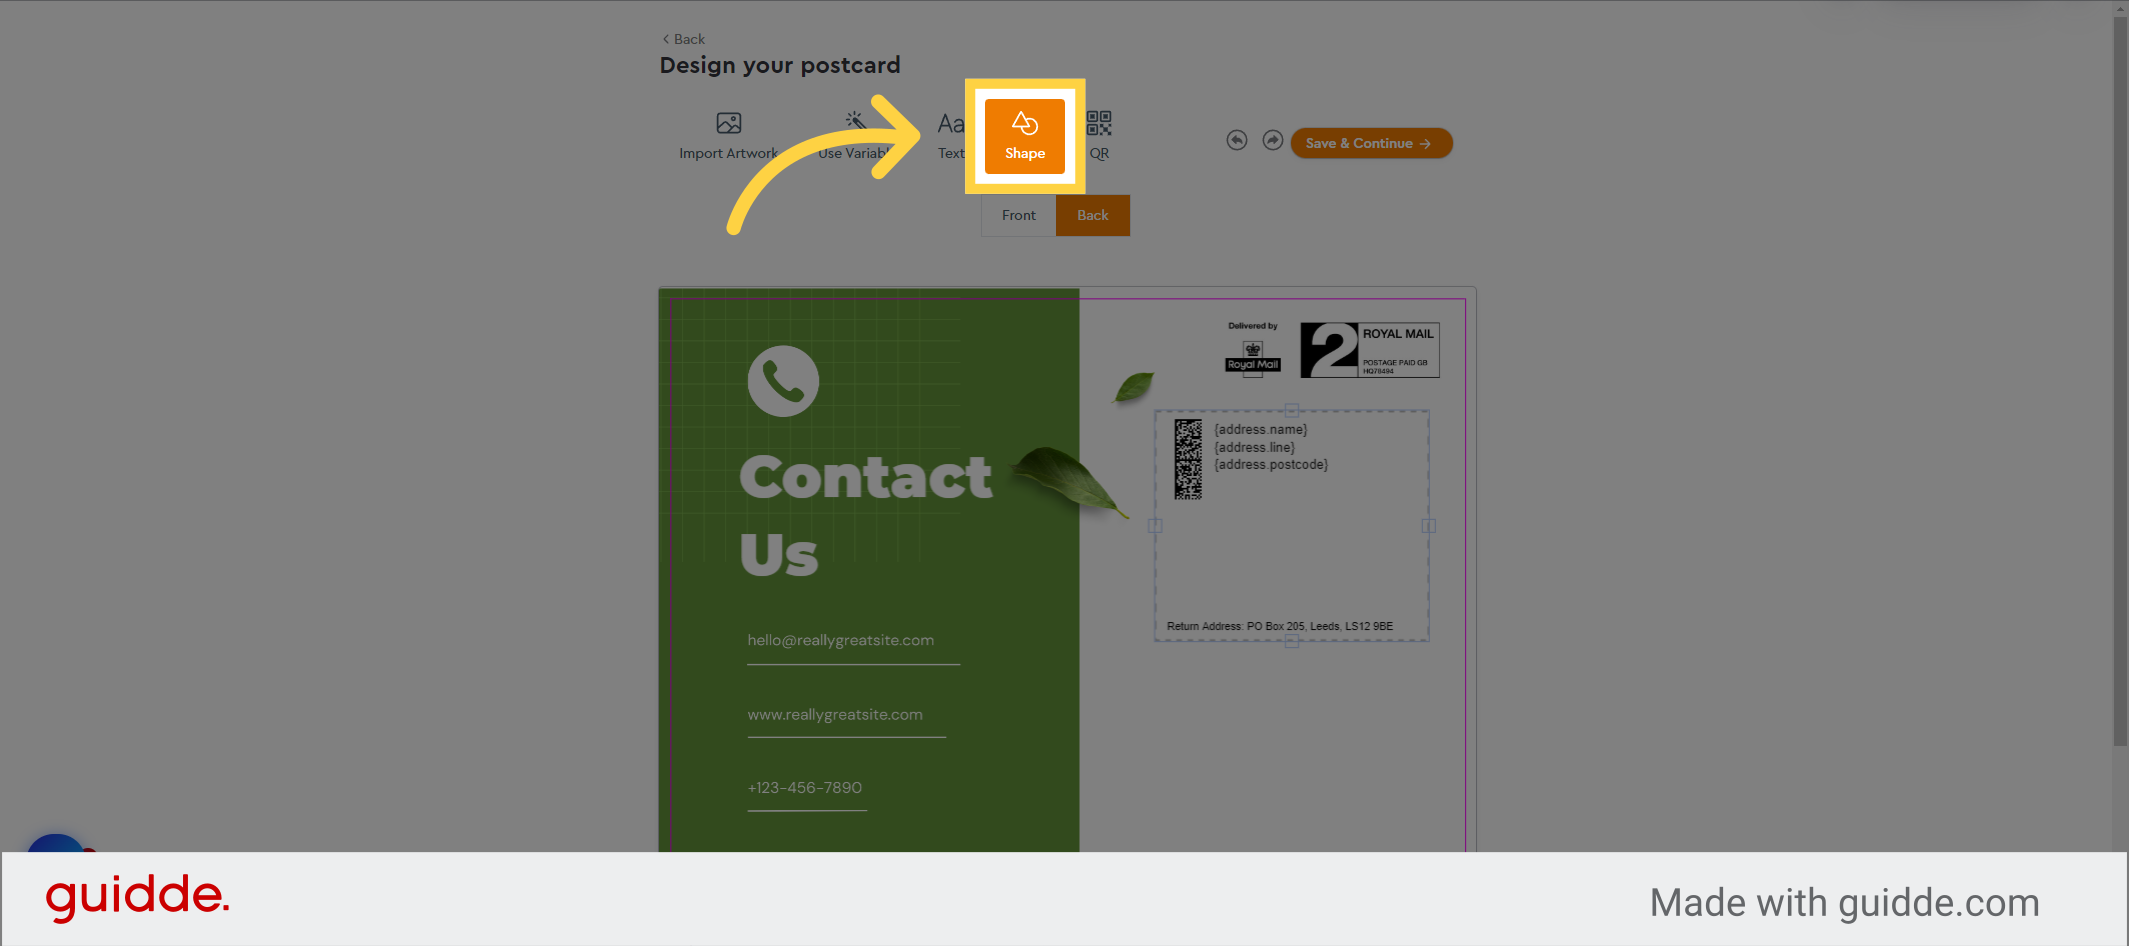
32. Click “Shape”
Let’s add a final touch. Click the shape button
33. Select a shape
The “Shape” button enables you to add three basic shapes: a circle, rectangle, and triangle.
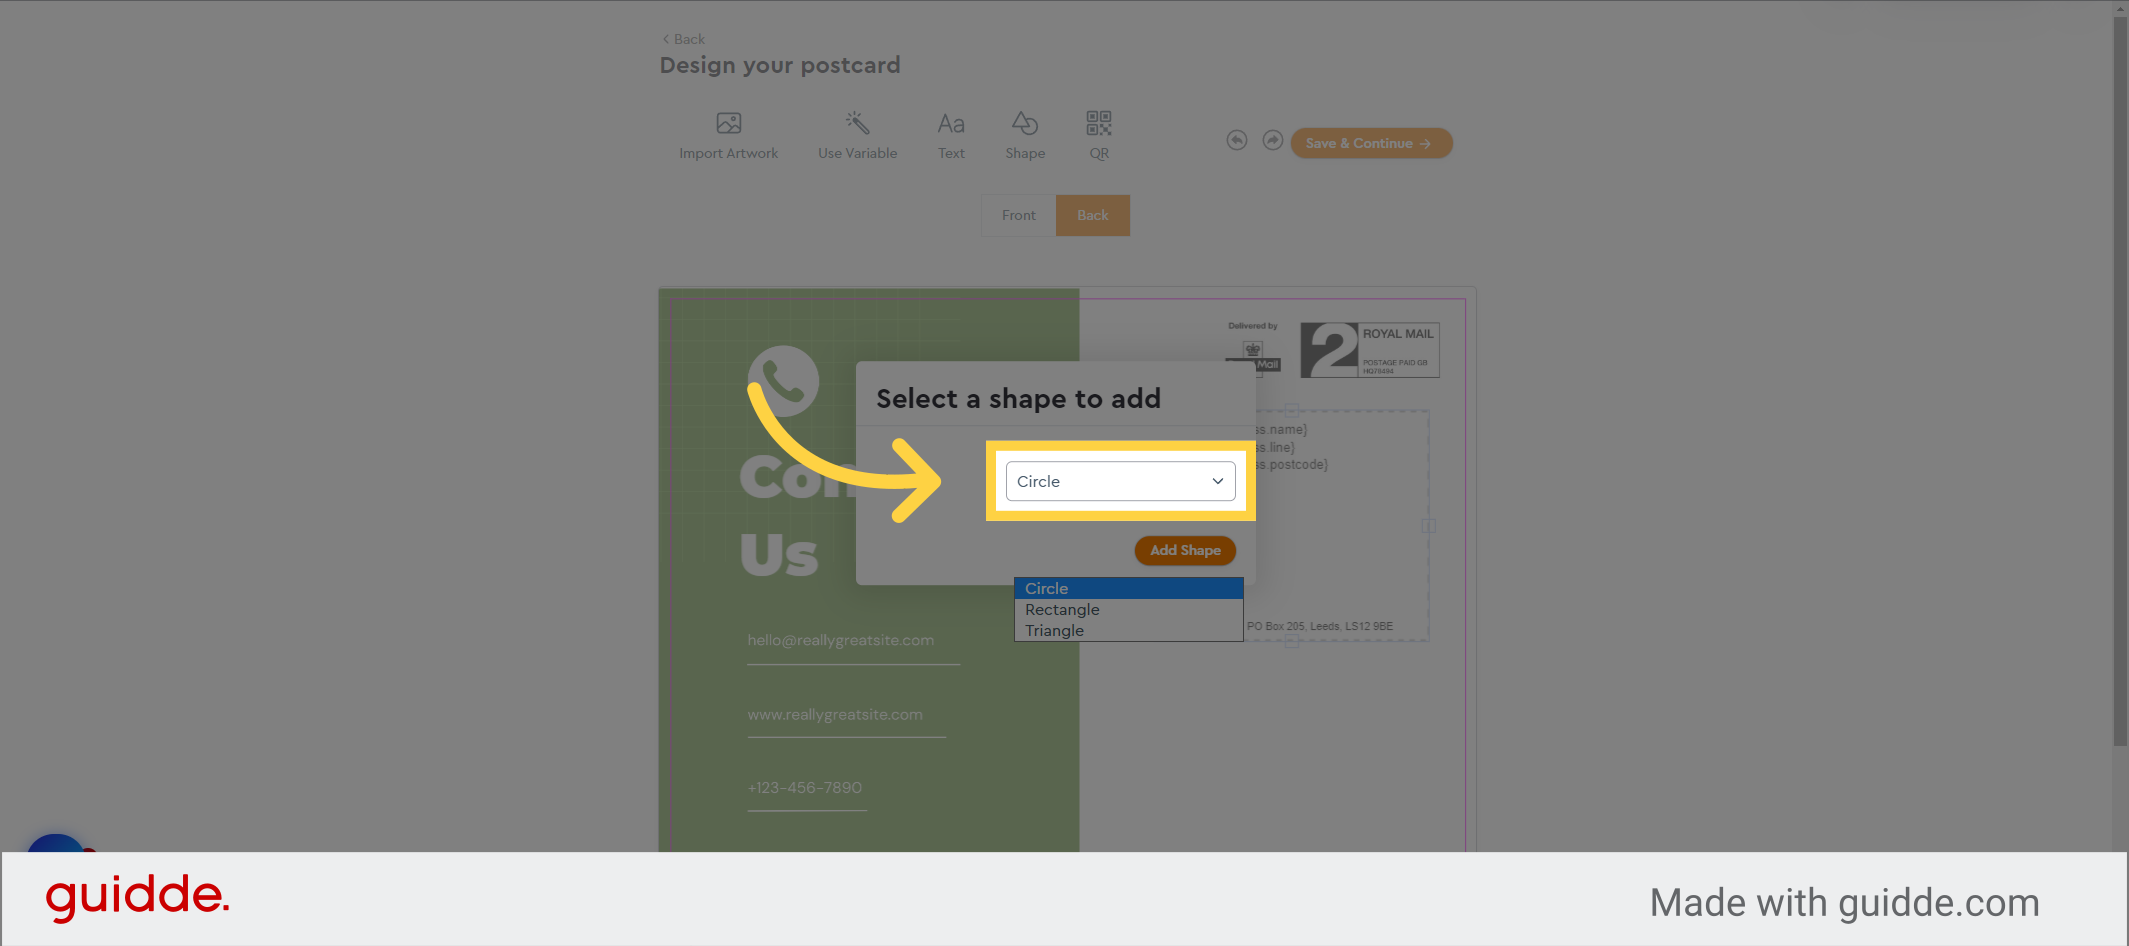
34. Click “Add Shape”
Let’s choose the triangle shape and click on “Add Shape” to include it on the canvas.

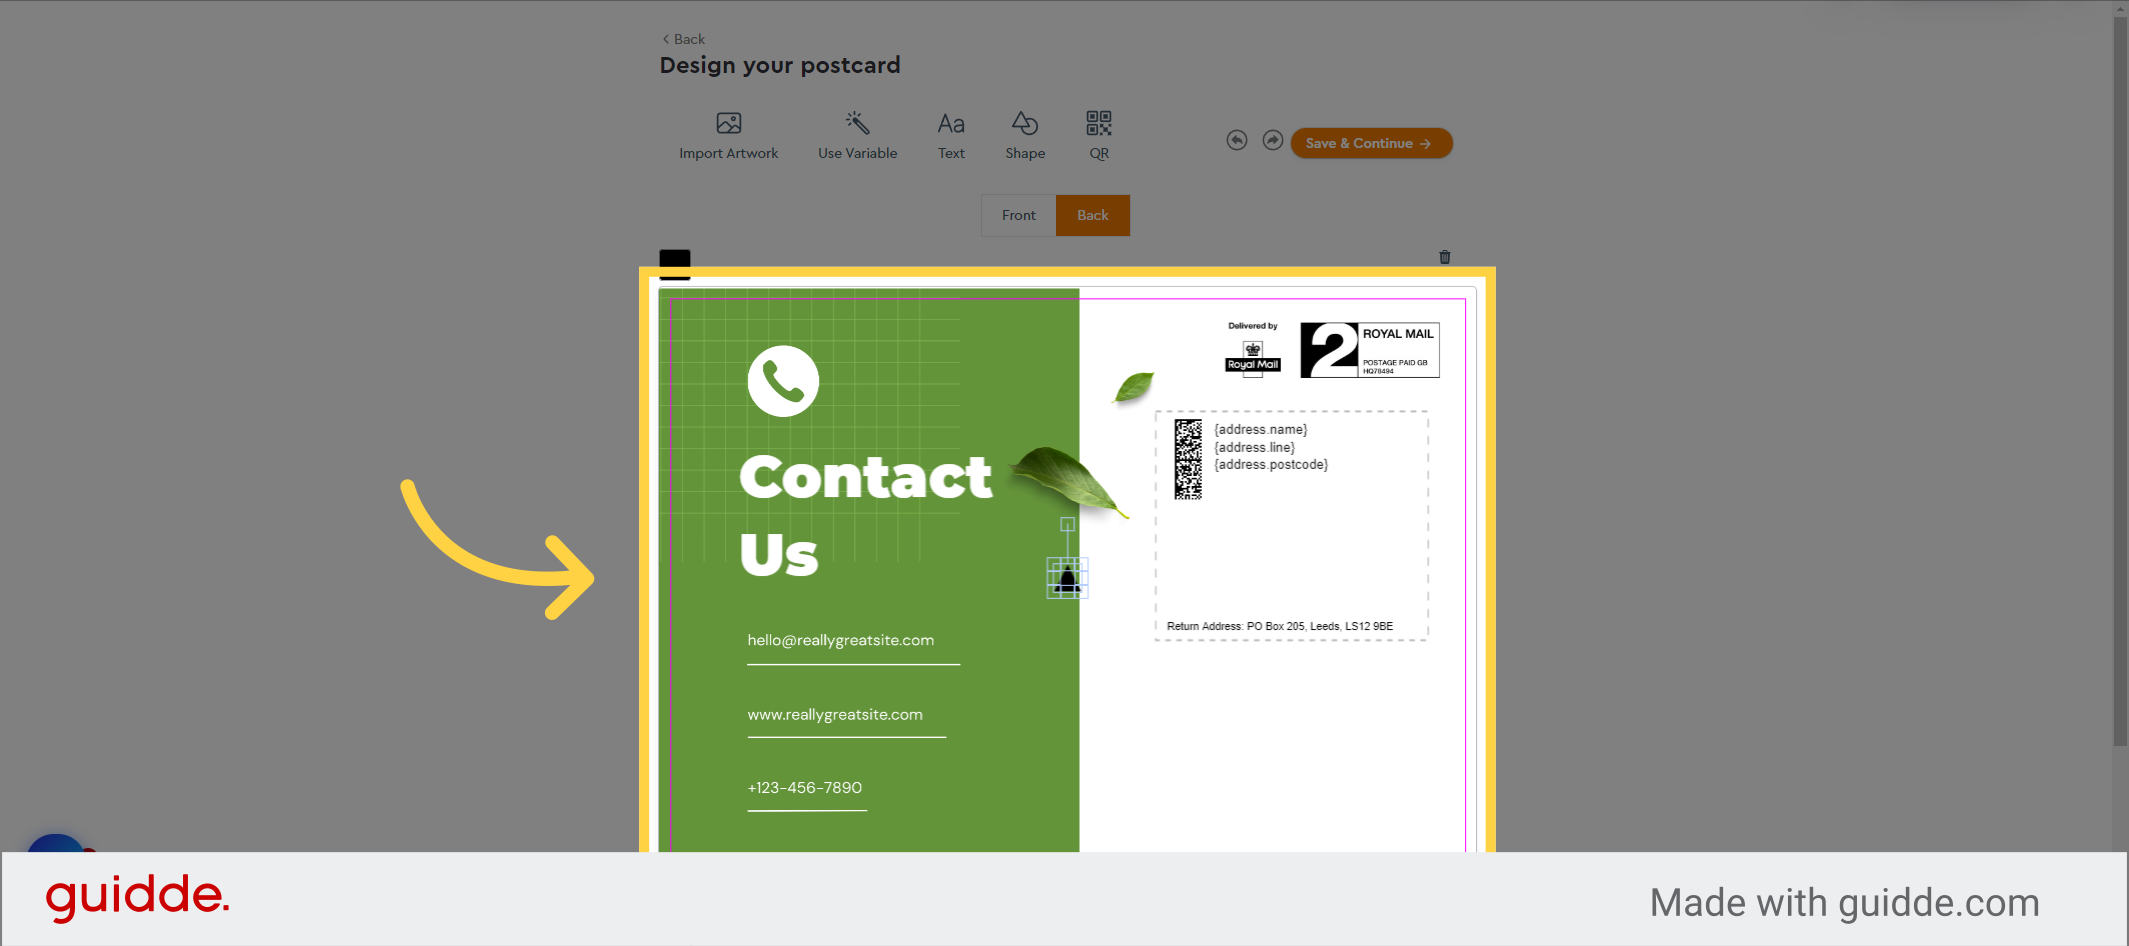
35. Click here
Select your shape and use the anchor points to Scale, rotate, and move your shape into position
36. Click here
You can then choose an appropriate colour for your shape,
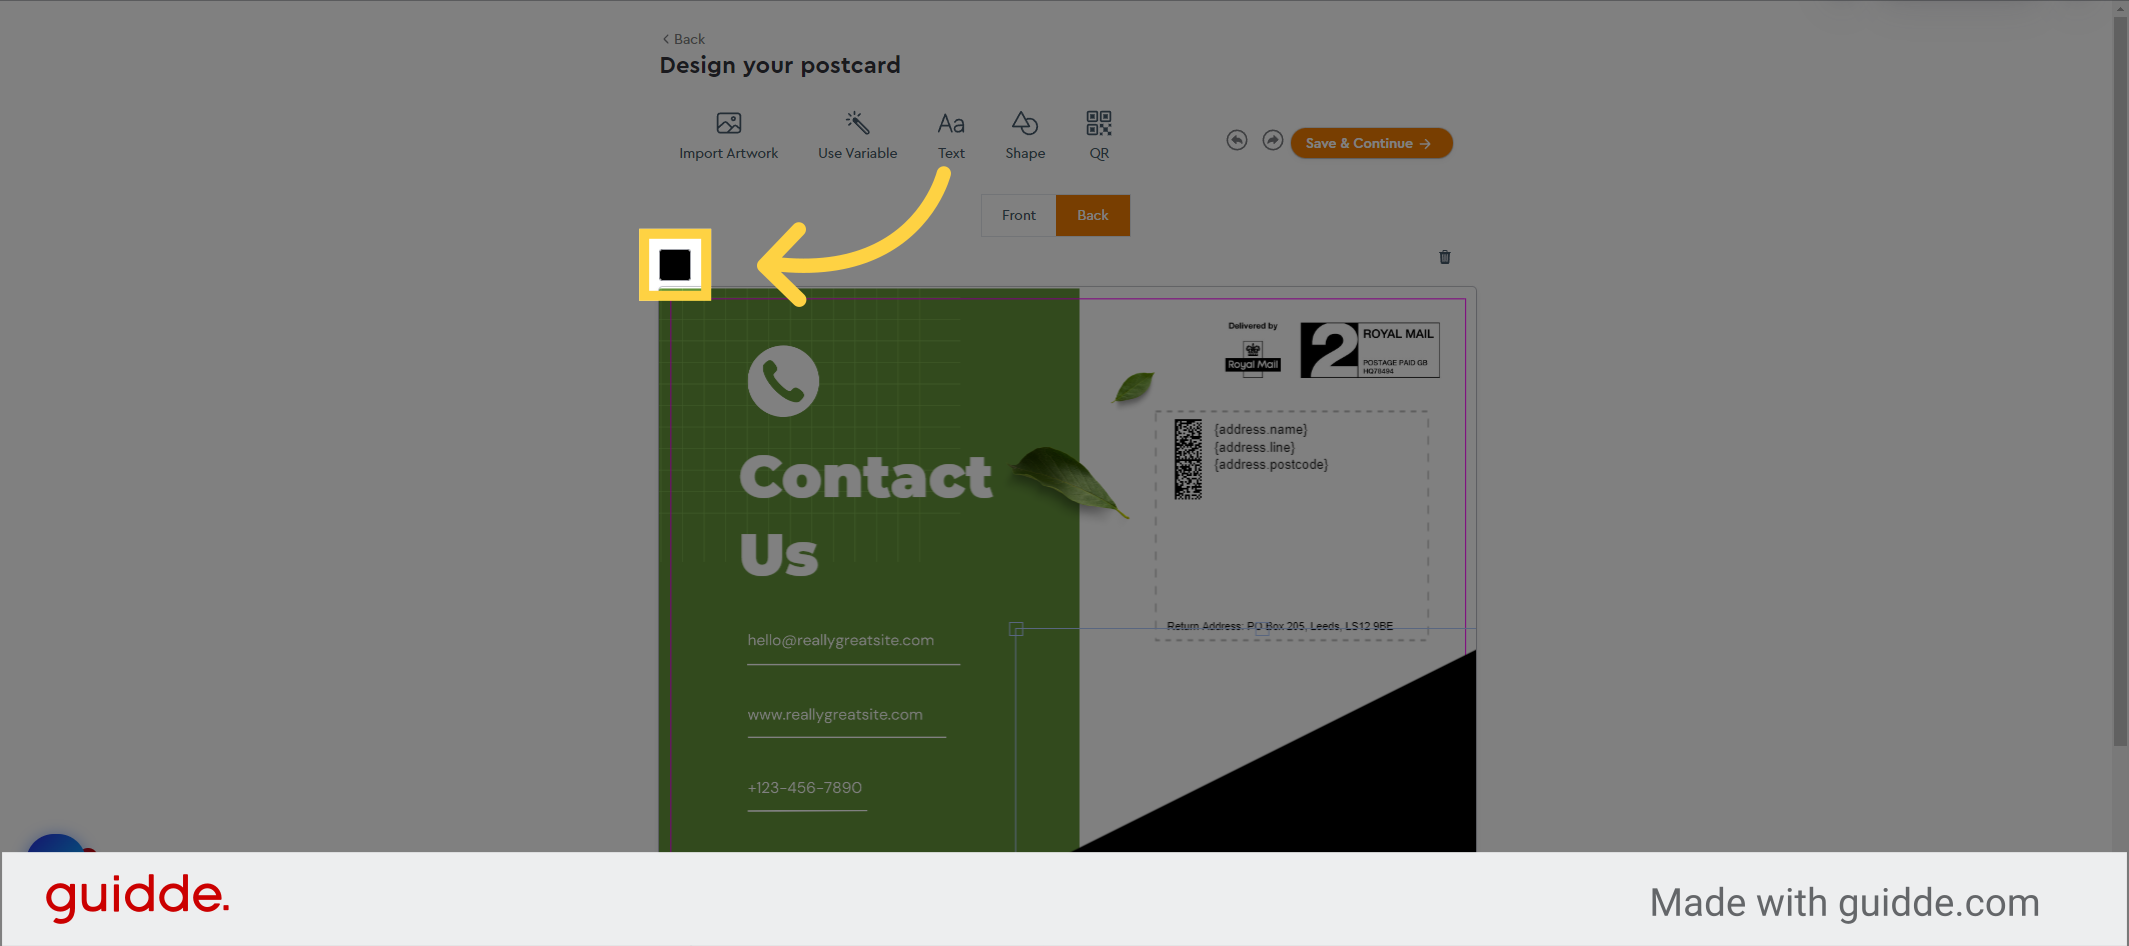
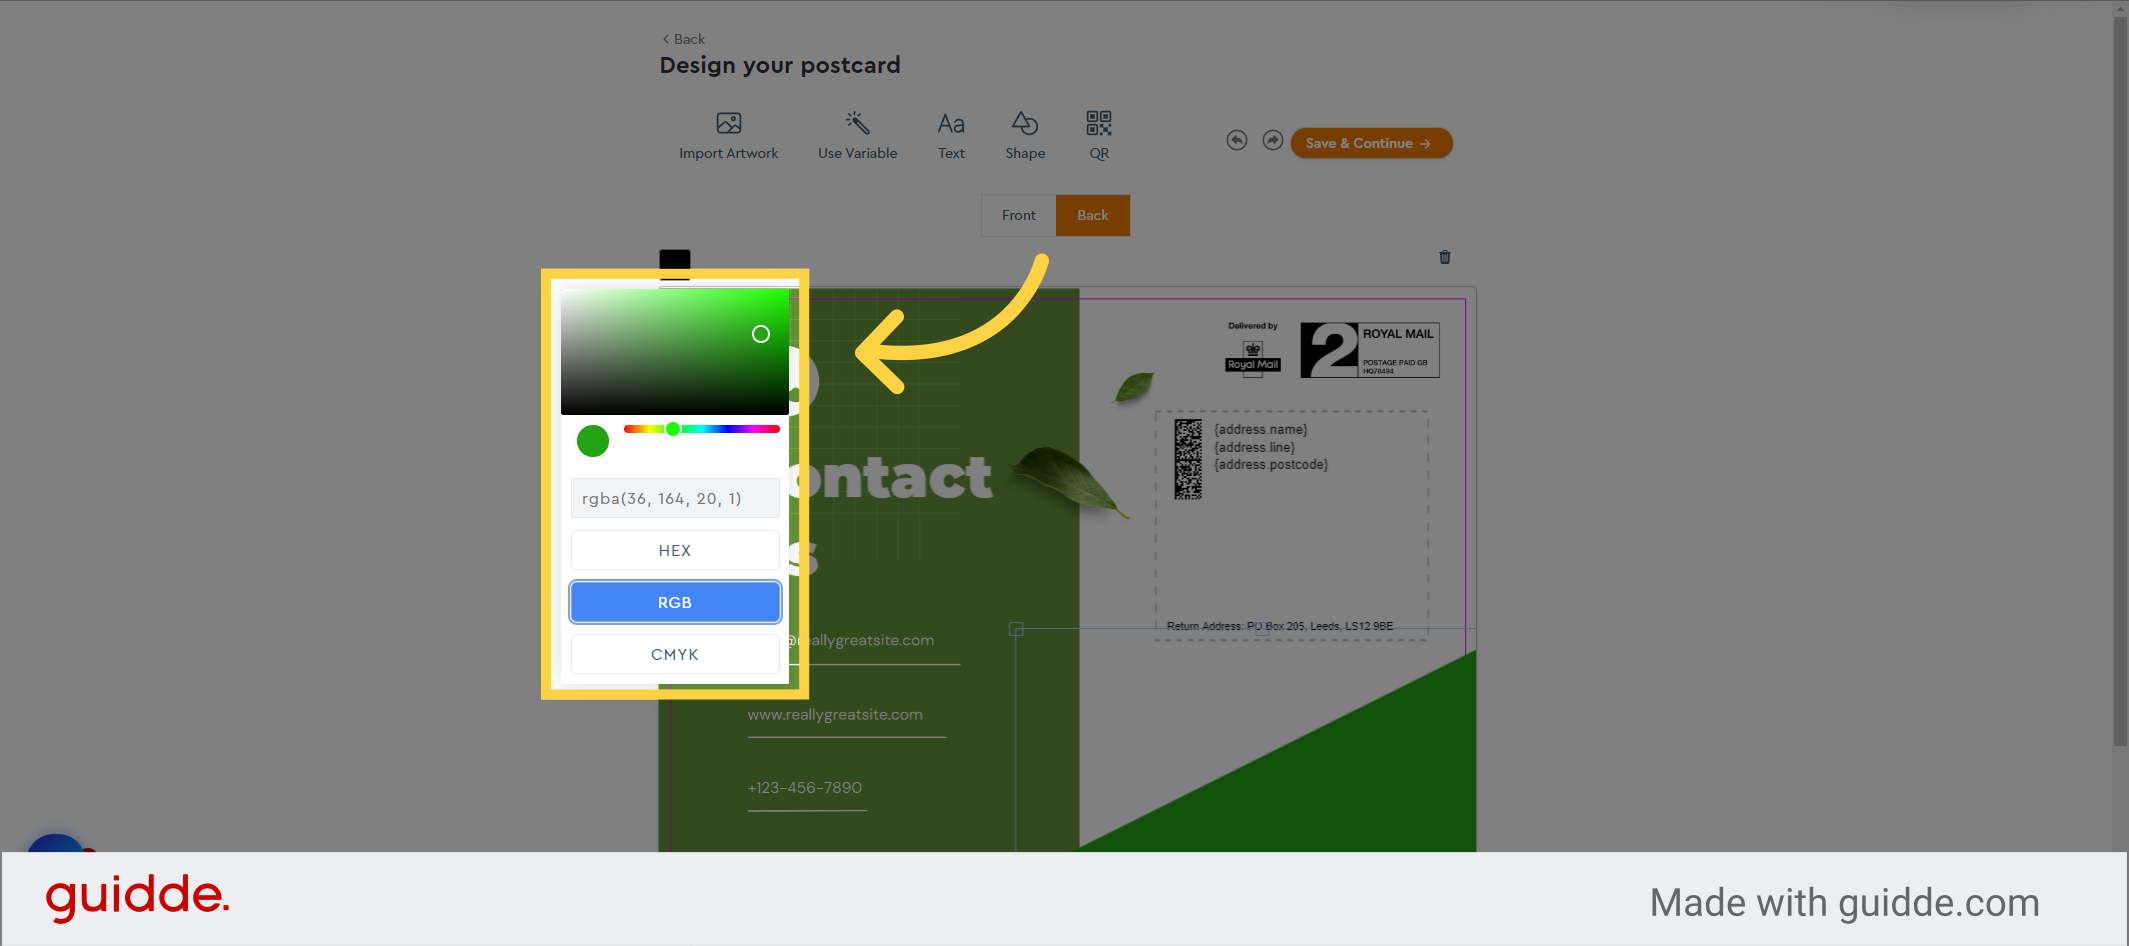
37. Click here
By either entering its colour code or selecting from the colour picker.
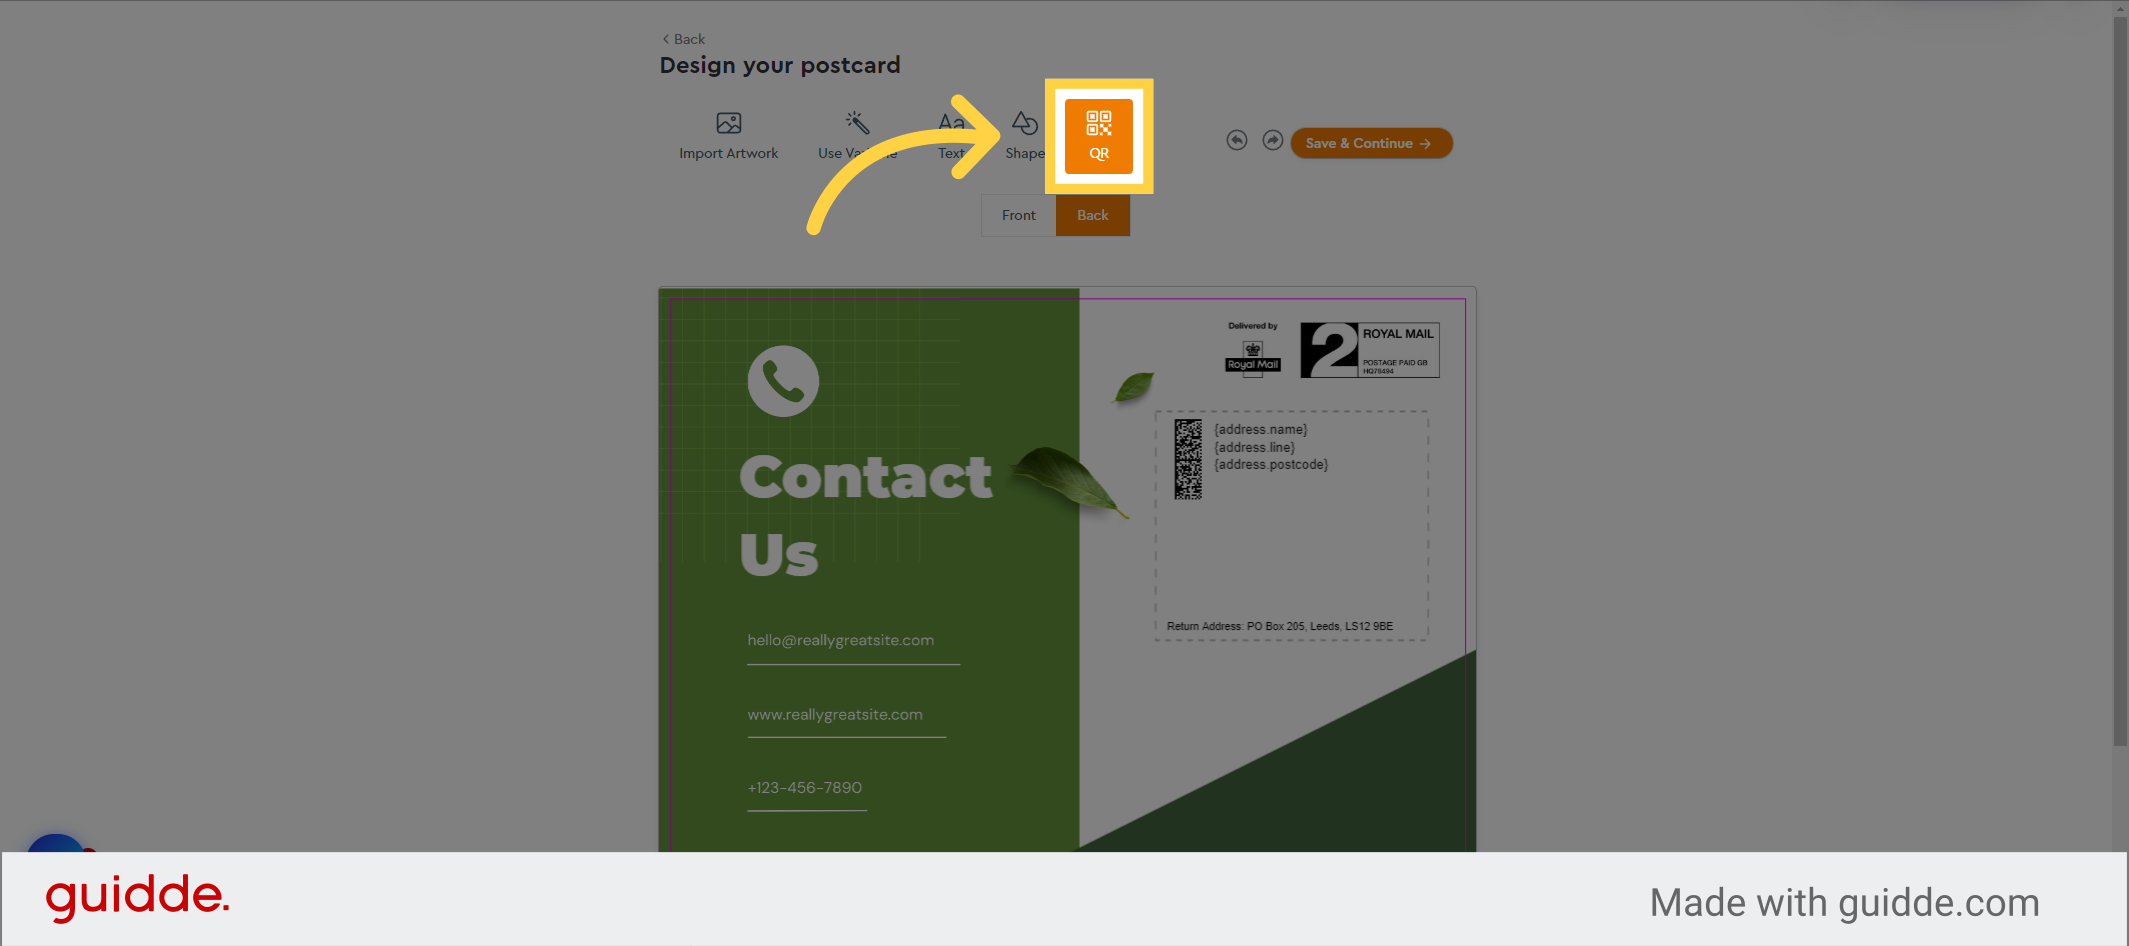
38. Click “QR”
We’ll quickly add in a new QR code as before
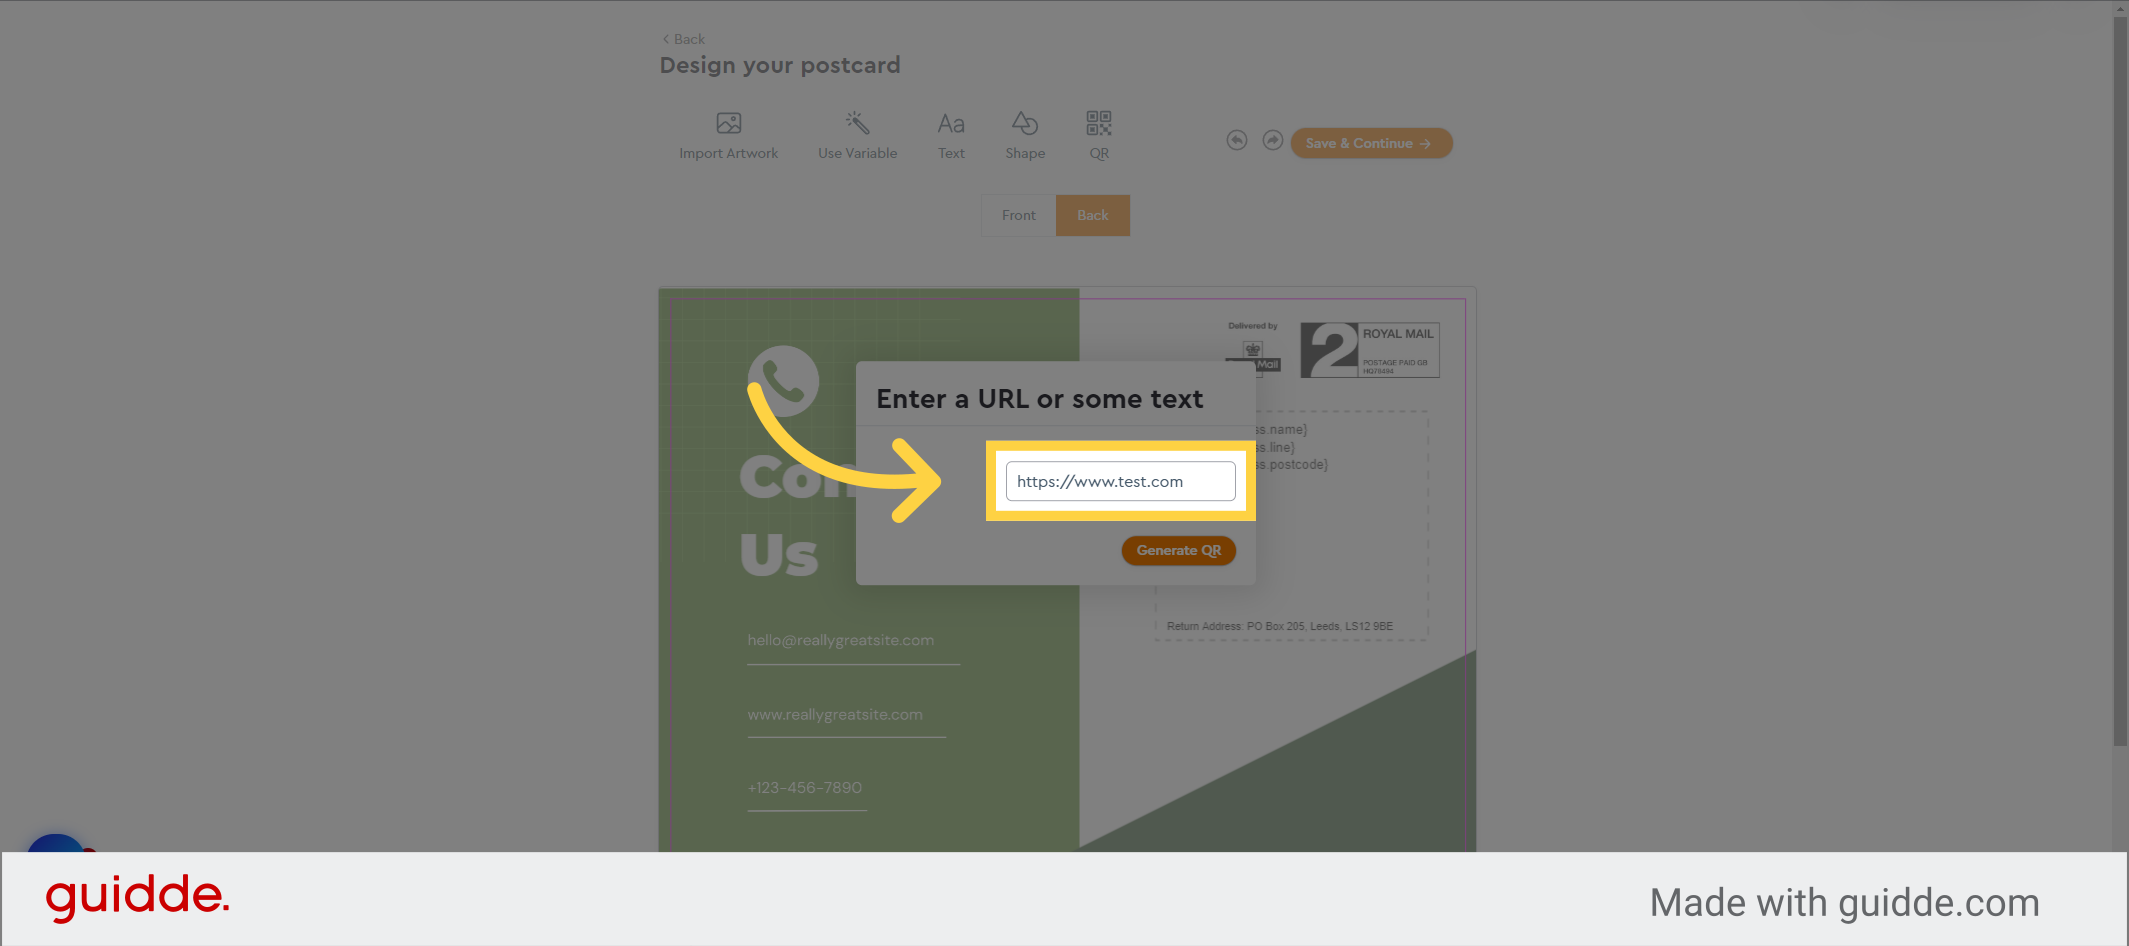
39. Enter your domain
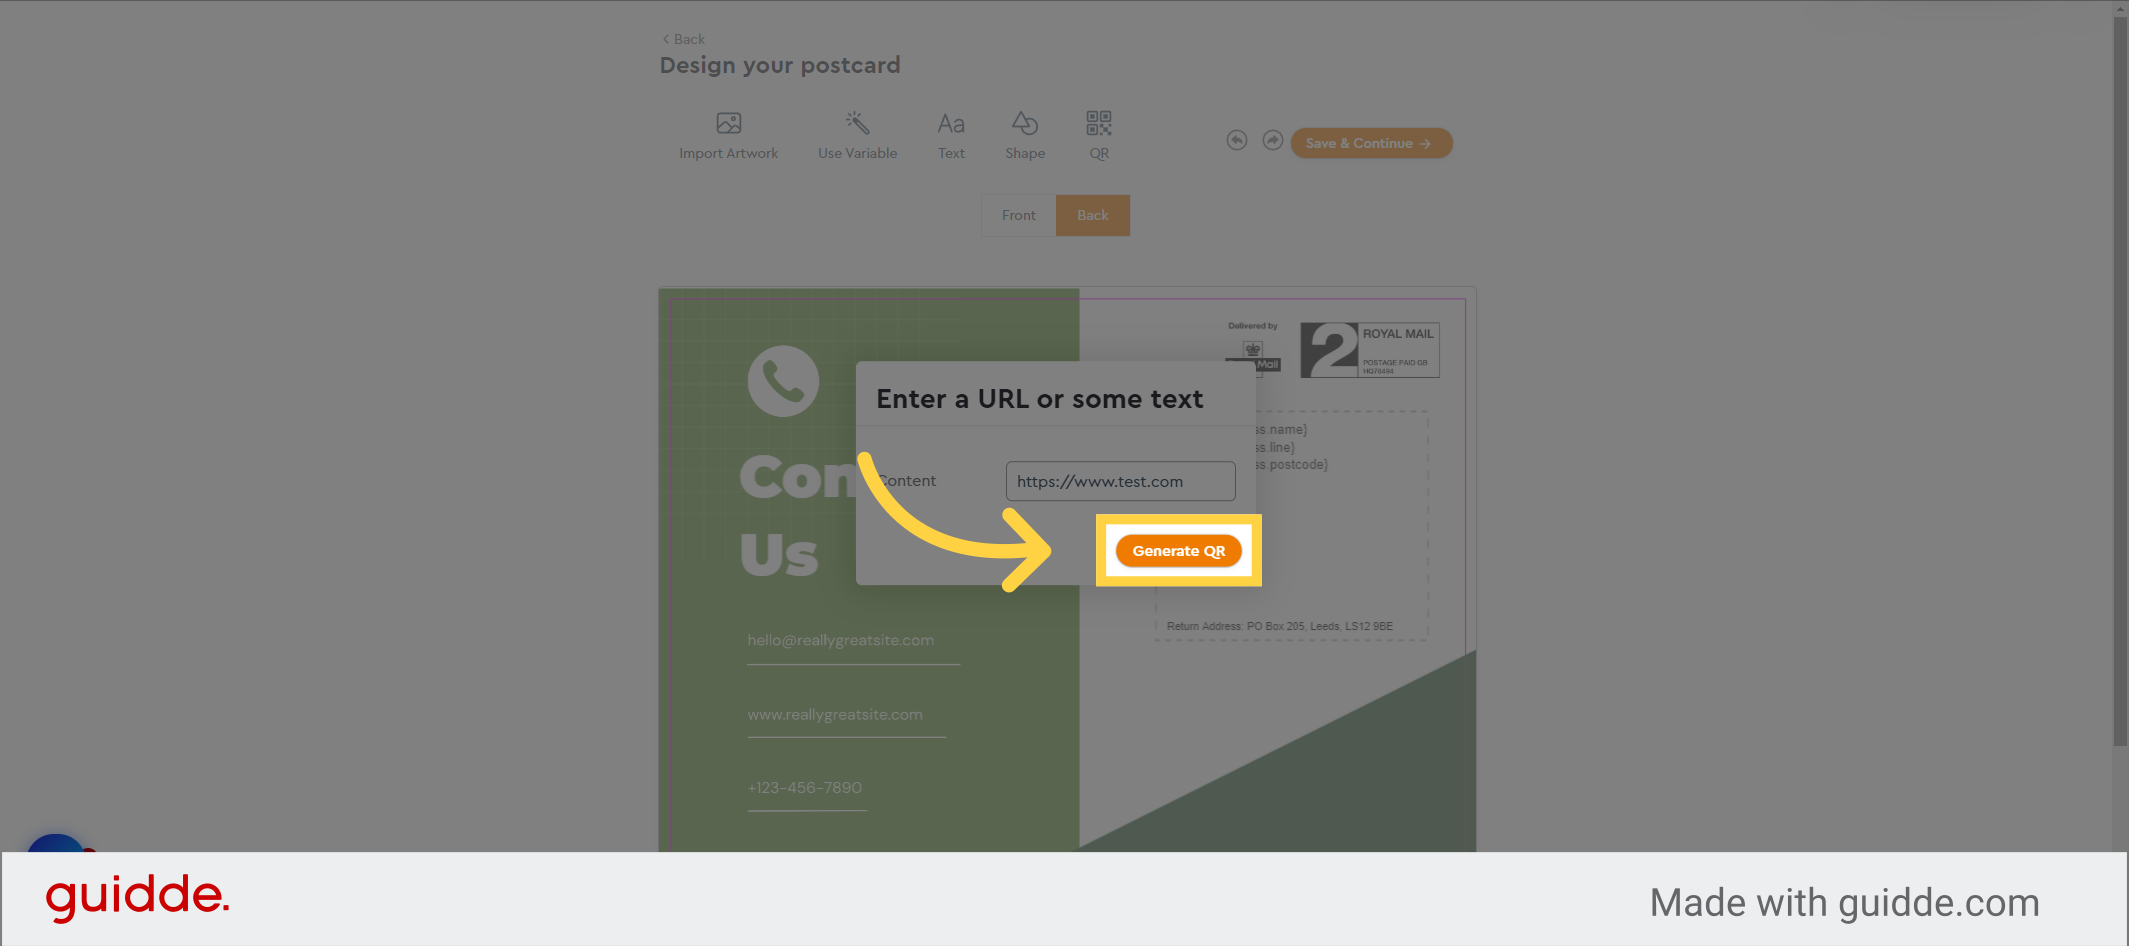
40. Click “Generate QR”
41. Select the QR Code
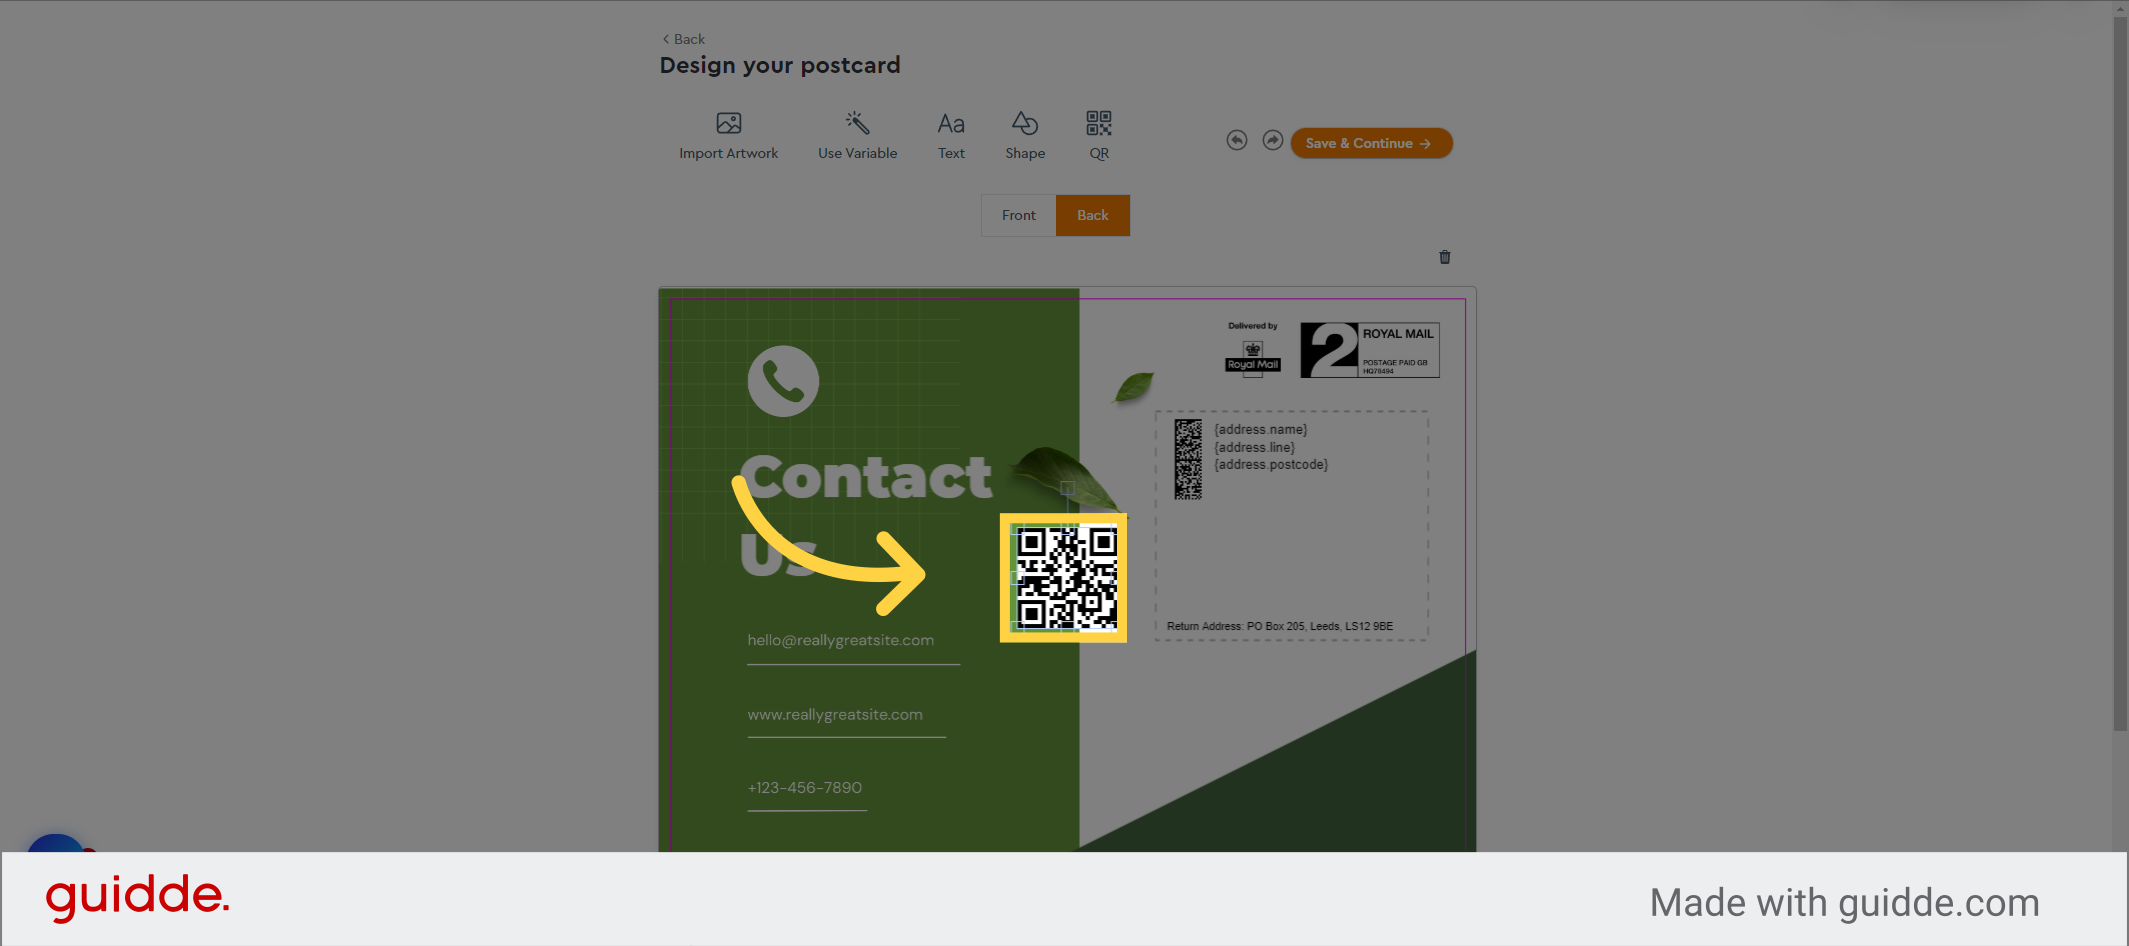
42. Reposition as required
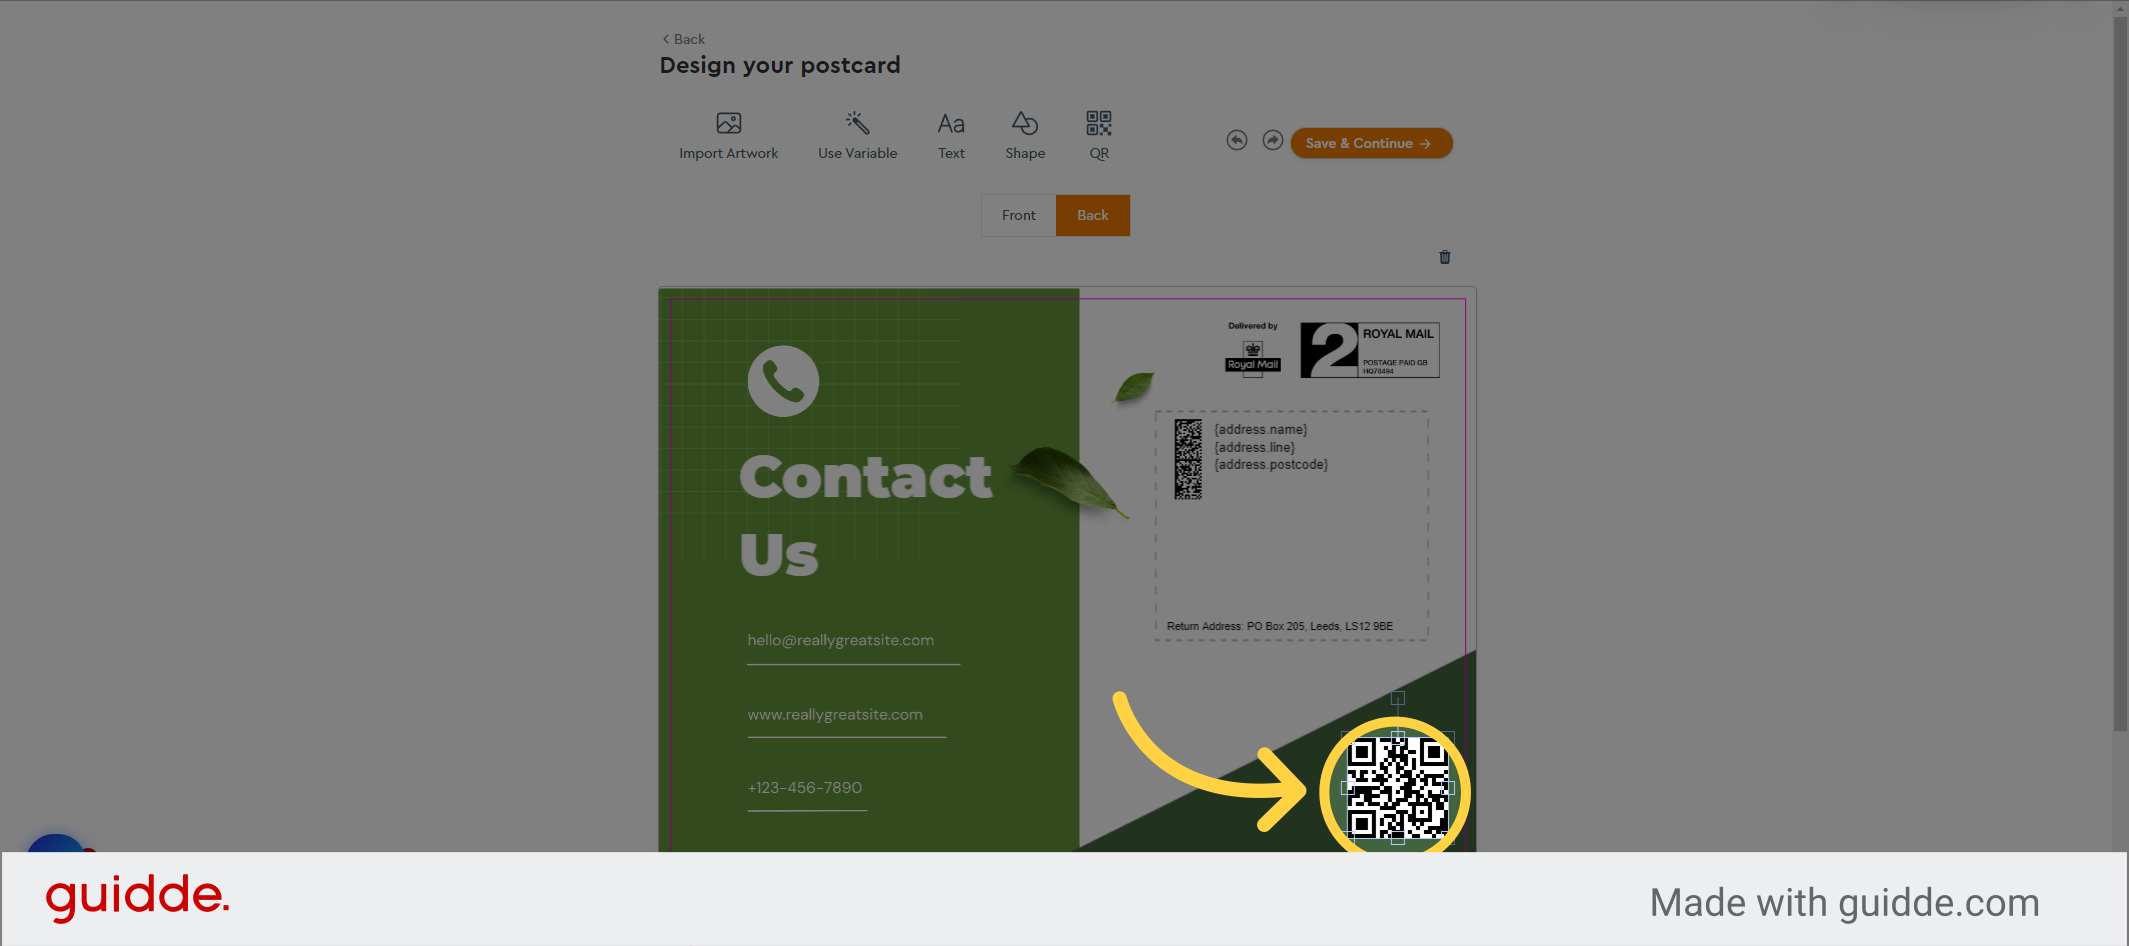
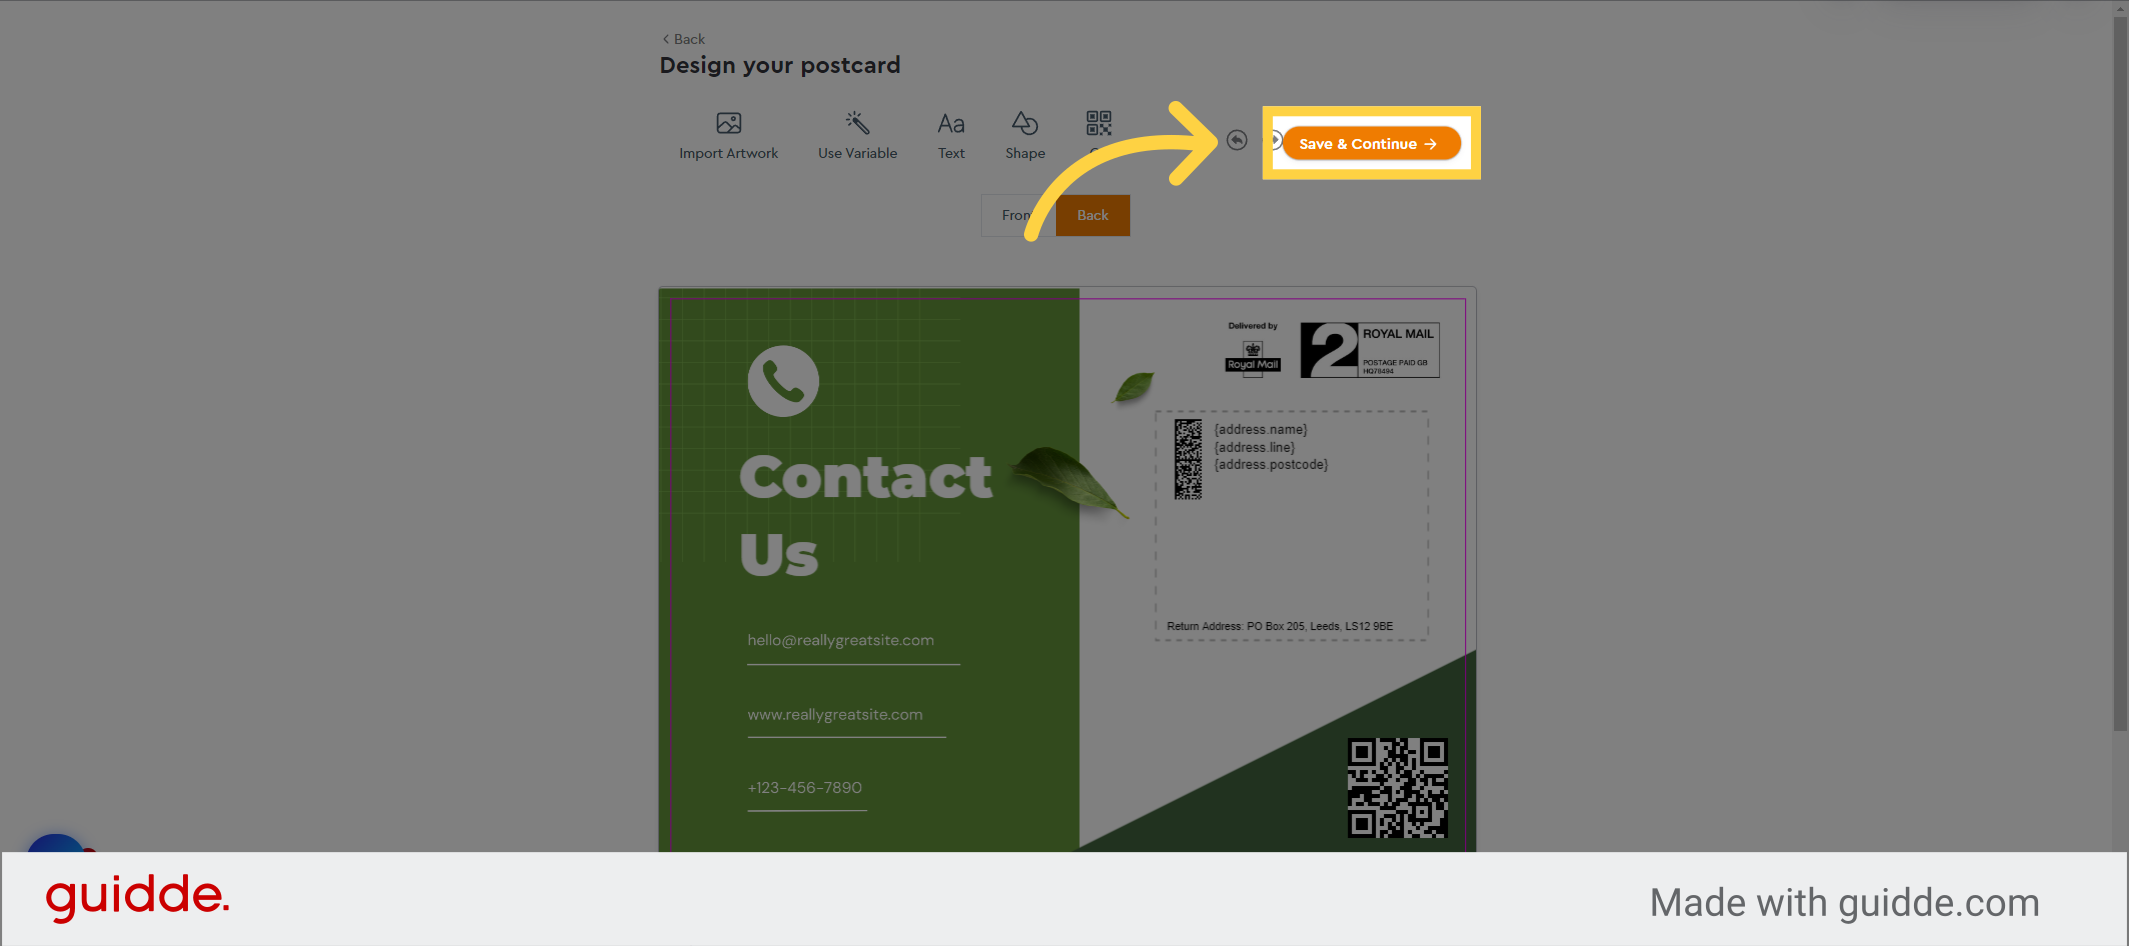
43. Click “Save & Continue”
When you’re happy with your layout, Click “Save & Continue”
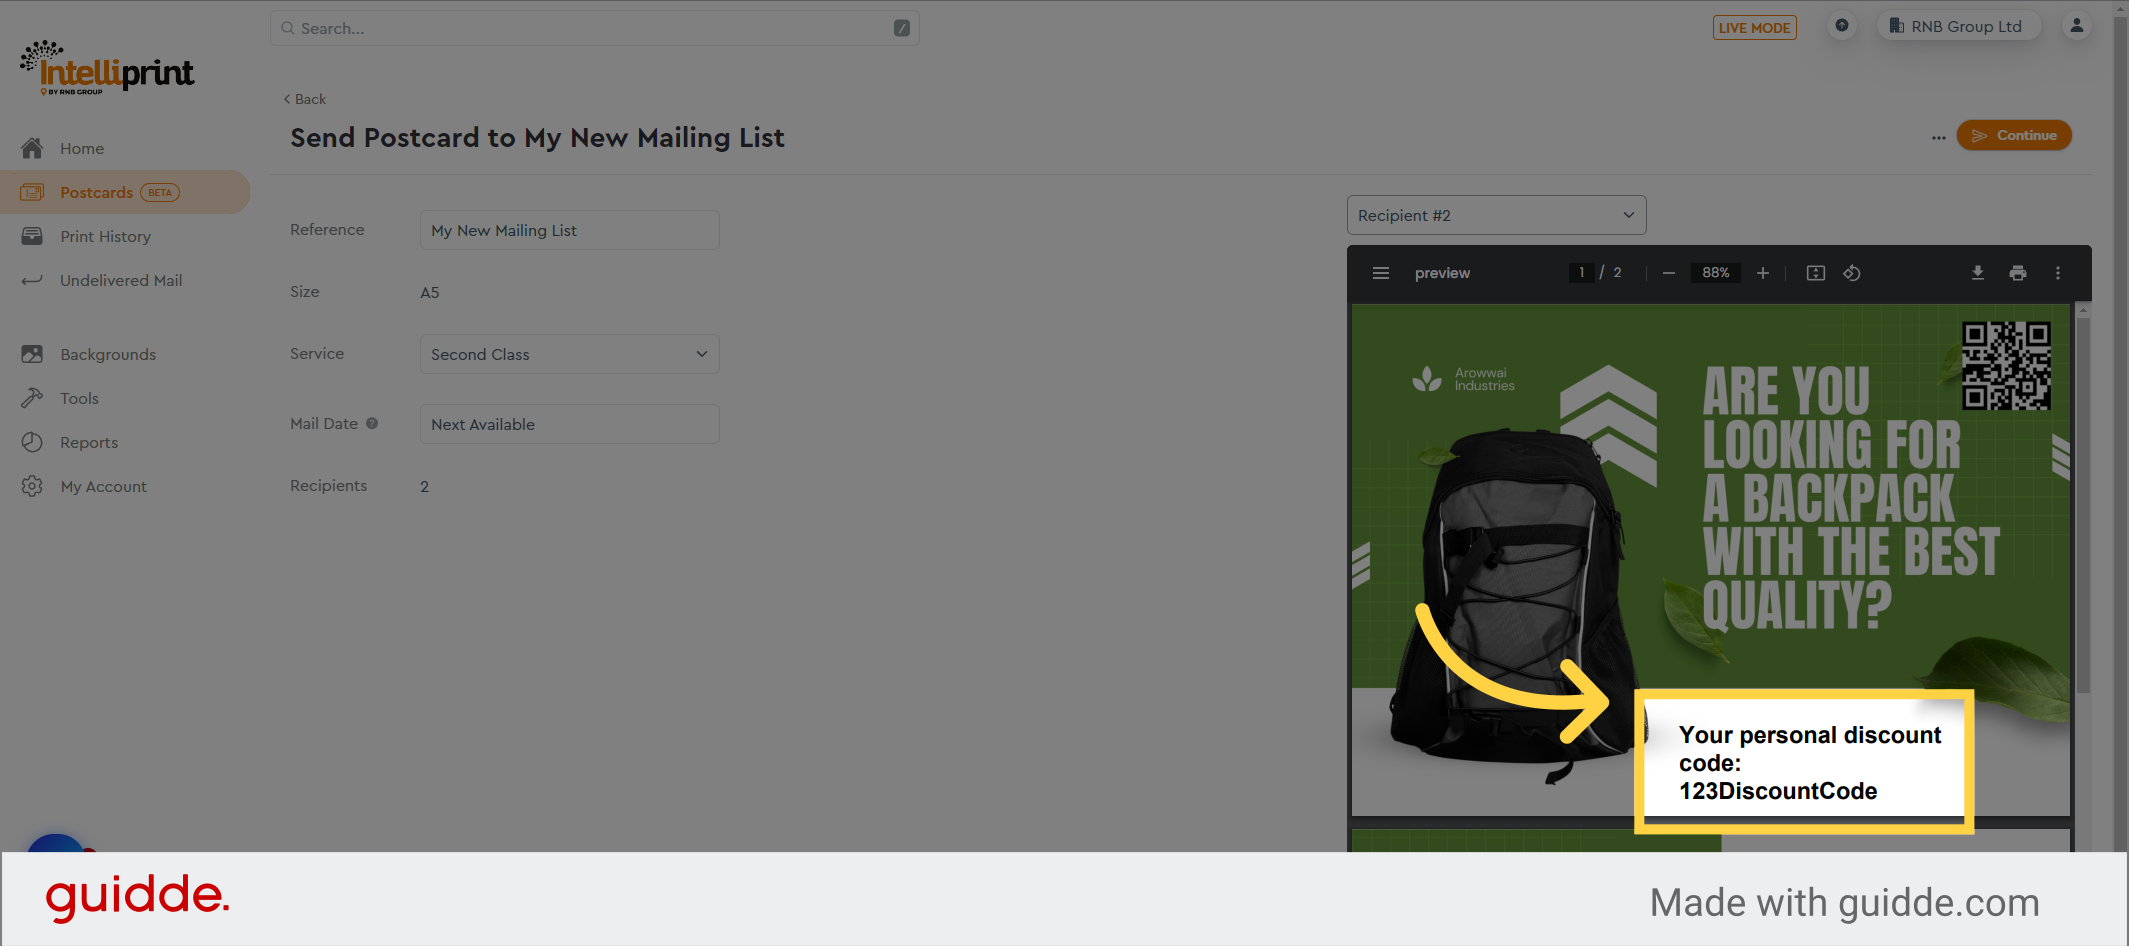
44. Select to preview any postcard
On the print preview page, you can check through each postcard by selecting the recipient I.D from the drop down
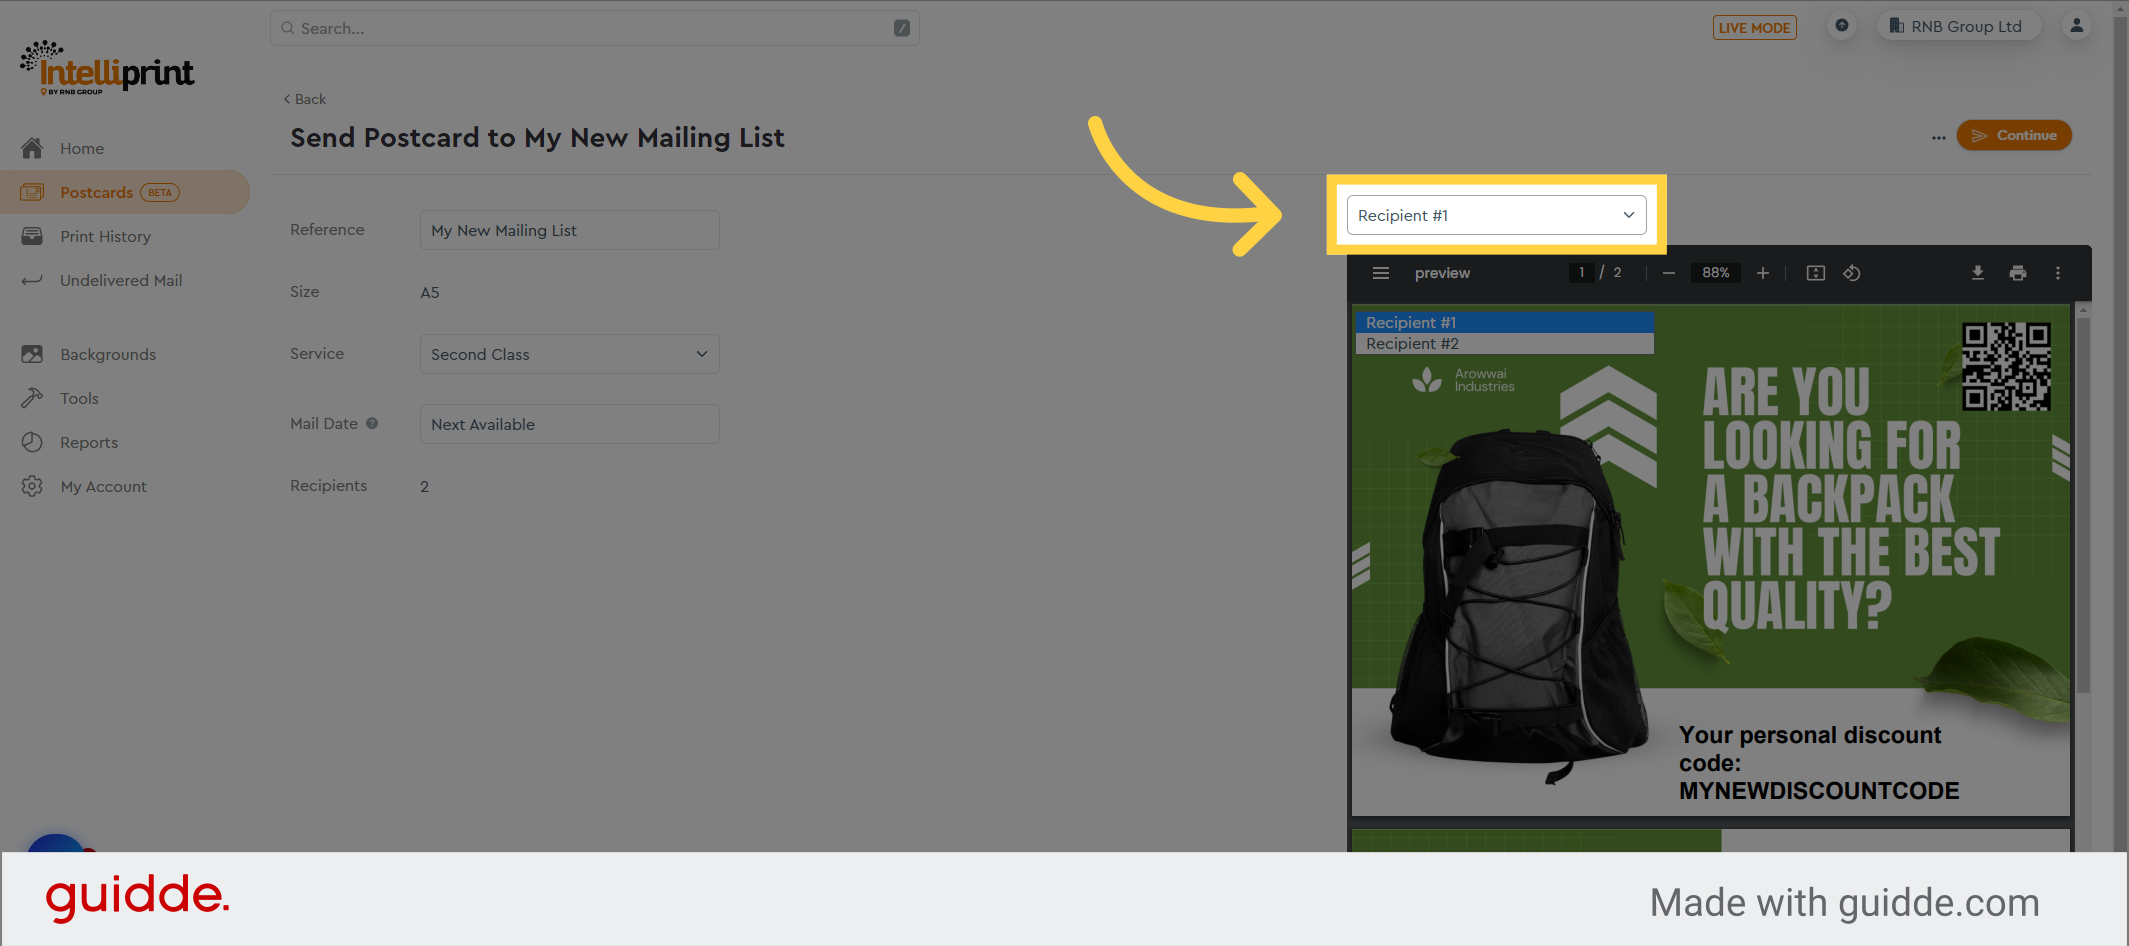
45. Merged data from your mailing list
You should now notice that each postcard has been populated with the correct address data and custom field data.
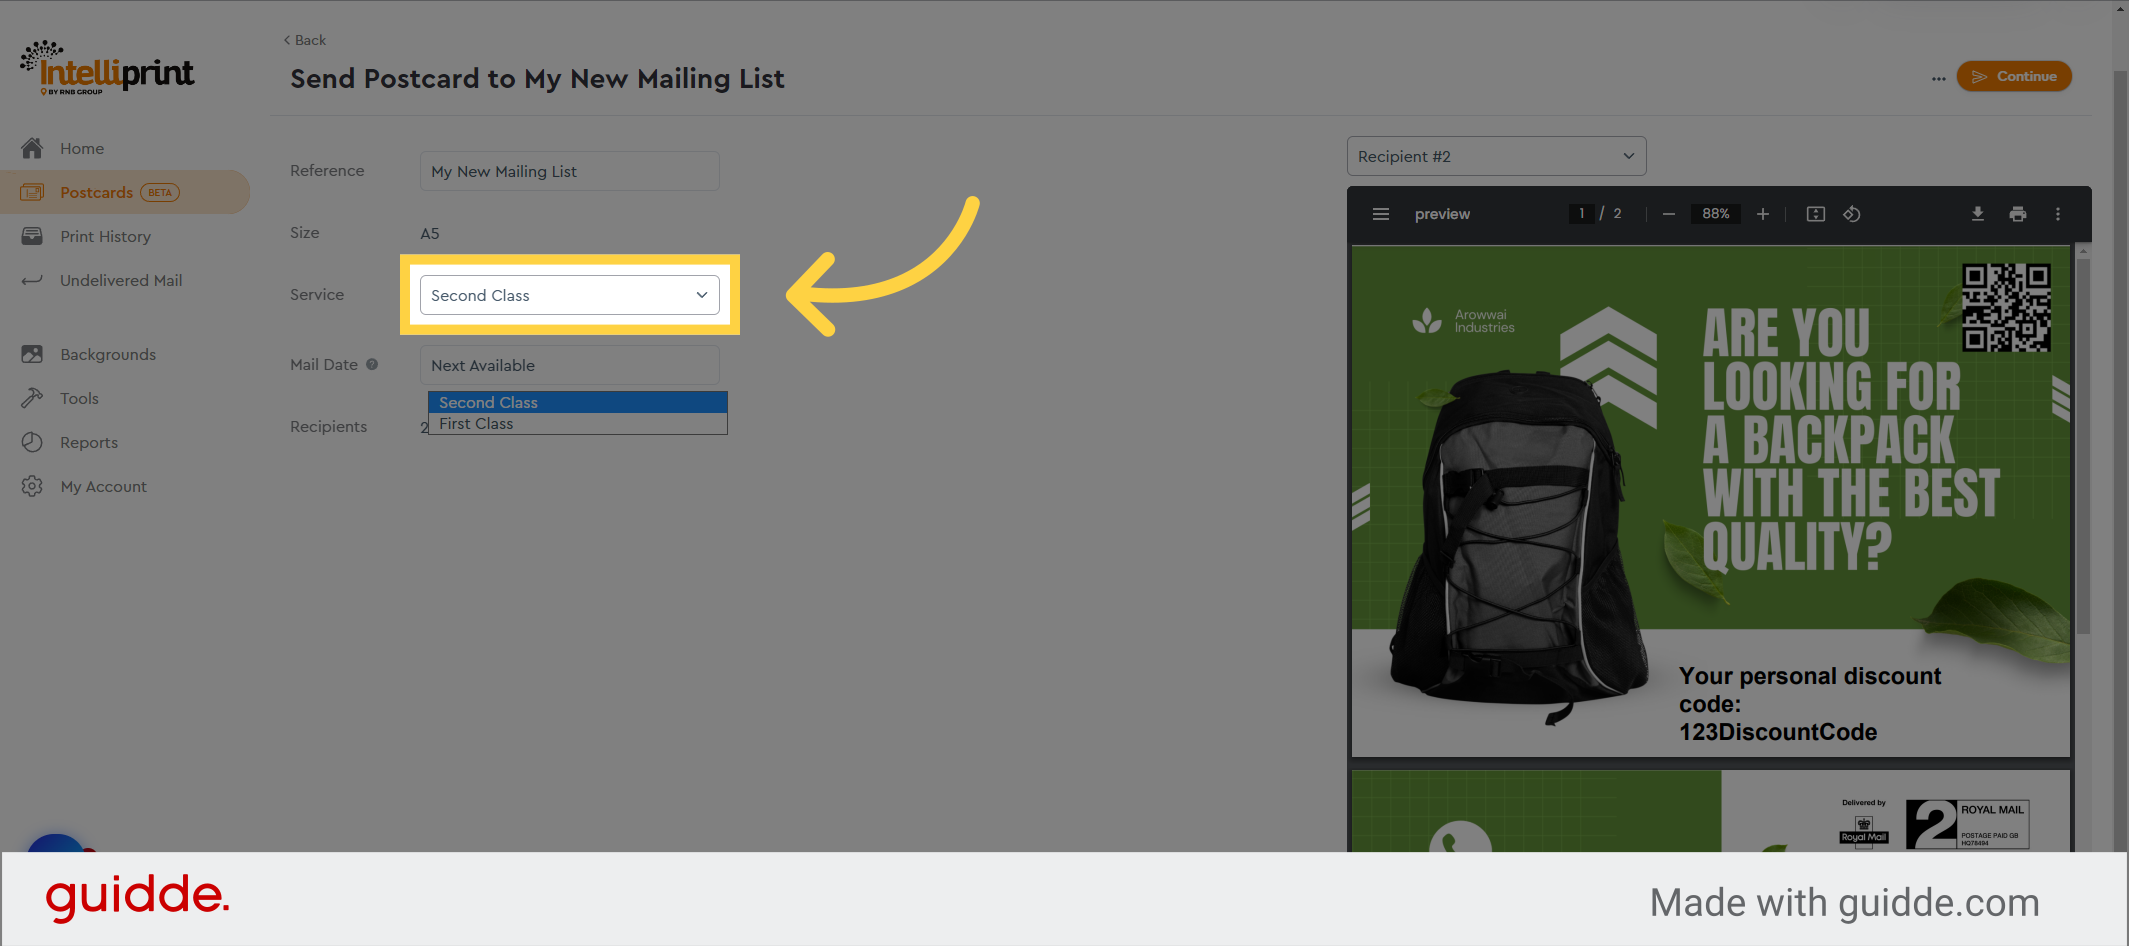
46. Click “Second ClassFirst Class”
When you’re happy, select your postage option, from 1st or 2nd class
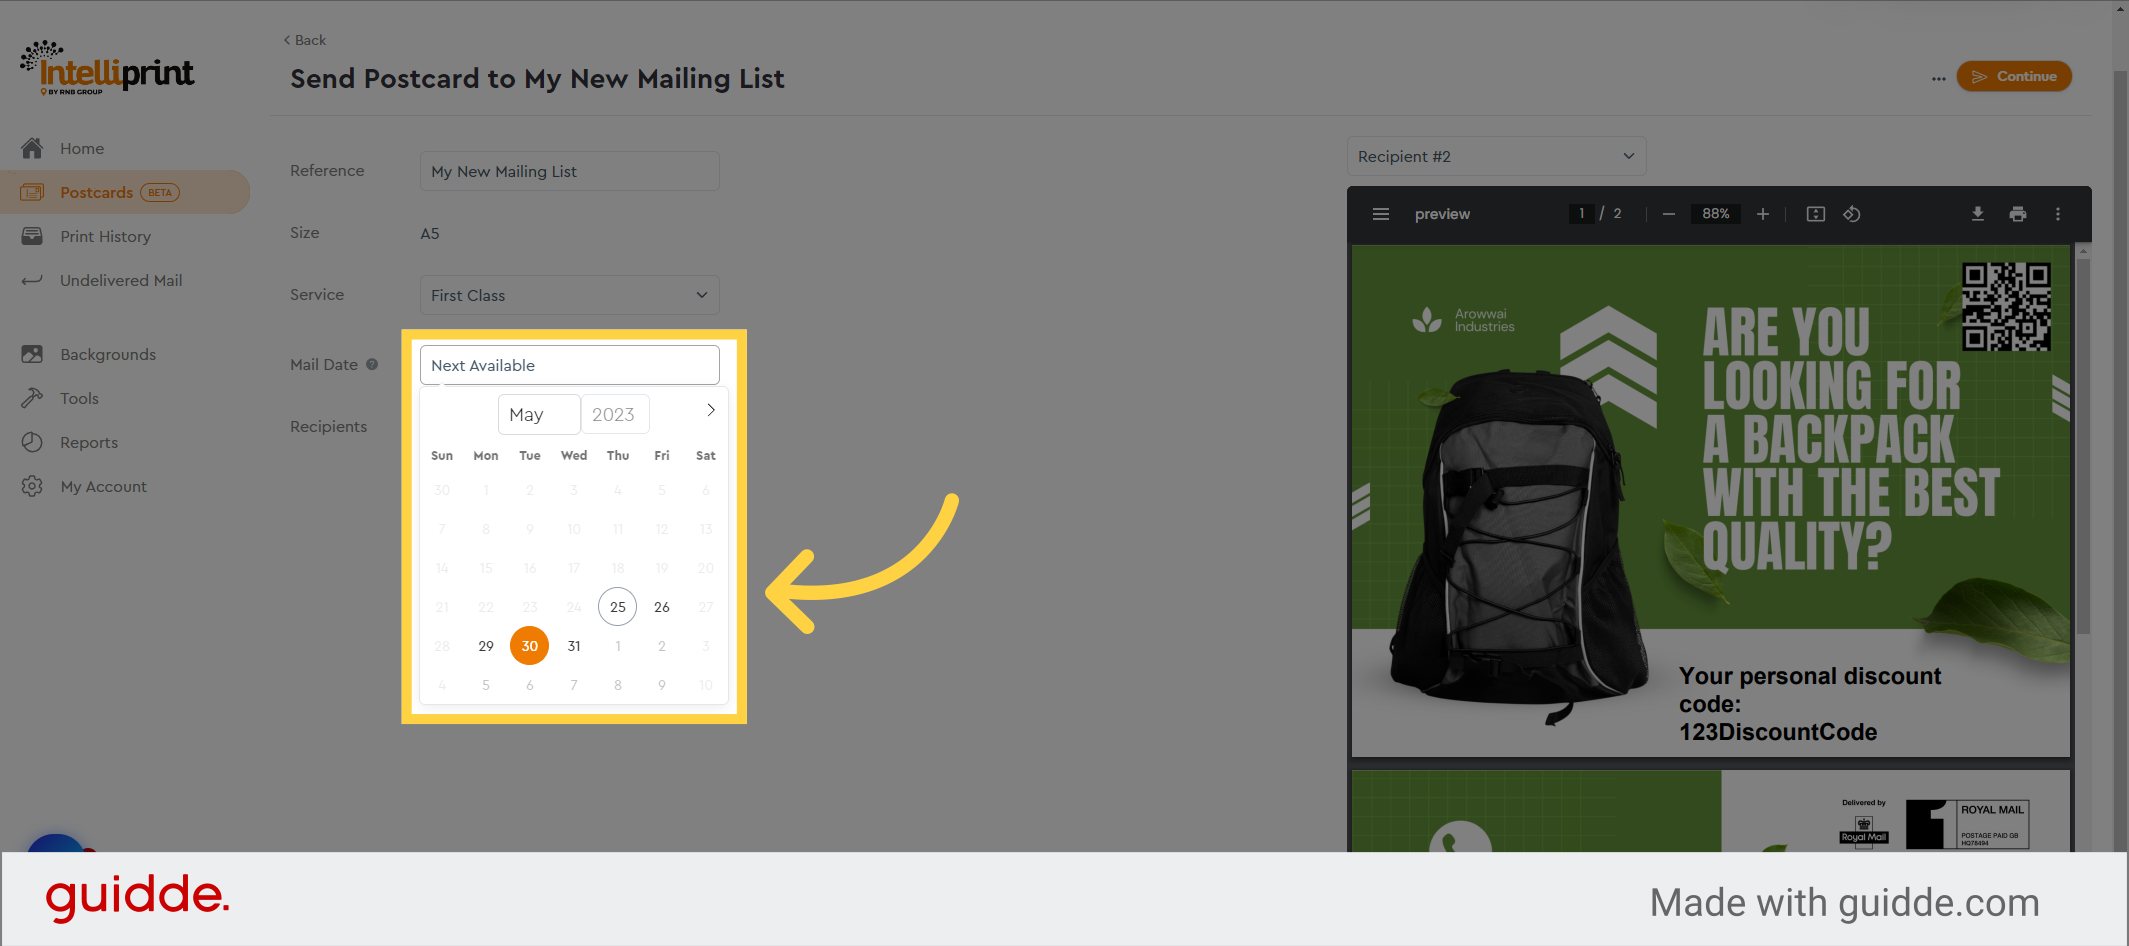
47. Select postage date
You can also set a postage date should you want to delay the sending of your campaign. Leave this as “next available” to send as soon as possible.
48. Click “Continue”
Finally, click the Continue button
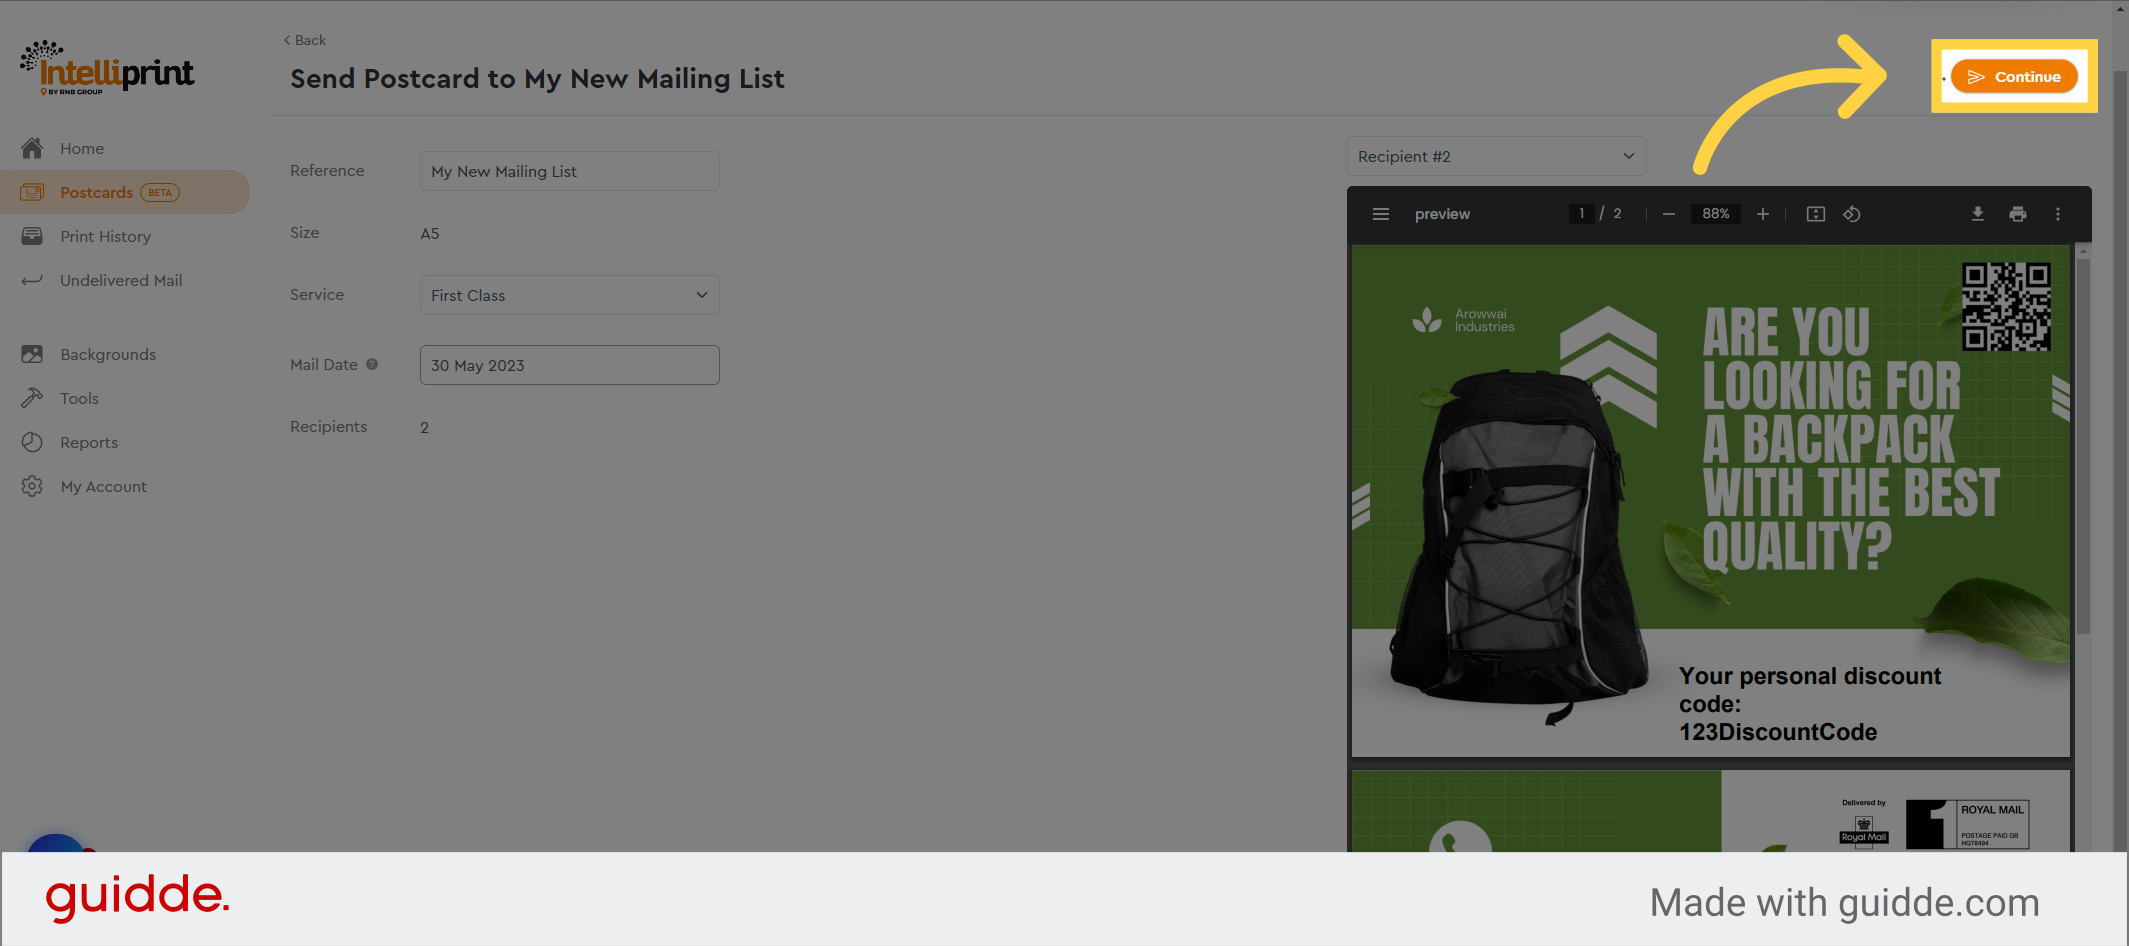
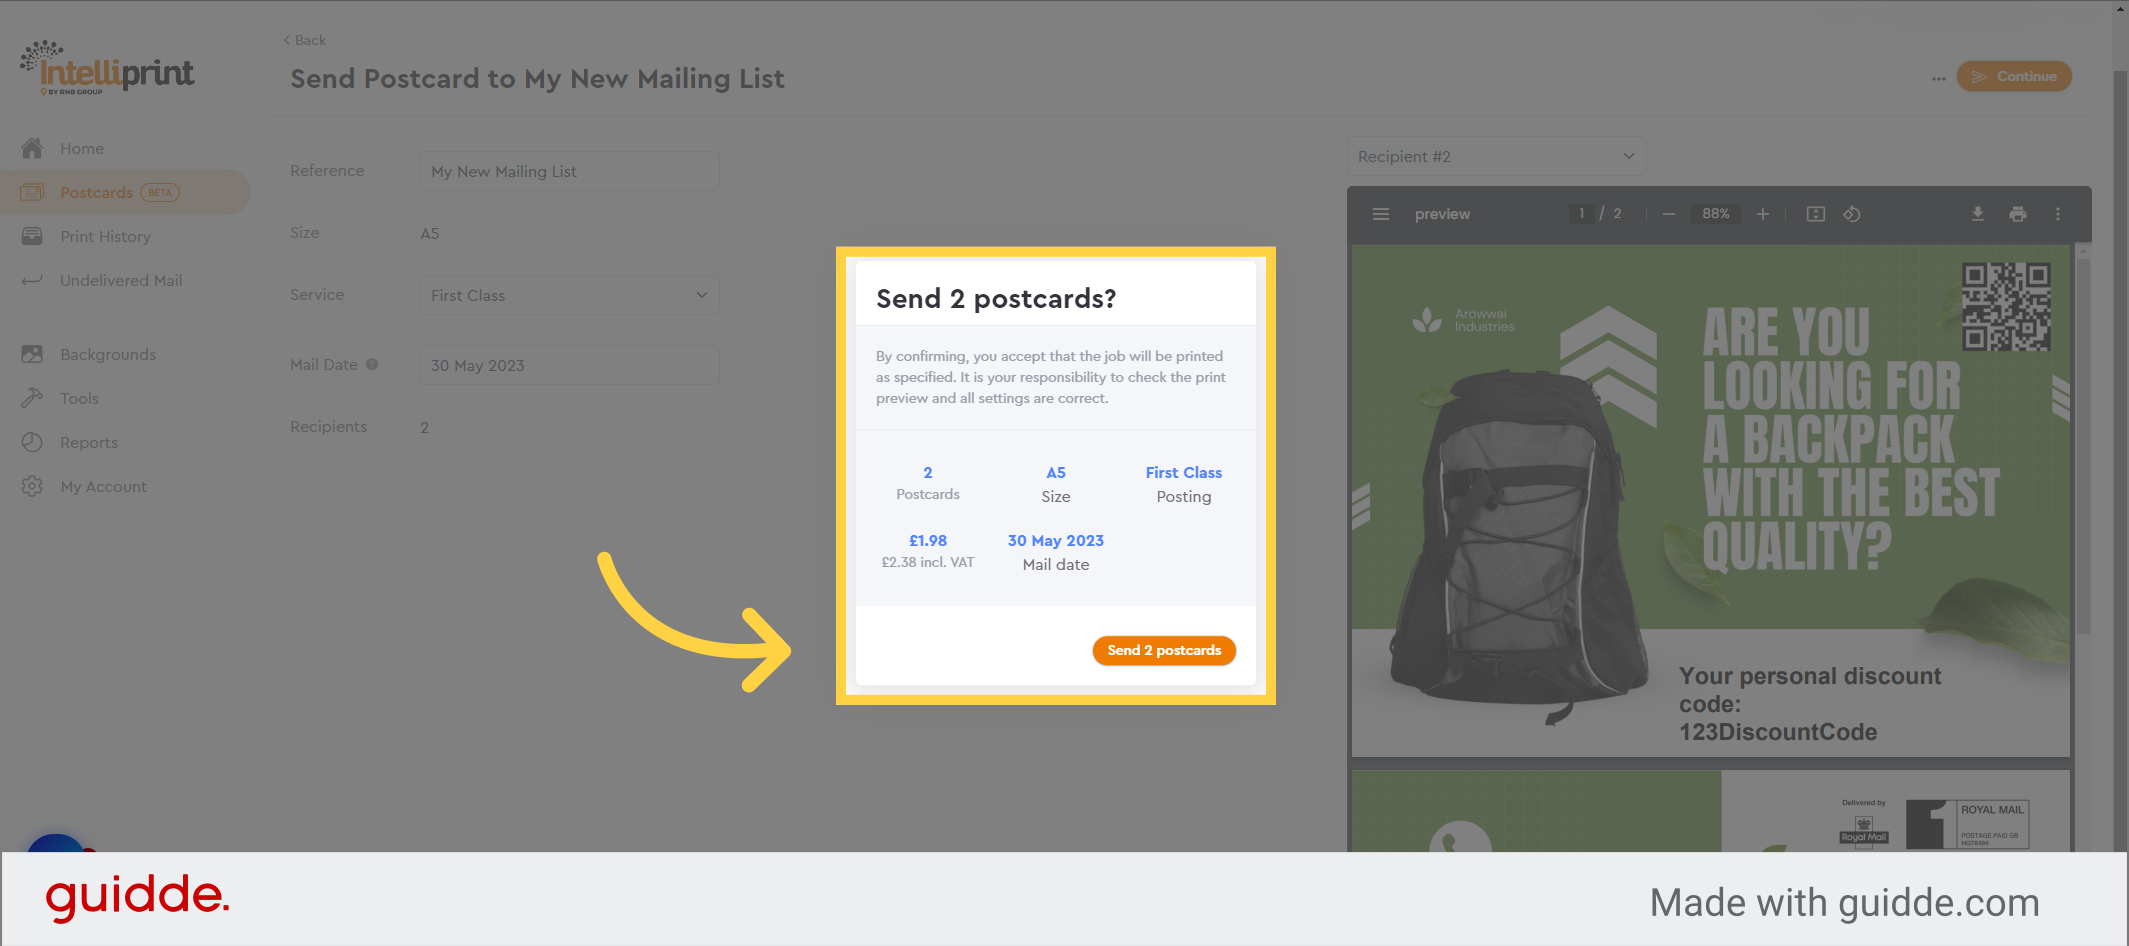
49. Check and confirm
Then review your order, and submit your postcards for sending.
That’s it. Your postcards will now be professionally printed and posted on your behalf.
This guide has taken you through the process of creating and submitting postcards using the intelliprint software.
If you have any questions, please don’t hesitate to get in touch.
Thanks for watching!