
Mailing & production
Merge PDFs, print history and returned mail
Combine addressed PDFs into one batch, check a job in Print History, and archive returned mail after you have corrected the address.
Last reviewed · By Intelliprint Team
Merge separate addressed PDFs
Use Merge PDFs when you have several separate print-ready PDFs, each already addressed to one recipient. It combines them so you can set up print, postage and sending as one batch.
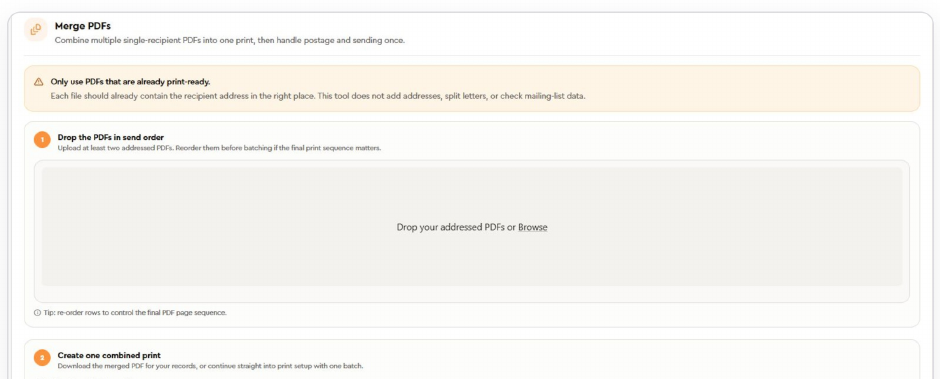
Each PDF must already have the recipient address in the right position. This tool does not add addresses, split letters or check mailing-list data, so check every file before you upload it.
- Drop at least two addressed PDFs into the upload area, or use Browse.
- Reorder the files before batching if the final order matters.
- Use the options shown to download the merged PDF or carry on into print setup.
- Check the preview, recipients, page order and print settings before you submit.
Got a spreadsheet of recipients? Use mailing lists and the designer instead. One PDF with several letters? Use Split into letters on its draft, covered in upload, check and submit.
Print history and exports
Print History holds your drafts, scheduled prints and submitted jobs. Use the date shortcuts or Custom date range to narrow the list, choose a status, then open the reference you need.
- Draft — not sent yet.
- Waiting to print — submitted and waiting to be printed.
- Scheduled — held for a future send date.
- Sent — printed and posted.
- Cancelled — jobs that have been cancelled.
Open a job to see its current details. After submitting, check the status here rather than assuming the click went through.
To export, select Export, choose the date range in the calendar, then select Export in the dialog. Check the range before you use the downloaded report.
What each mail-item status means in more detail is in tracking a mailing.
Returned mail
Returned Mail lists items that came back undelivered. Check these records so you can correct recipient details before your next mailing.
Use the date shortcuts or a custom range. The Showing filter switches between New and Archived.
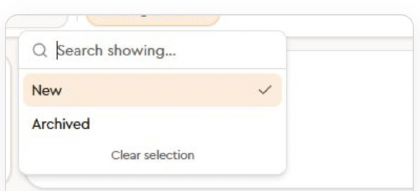
Each record shows the recipient, postcode, return reason, postage service, shipped date and returned date. The Job link opens the print it came from.
The page shows returns in your chosen date range separately from items still waiting to be archived, across all time. Check the return reason and correct the address in your source data or mailing list. Then select Archive to move the item out of New.
Use Export when you need a record of returns. To send return notifications to a shared mailbox, set the returned-mail email address in Settings, then Account. If it is left blank, notifications go to whoever created the print.
Archiving a return only updates your records. It does not confirm the address is now deliverable, so correct the address before you create another print.